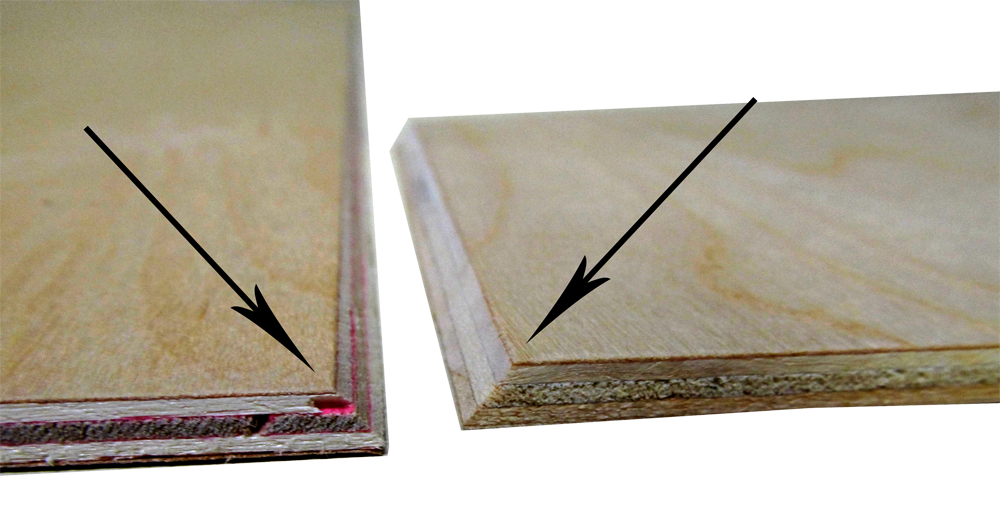
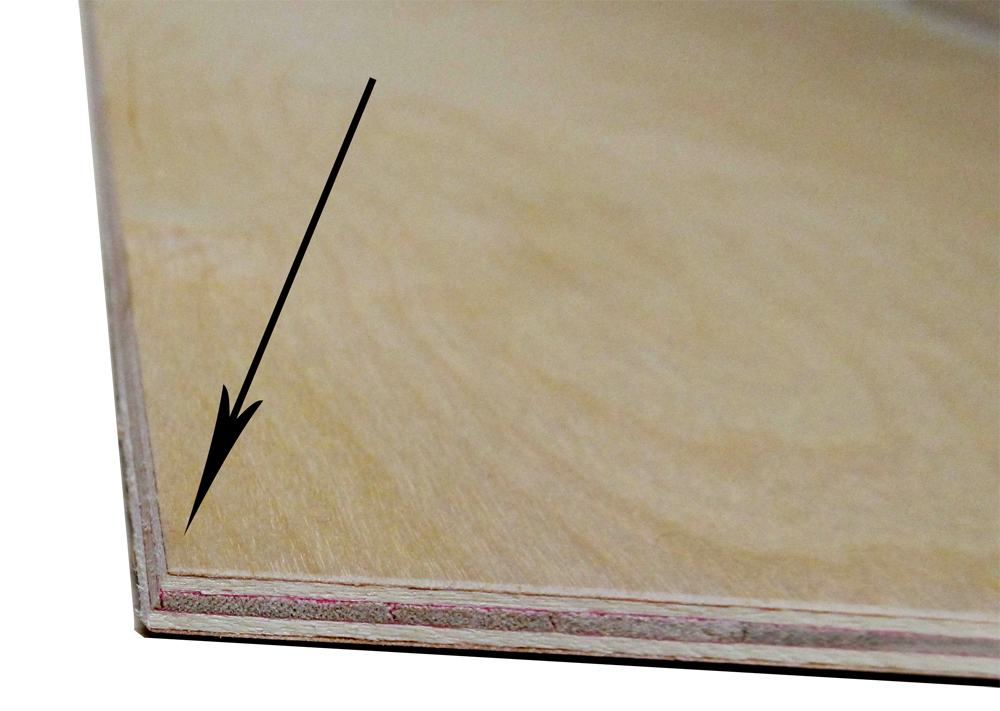
I paint the inside of everything one-coat and sand down to the wood (glue doesn't stick to paint) before assembly. I also paint the outside of the Window Triangle, and shingle the Arch Triangle before gluing them in.
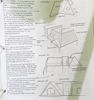
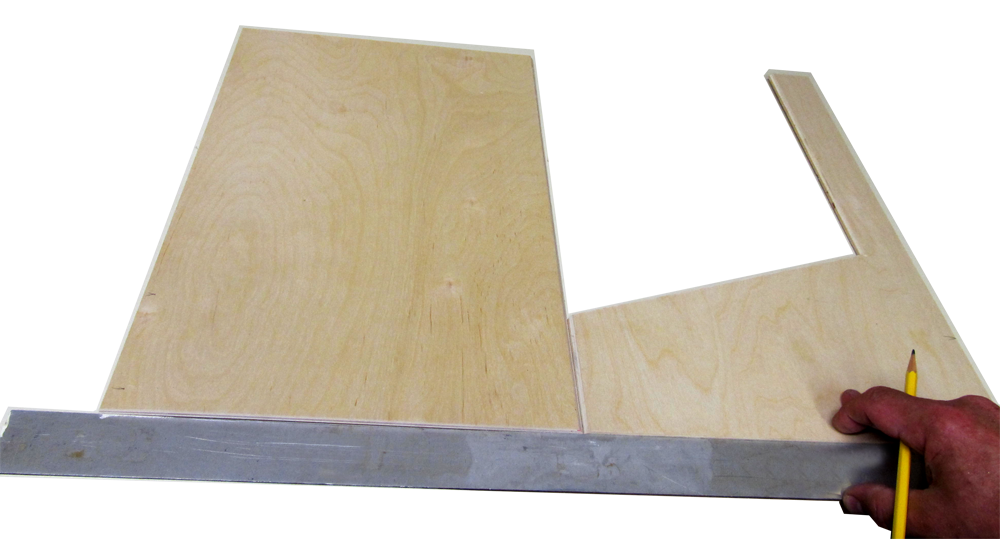
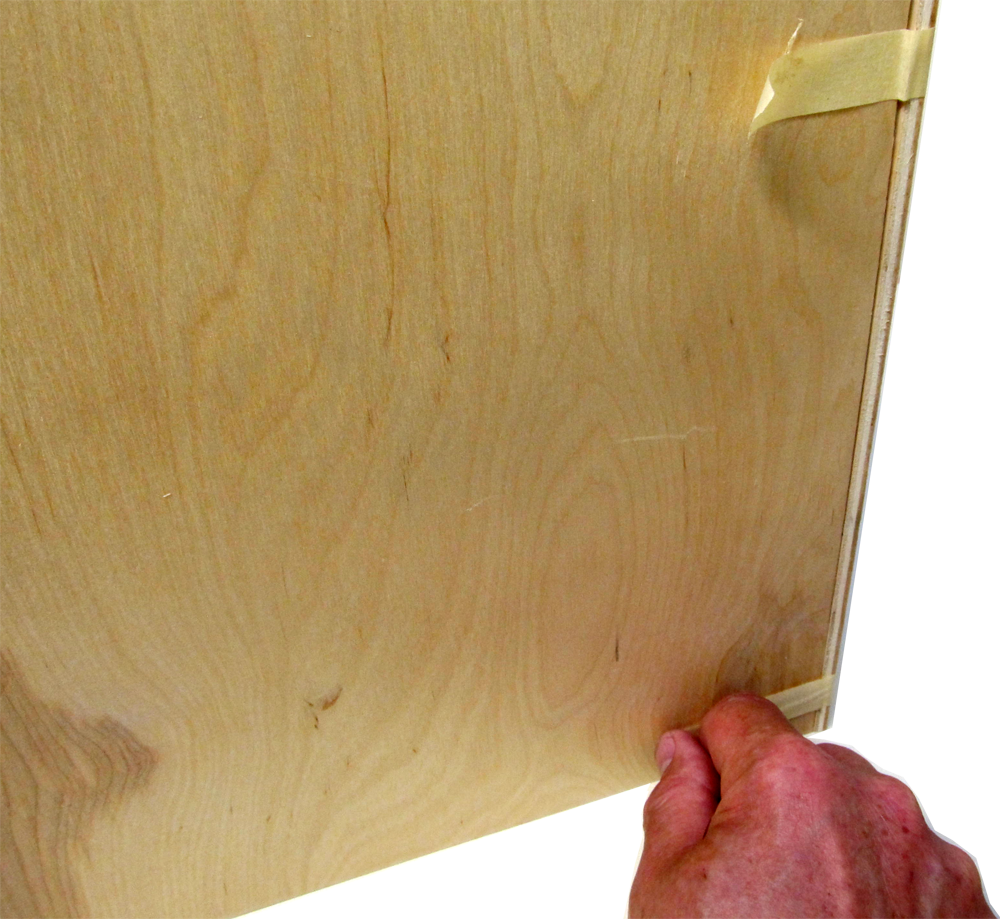
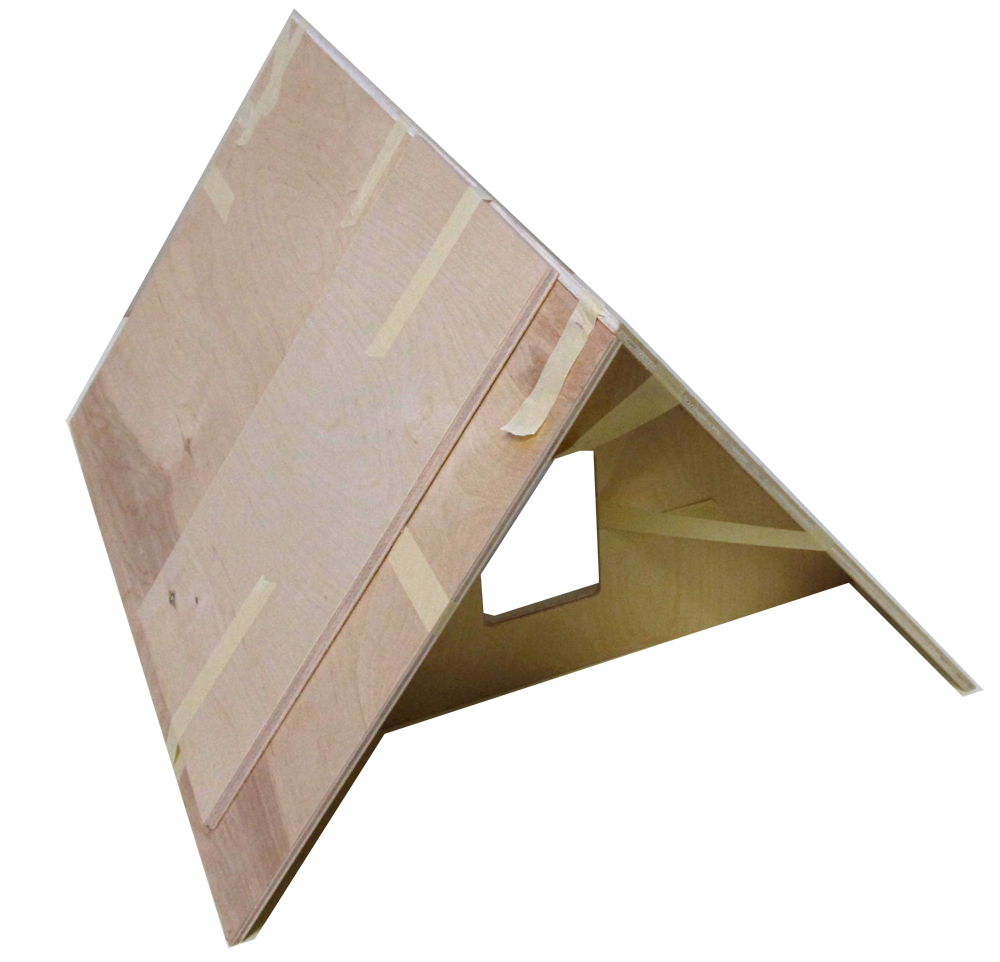
Watch the slideshow and prepare the parts ahead of time so when you are actually gluing the parts together you can move ahead quickly to get the parts tight and straight while the glue is slippery. There's a lot going on here, so doing a once-thru without glue will make it easier.
This slideshow shows several techniques for straightening parts during assembly (I use these techniques in most builds - it's part of working with wood). Once the glue is dry, the position is permanent, so be ready to use these to overcome the wood's shape wherever necessary.
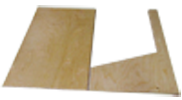
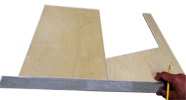

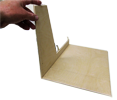
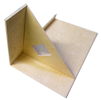
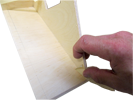
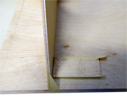
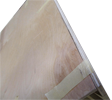
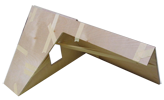
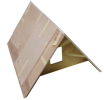
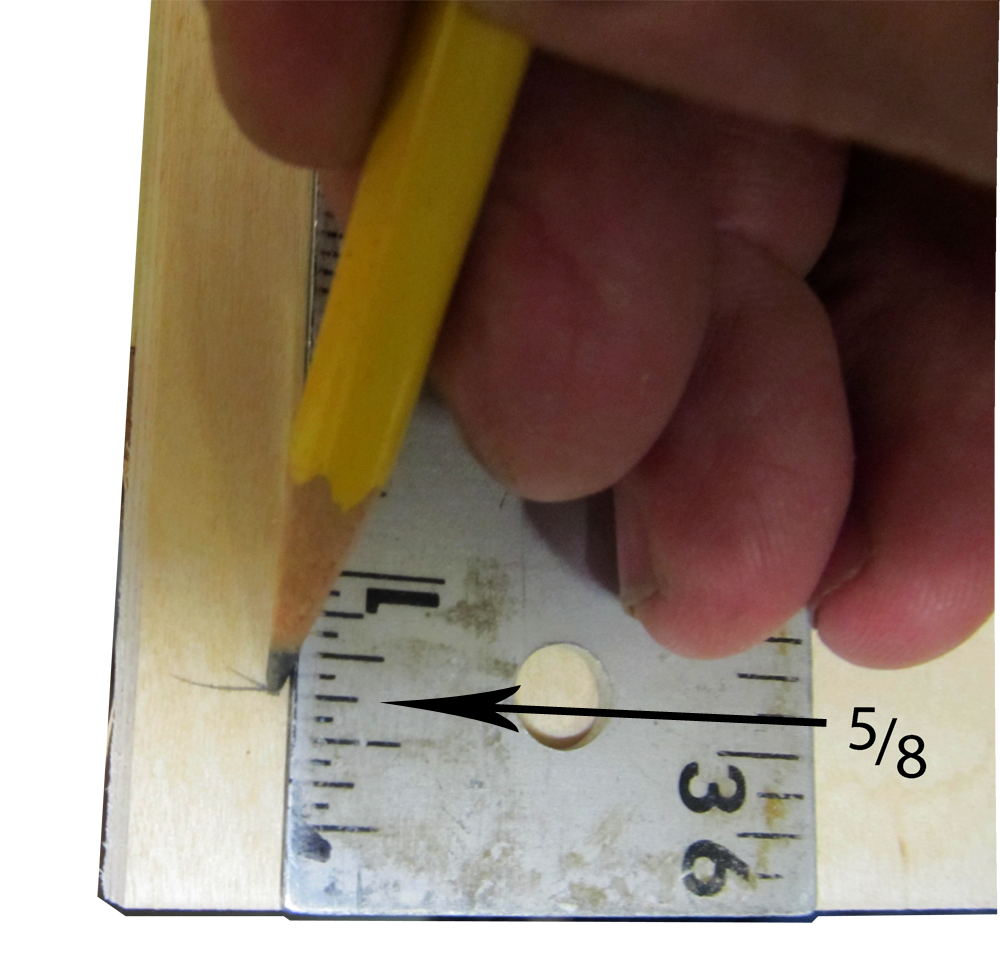
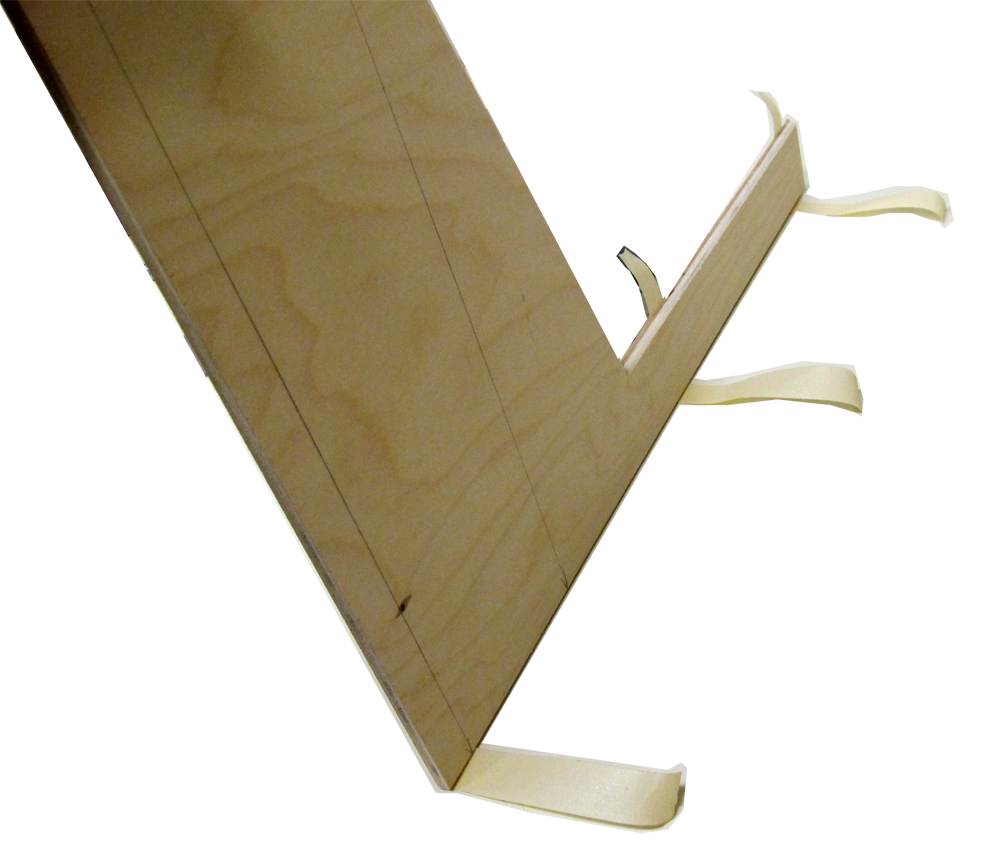
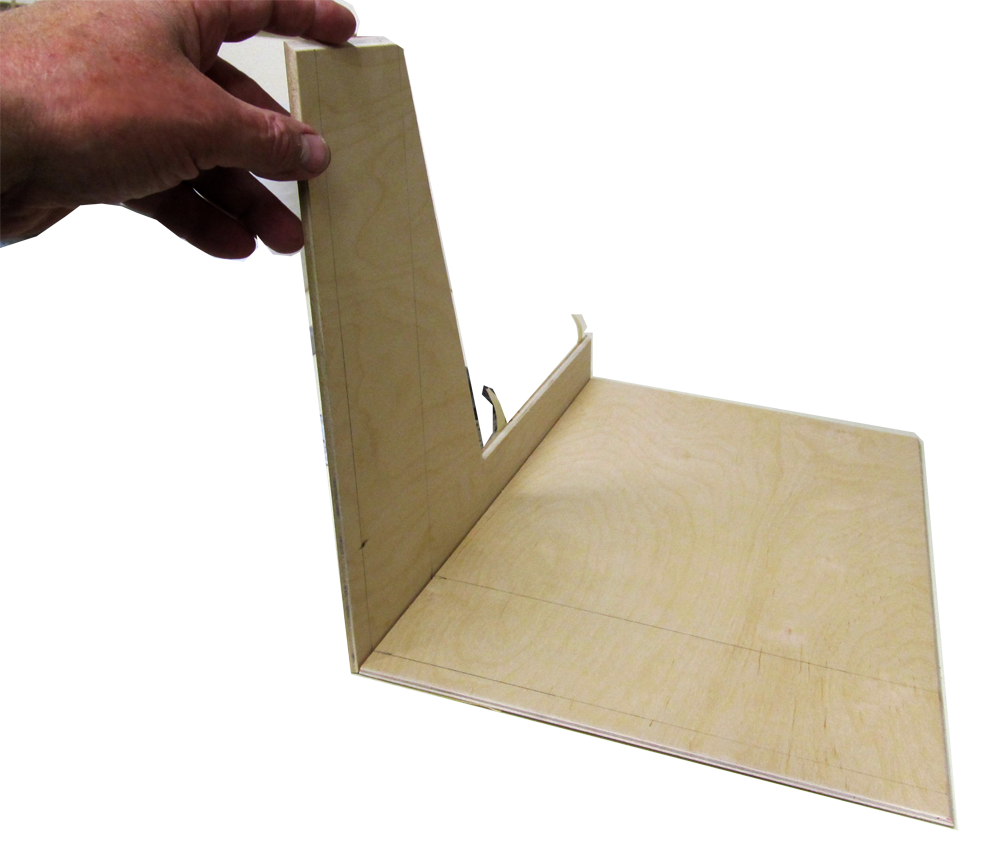
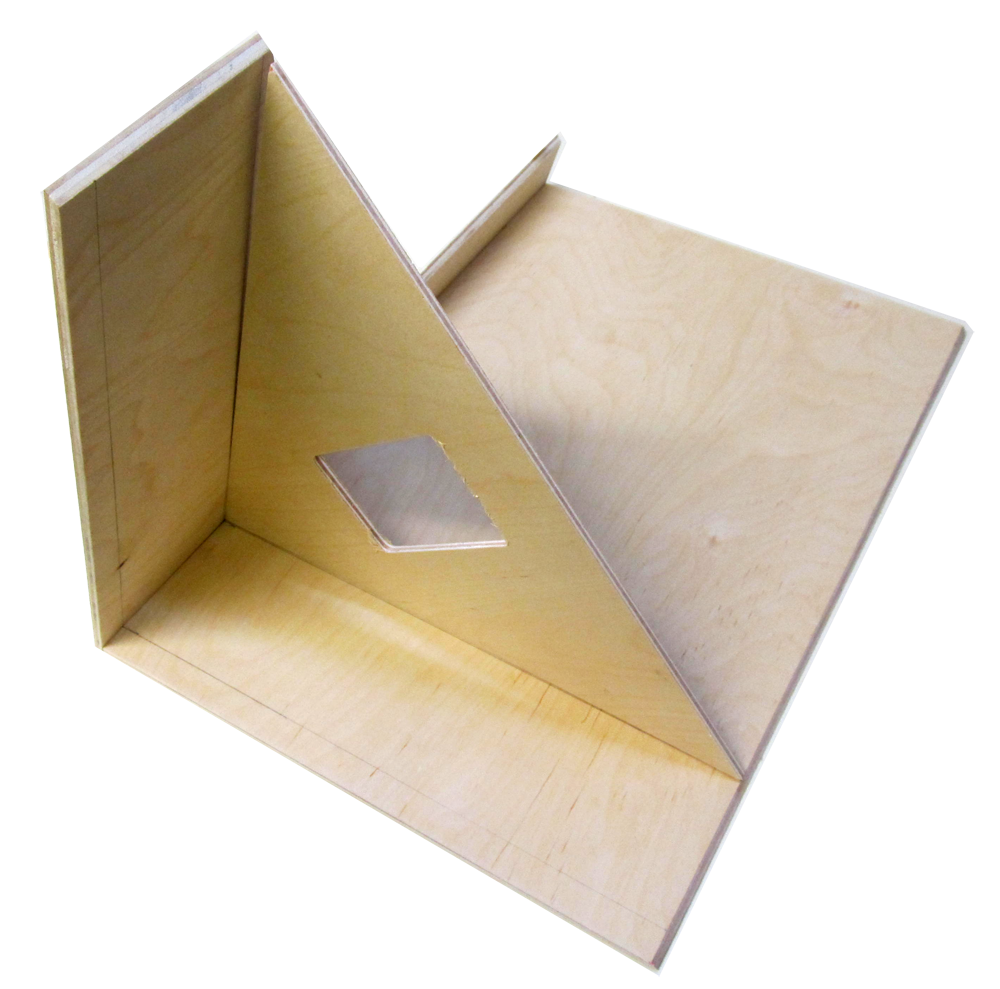
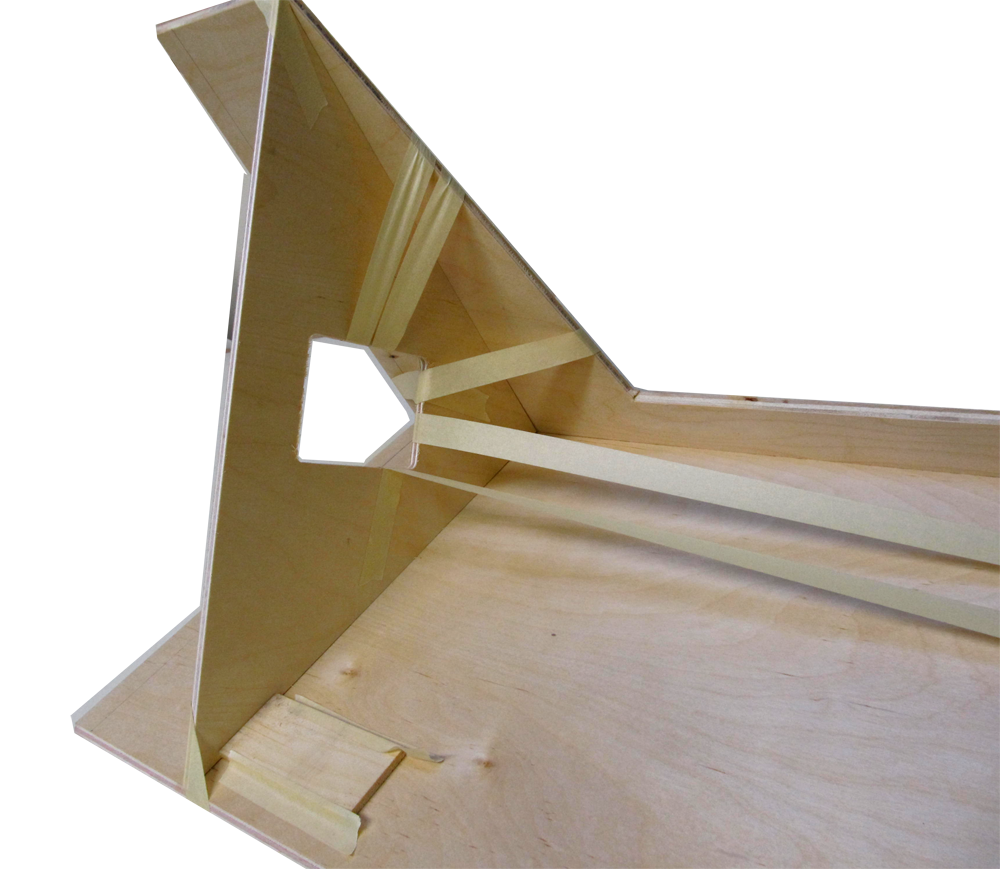
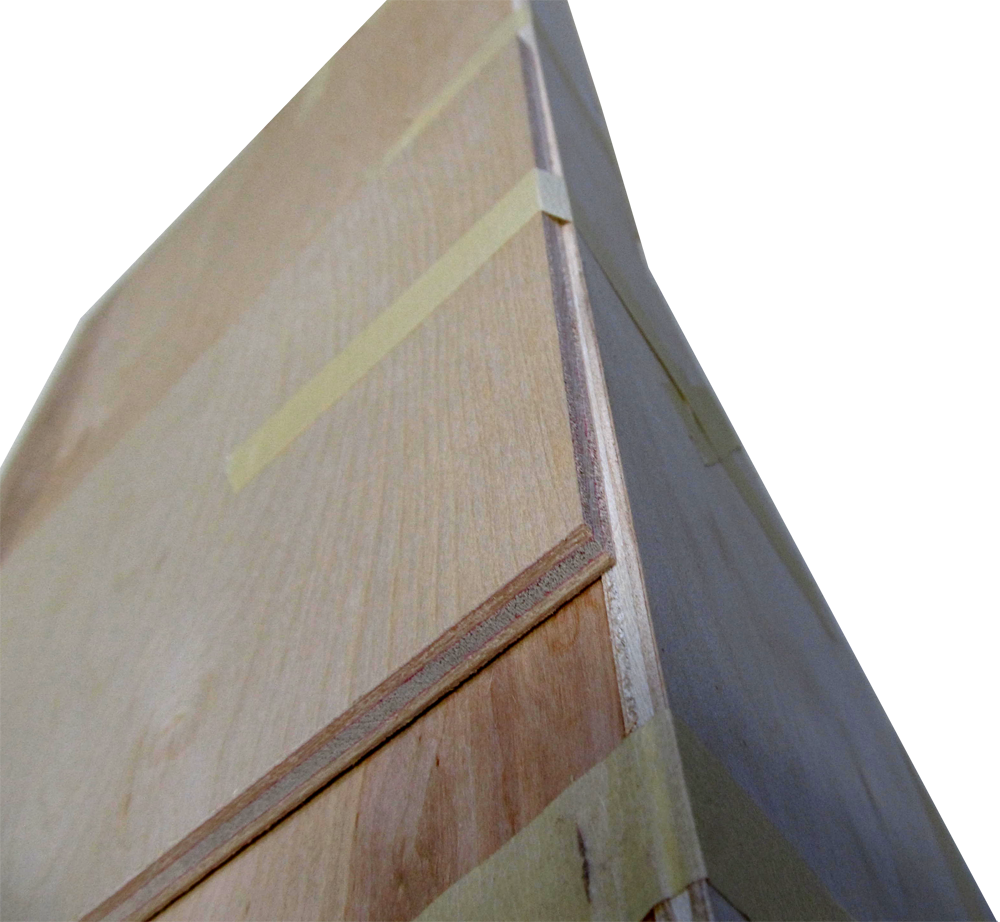
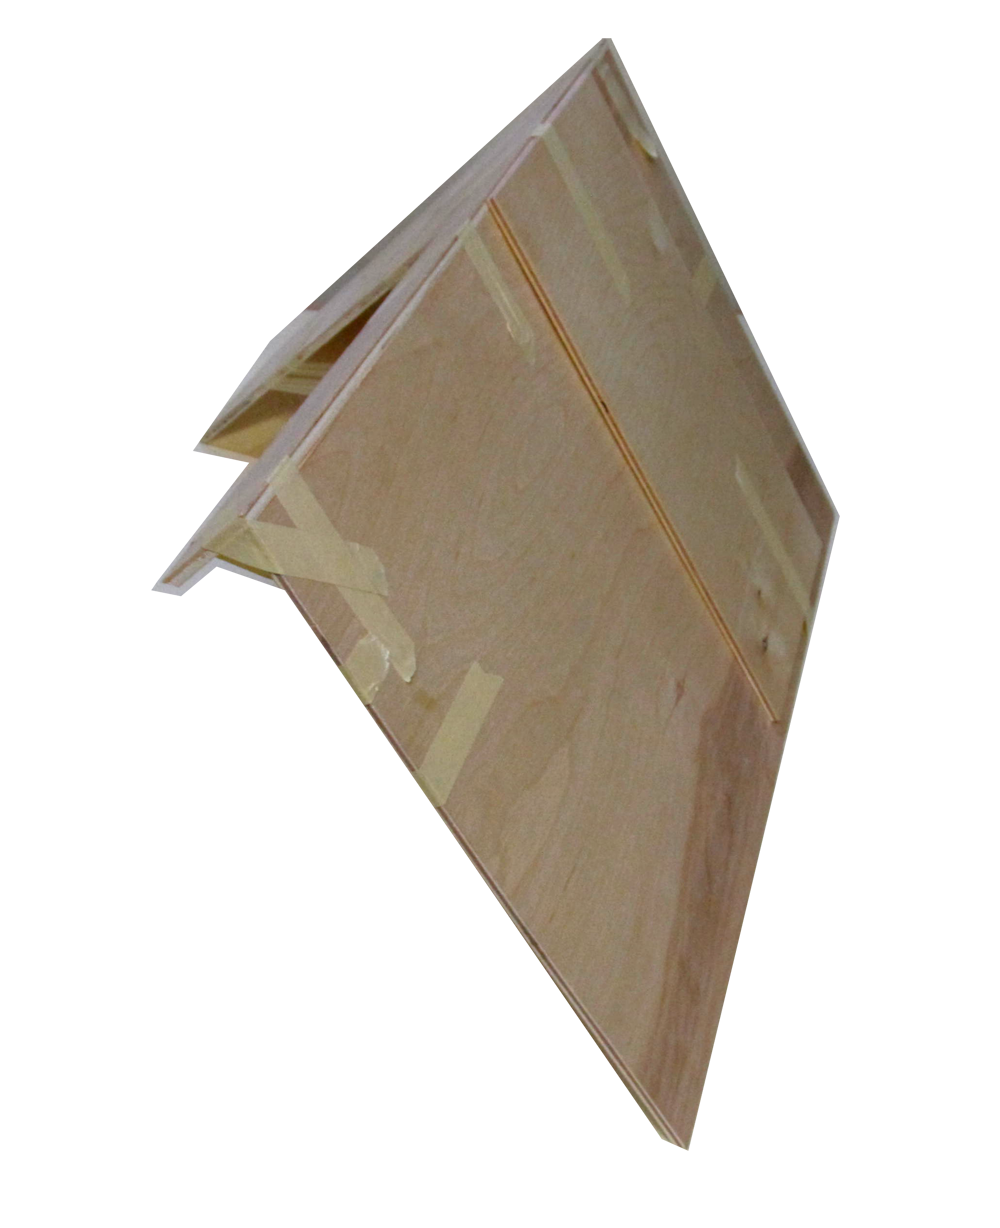
 The roofs are in the right position when the Triangle fits at the corners
96Pav11L.png
The roofs are in the right position when the Triangle fits at the corners
96Pav11L.png


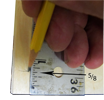
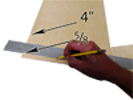
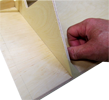
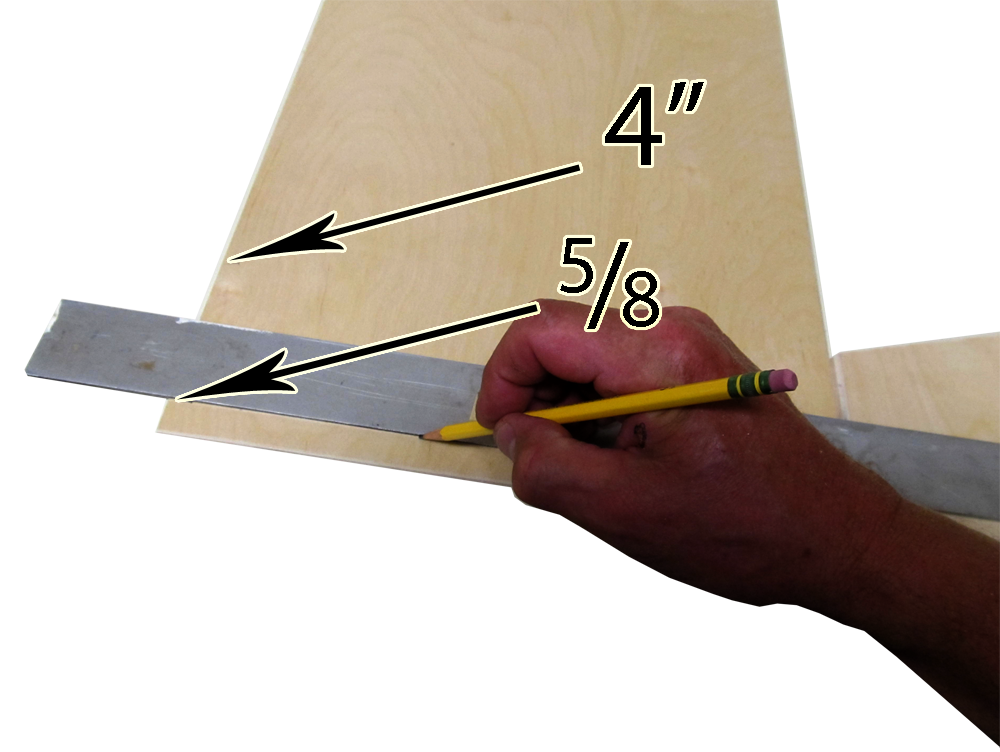
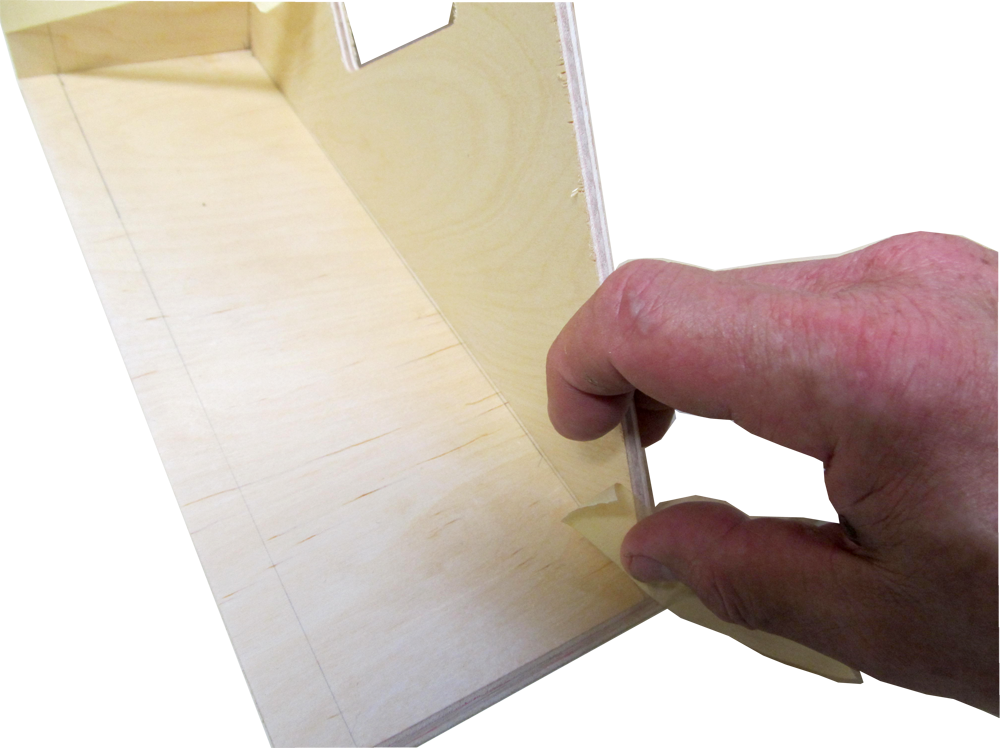
 Keep the pull of the tape balanced and the triangle lined up behind the 4" mark
96Pav20L.png
Keep the pull of the tape balanced and the triangle lined up behind the 4" mark
96Pav20L.png
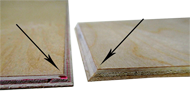
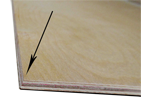
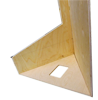
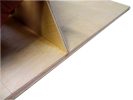
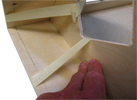
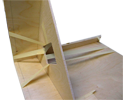
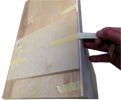
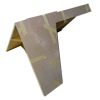
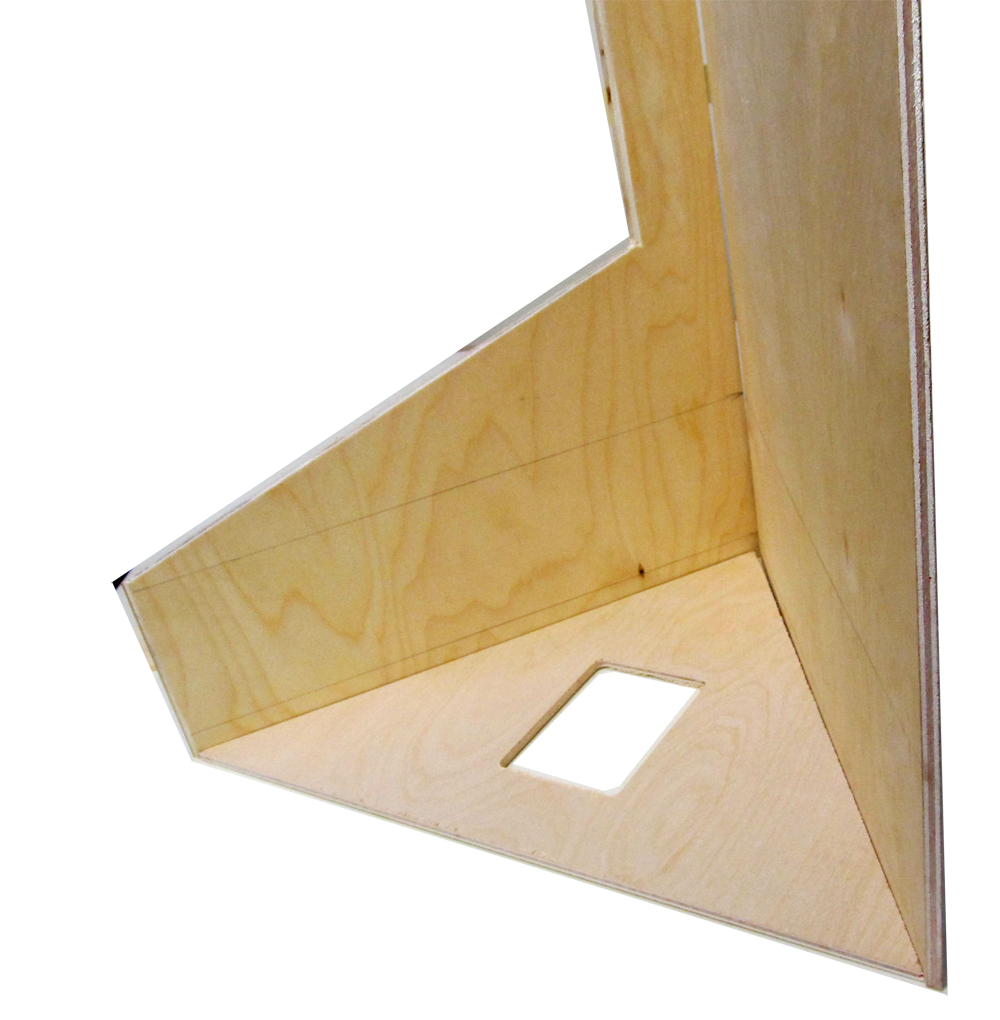
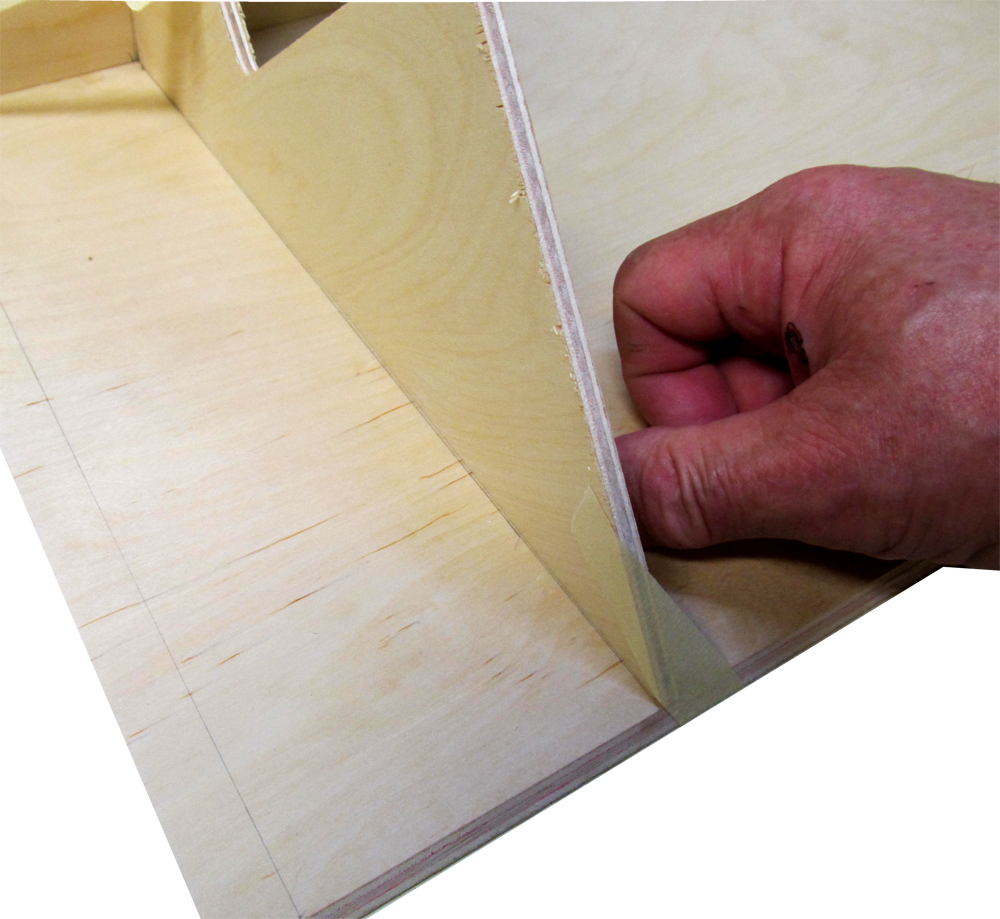
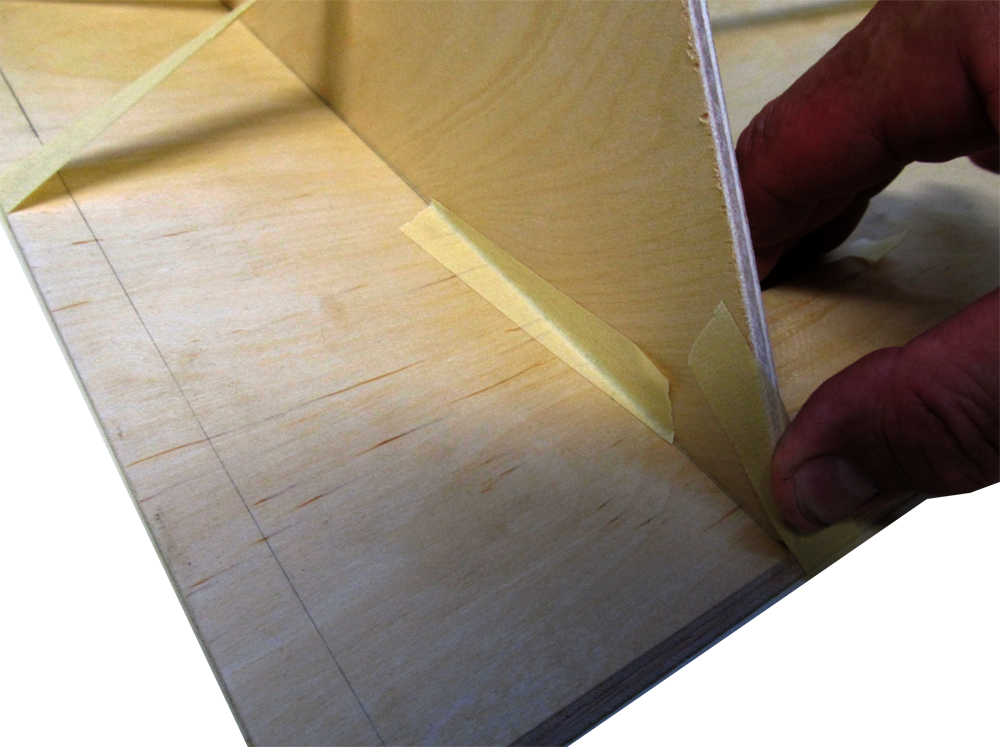
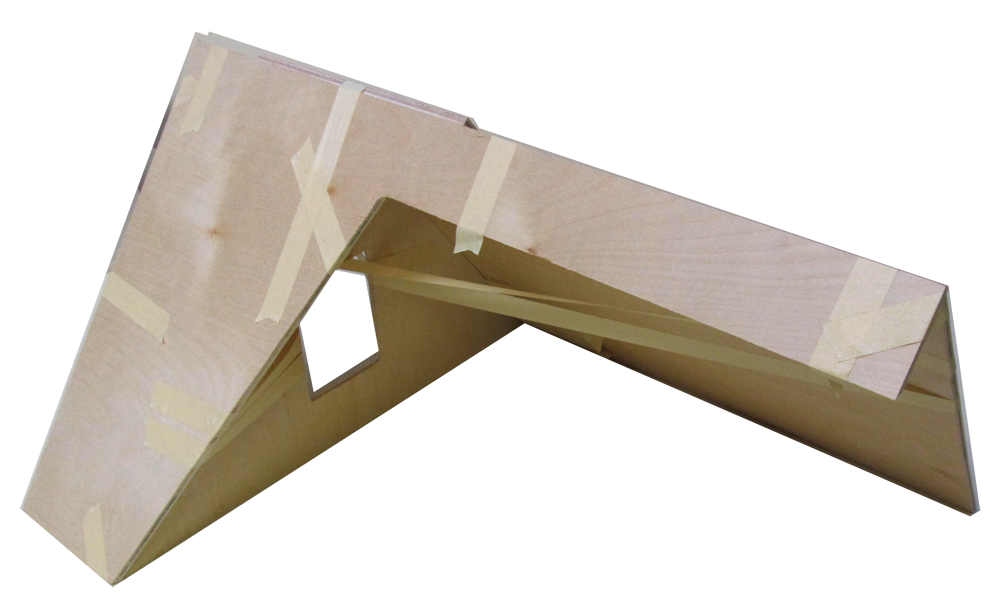
 Stabilize the corner so you can push against the triangle for straightening
96Pav22L.png
Stabilize the corner so you can push against the triangle for straightening
96Pav22L.png
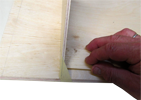
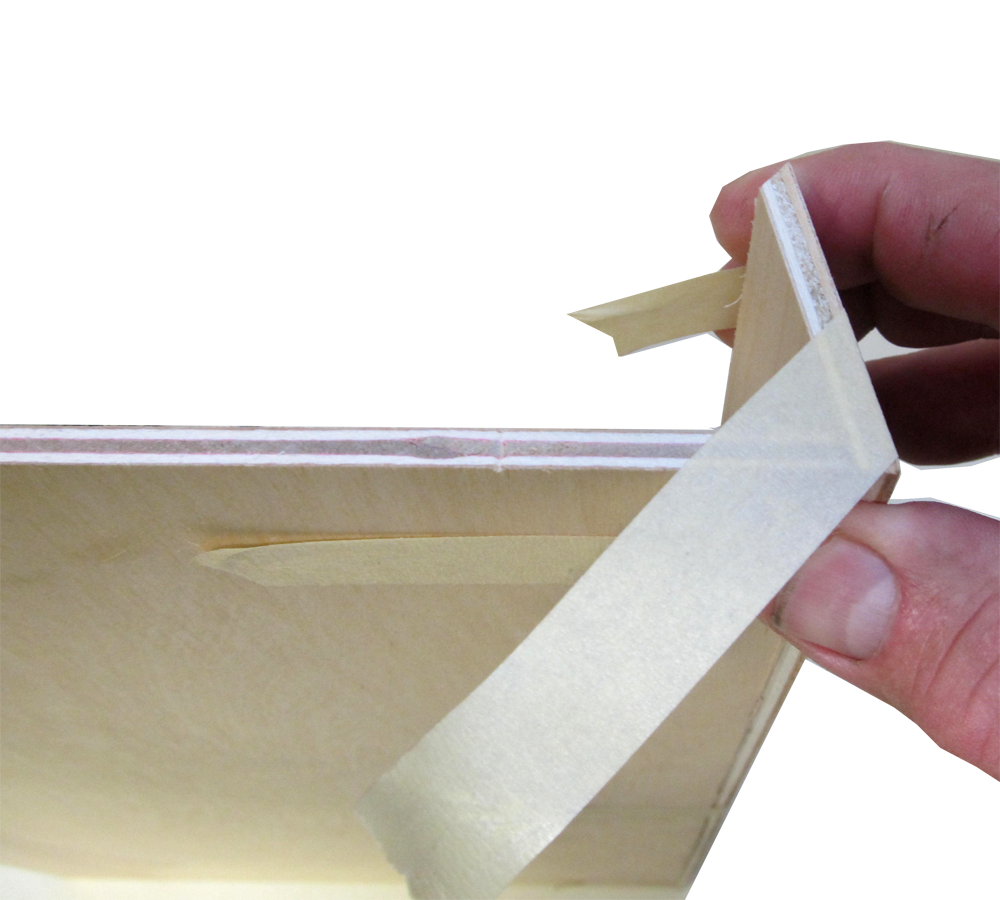
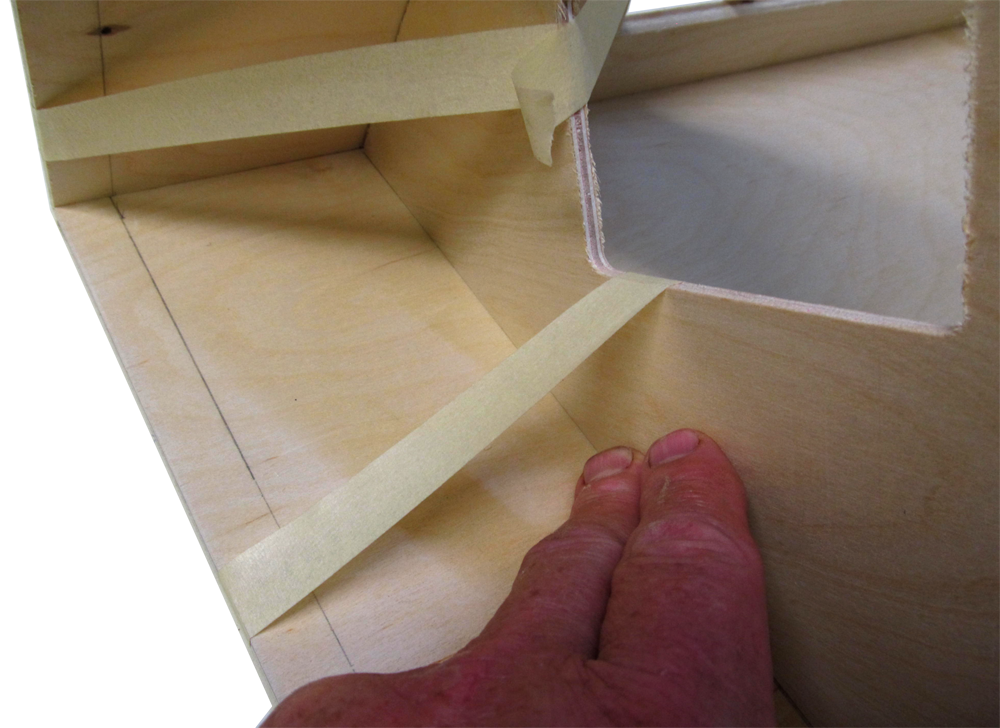
 More tape - each piece can be tighter but keep the "front-pulling" balanced with the "back-pulling" tape
96Pav23L.png
More tape - each piece can be tighter but keep the "front-pulling" balanced with the "back-pulling" tape
96Pav23L.png
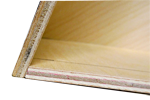
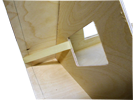
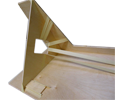
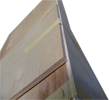
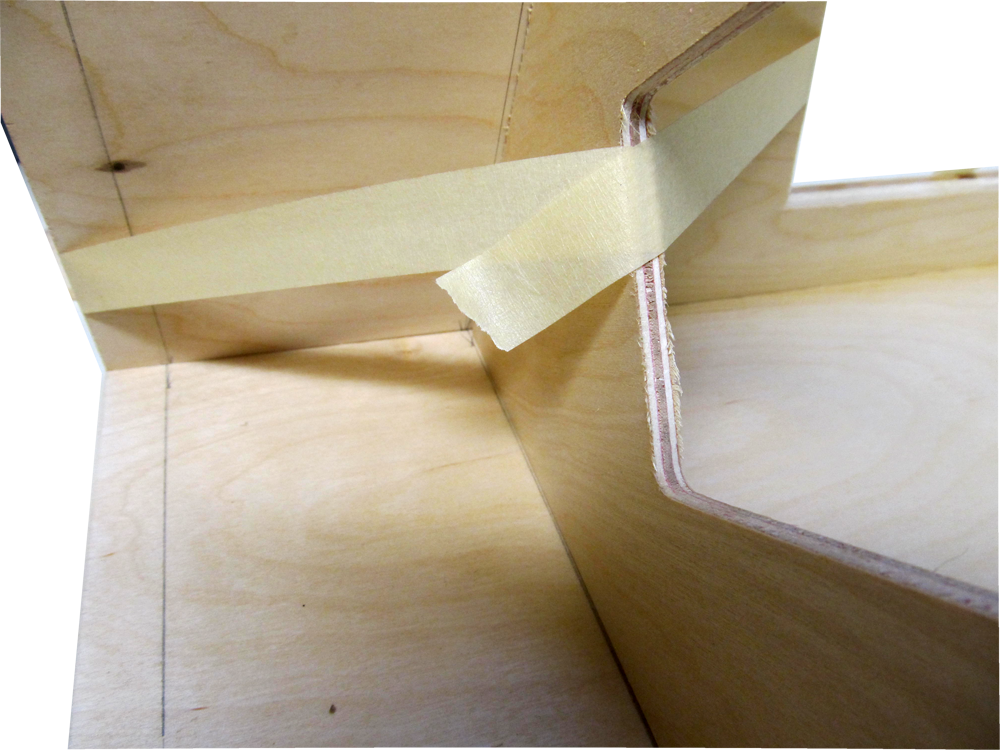
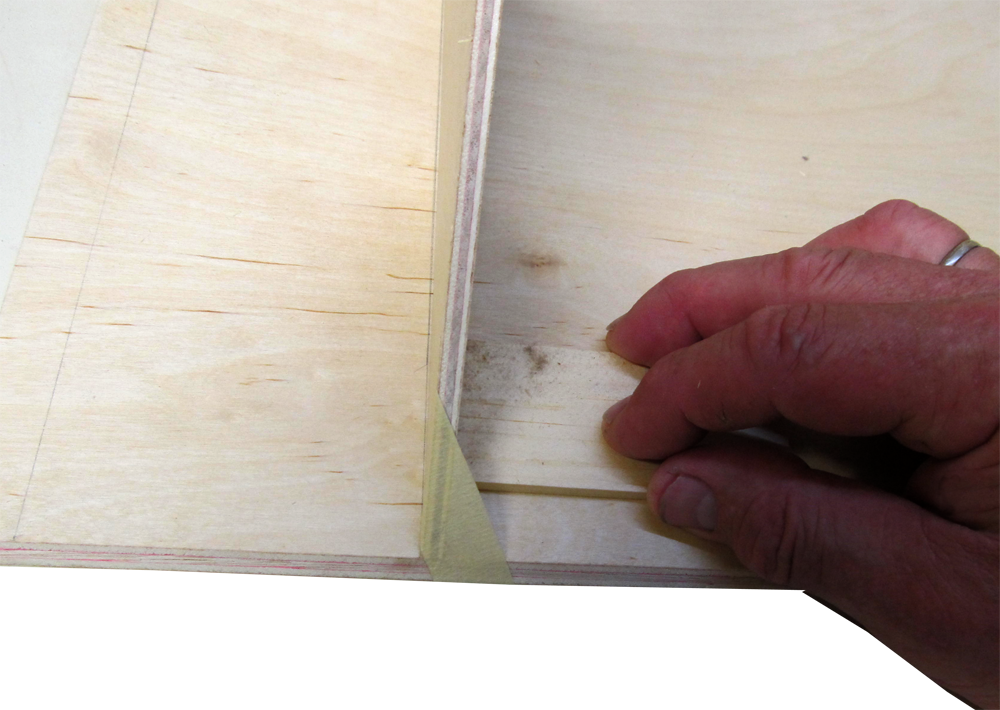
 In-line taping will keep it pushed against the triangle while the glue dries
96Pav25L.png
In-line taping will keep it pushed against the triangle while the glue dries
96Pav25L.png
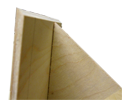
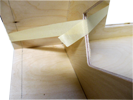
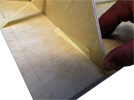
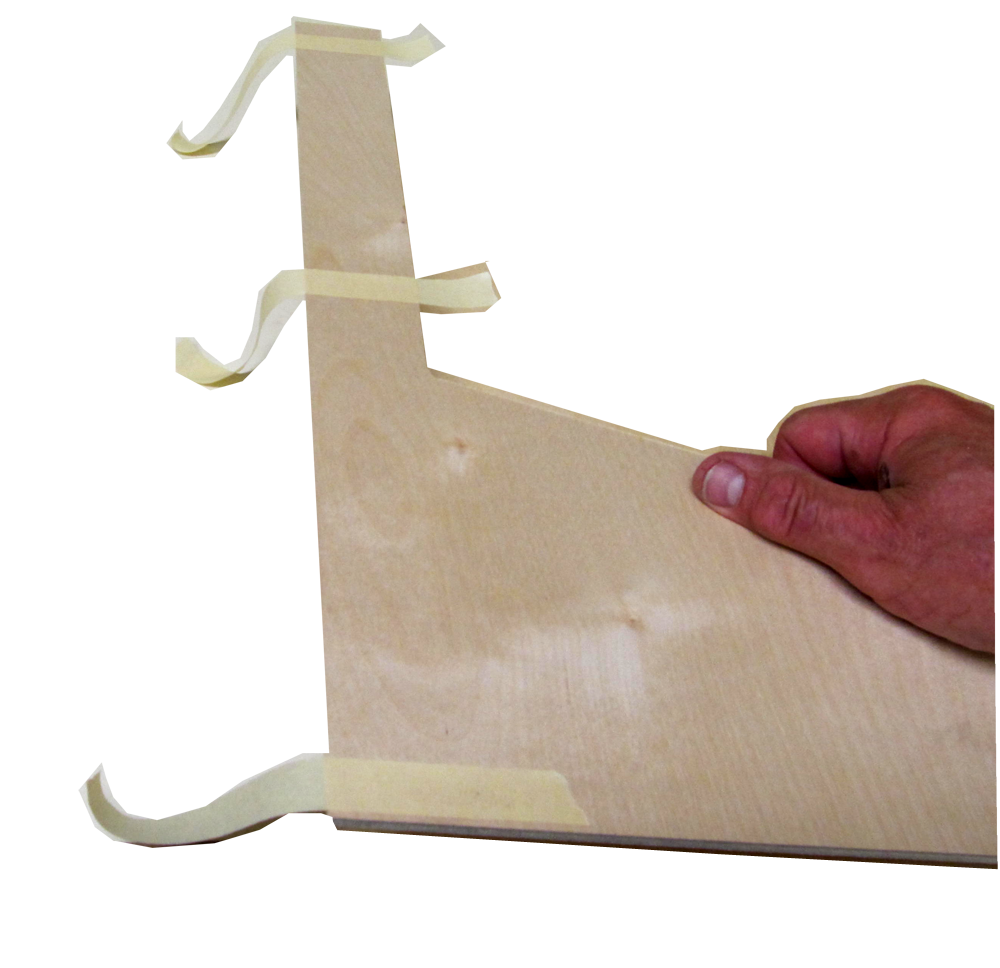
 Do whatever is necessary to keep the parts straight and lined up while the glue dries
96Pav26L.png
Do whatever is necessary to keep the parts straight and lined up while the glue dries
96Pav26L.png
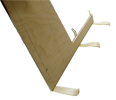
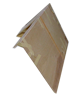
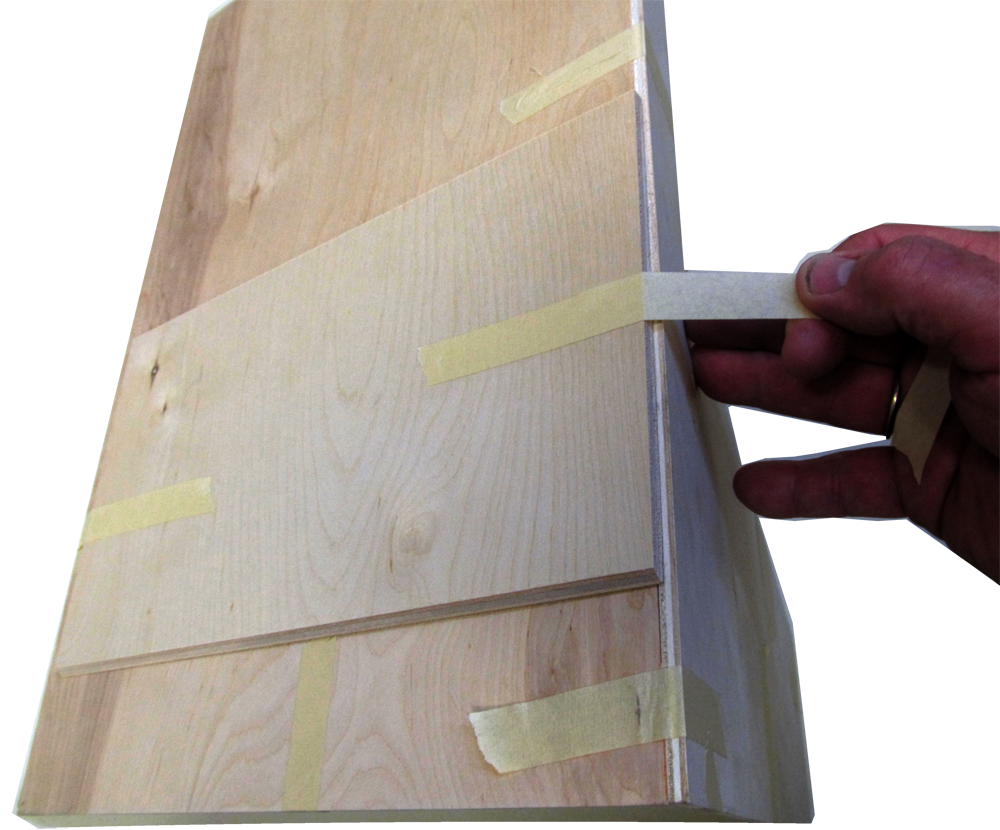
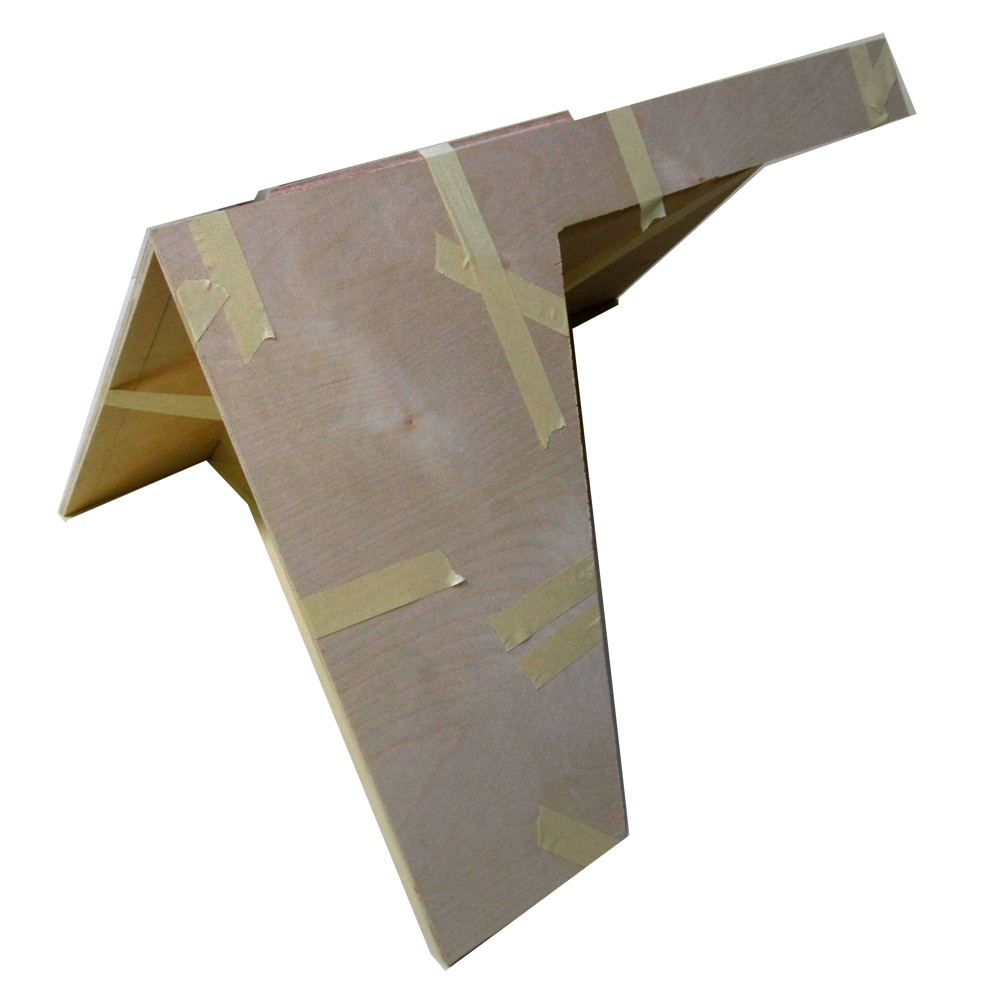
 I will tape a block to give something to locate the roofs and to pull against
96Pav30L.png
I will tape a block to give something to locate the roofs and to pull against
96Pav30L.png
