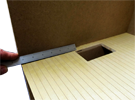
Access Tapewire with drilled holes for the Connection Wire
Click on the picture for a printable copy
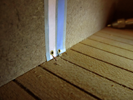
This slideshow has the connection wire very close to the floor... but it's easier if you make the connections 1/2" above the floor.
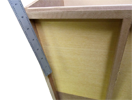
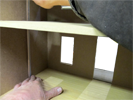
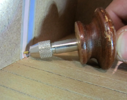
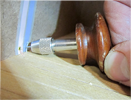
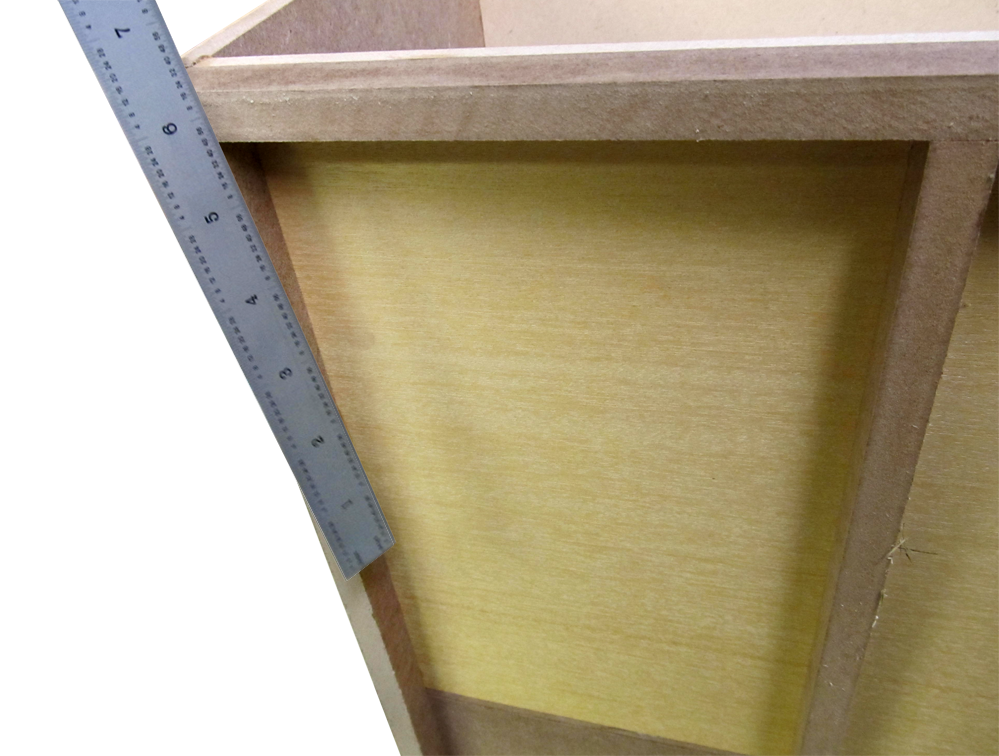
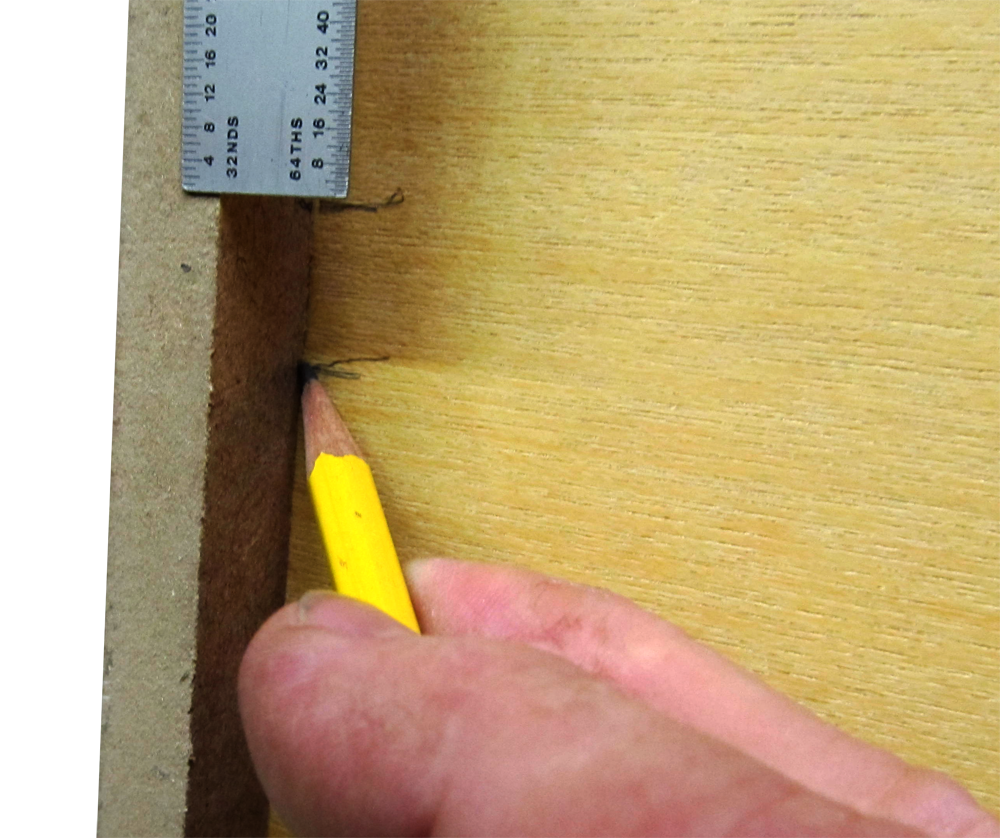
 This is a 1/2" thick Foundation - I am removing about half of it (1/4")
FoundationDrill05L.png
This is a 1/2" thick Foundation - I am removing about half of it (1/4")
FoundationDrill05L.png

 Lots of spin, not too much push, and clear the drillings often
FoundationDrill11L.png
Lots of spin, not too much push, and clear the drillings often
FoundationDrill11L.png
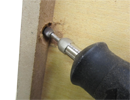
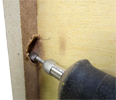
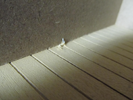
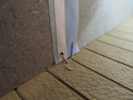
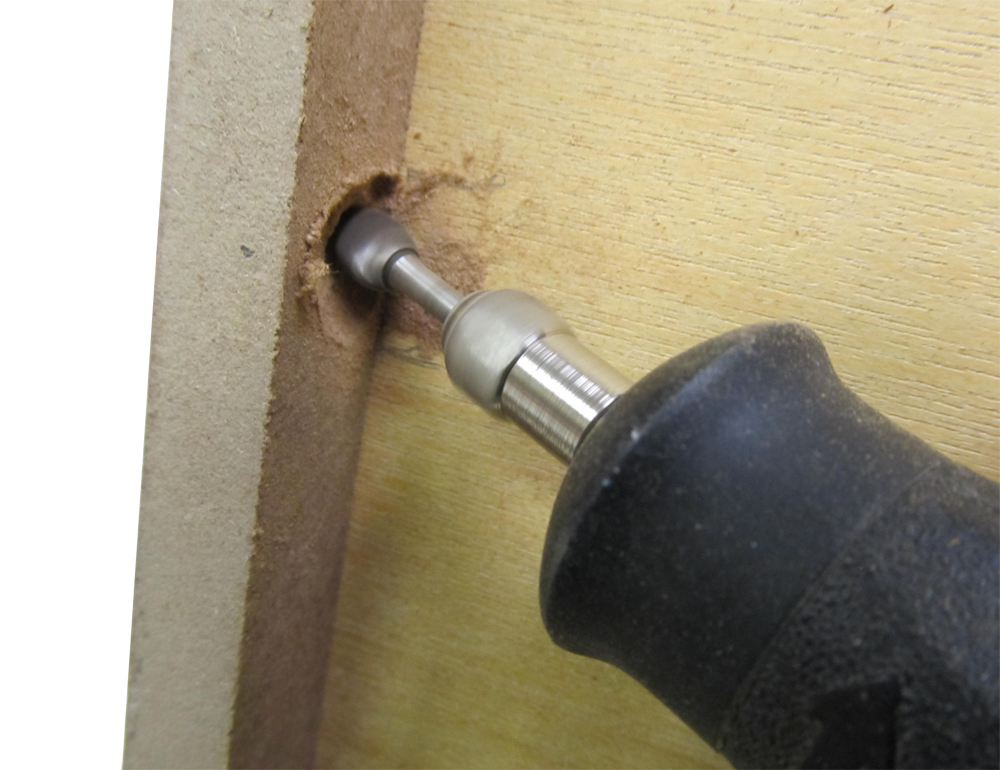
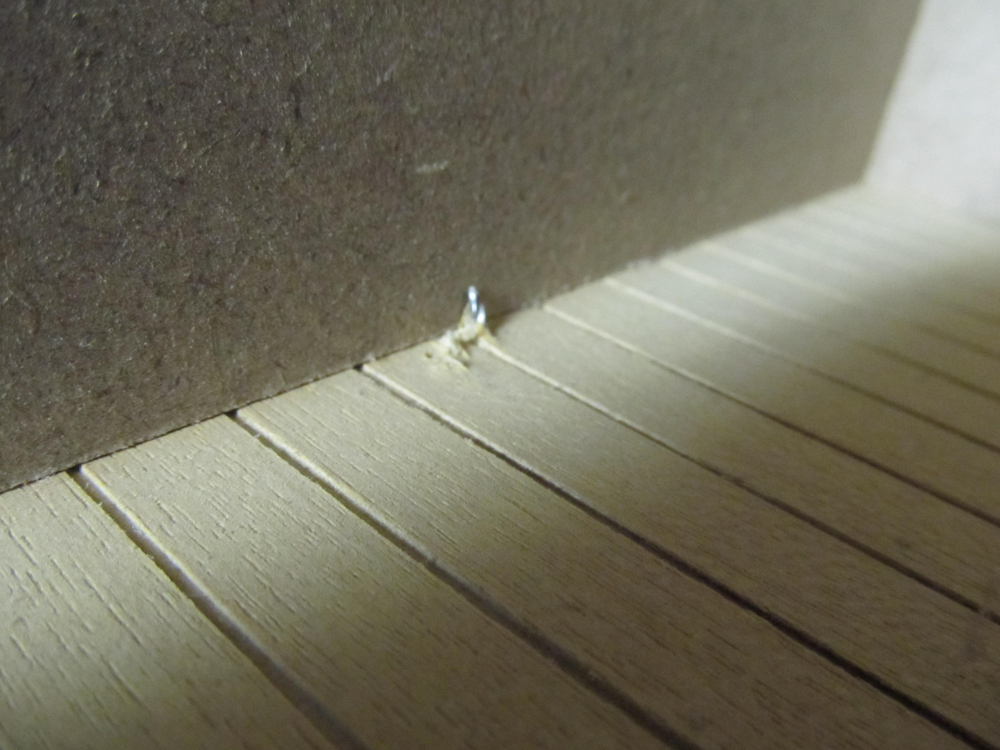
 The drill breaks thru - aim for as close to the wall as possible
FoundationDrill12L.png
The drill breaks thru - aim for as close to the wall as possible
FoundationDrill12L.png
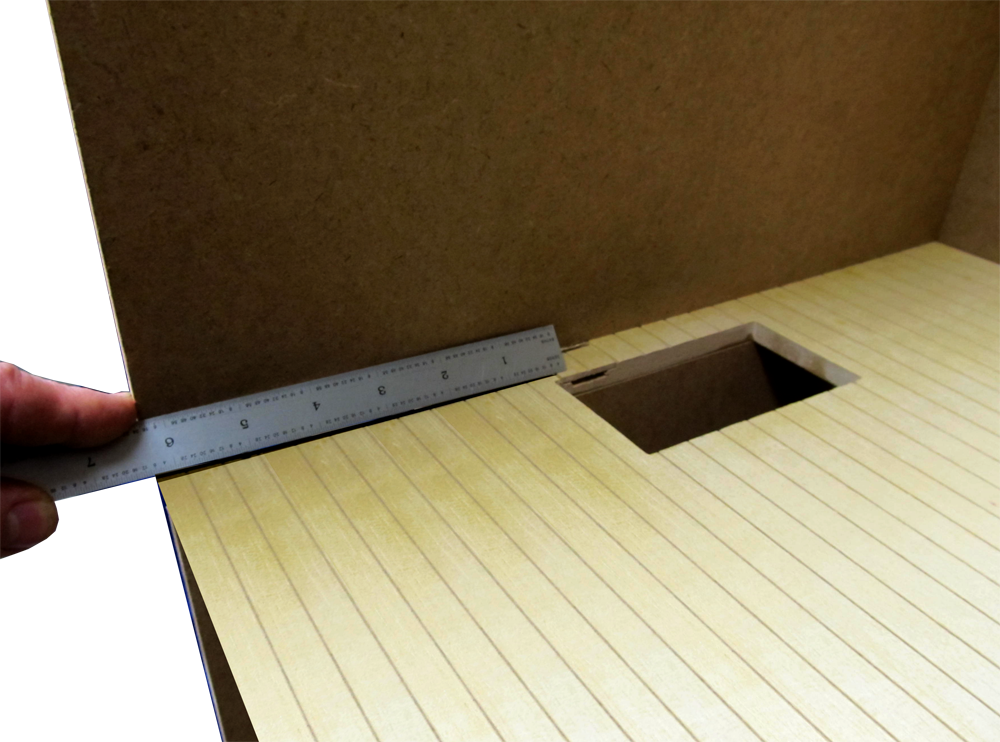
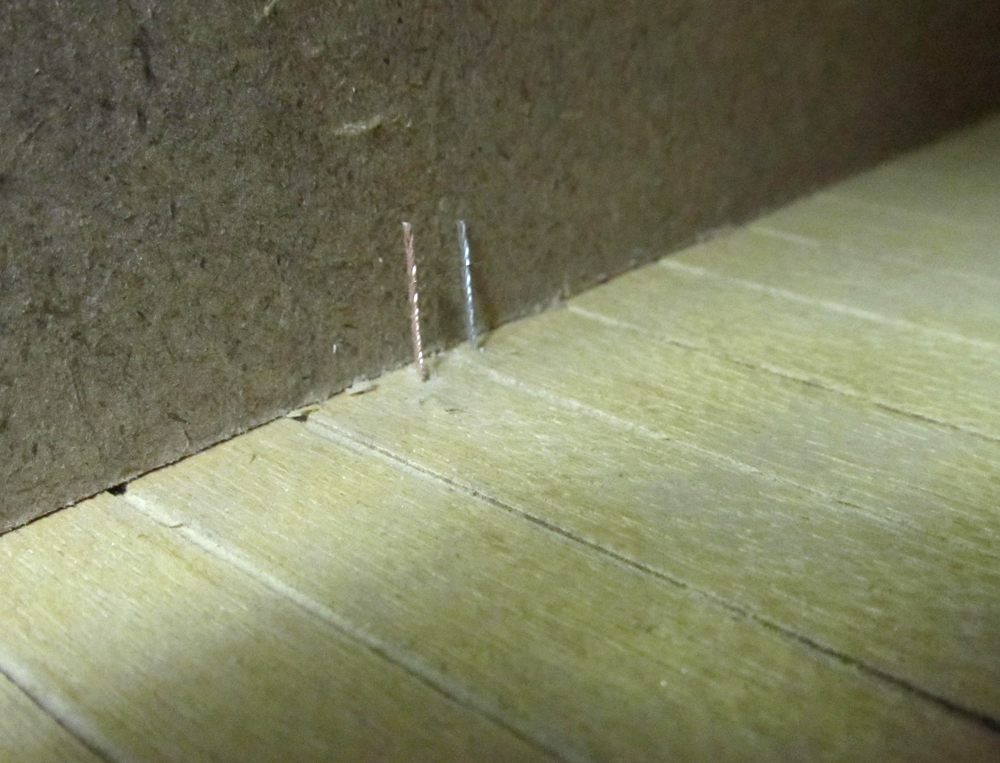
 Now the second hole - lined up with the other side of the Tapewire
FoundationDrill13L.png
Now the second hole - lined up with the other side of the Tapewire
FoundationDrill13L.png
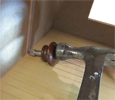
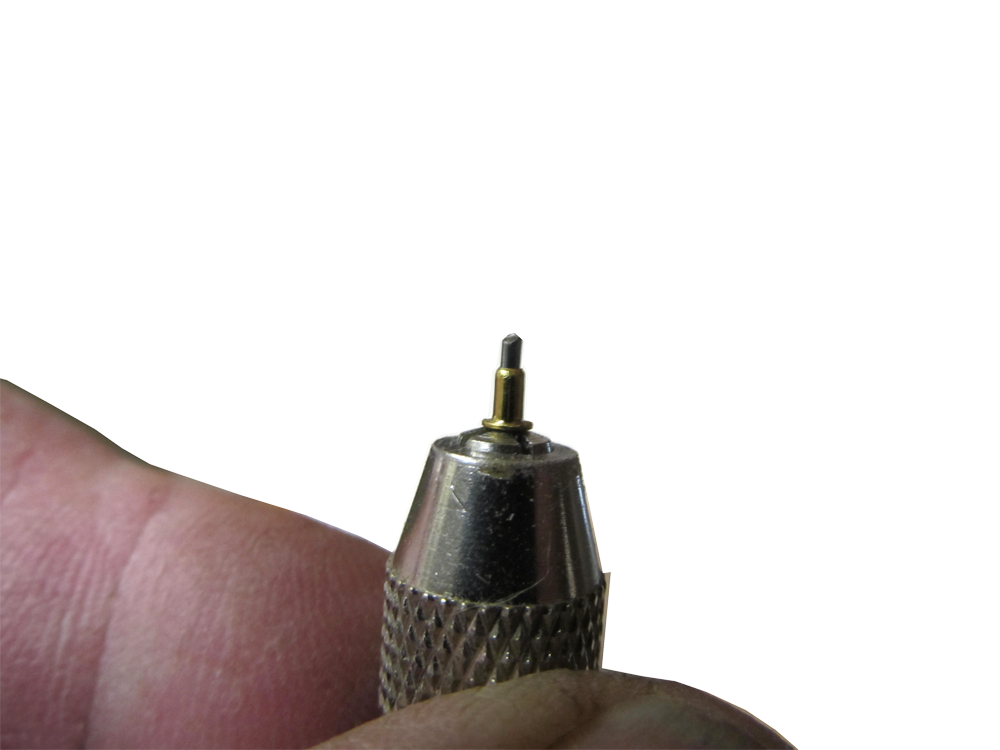
 Lots of spin, clear often, don't overpower the bit or it will break
FoundationDrill14L.png
Lots of spin, clear often, don't overpower the bit or it will break
FoundationDrill14L.png
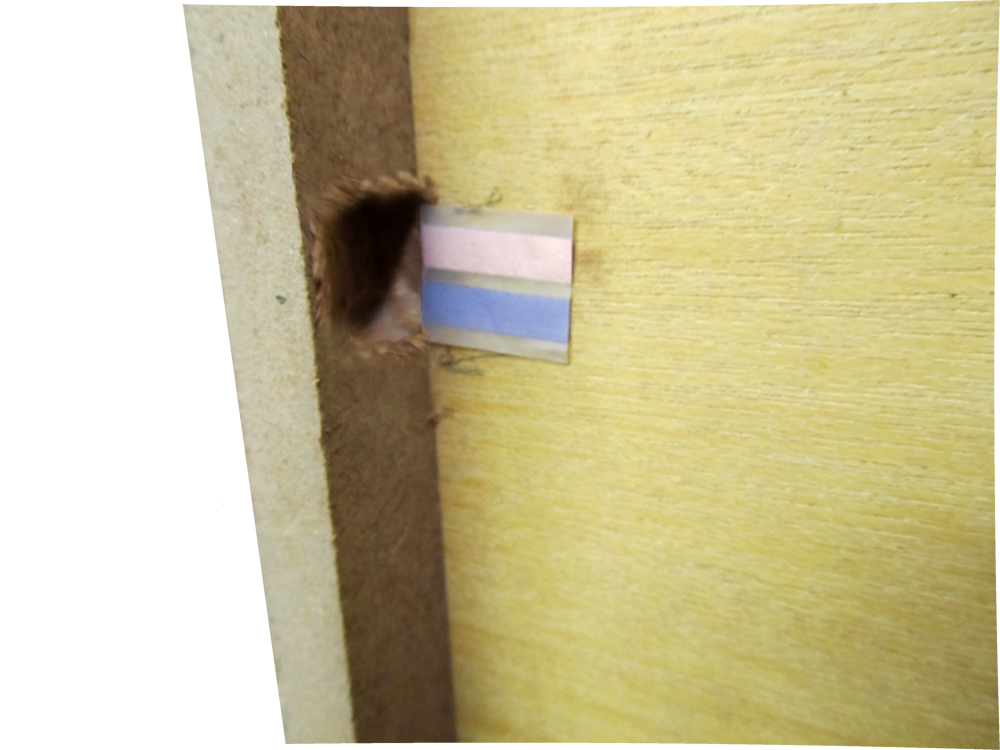
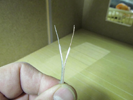 Speaker wire at least 24 gauge - solid core is easier to use
FoundationDrill16L.png
Speaker wire at least 24 gauge - solid core is easier to use
FoundationDrill16L.png
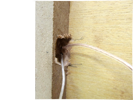
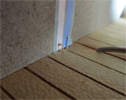
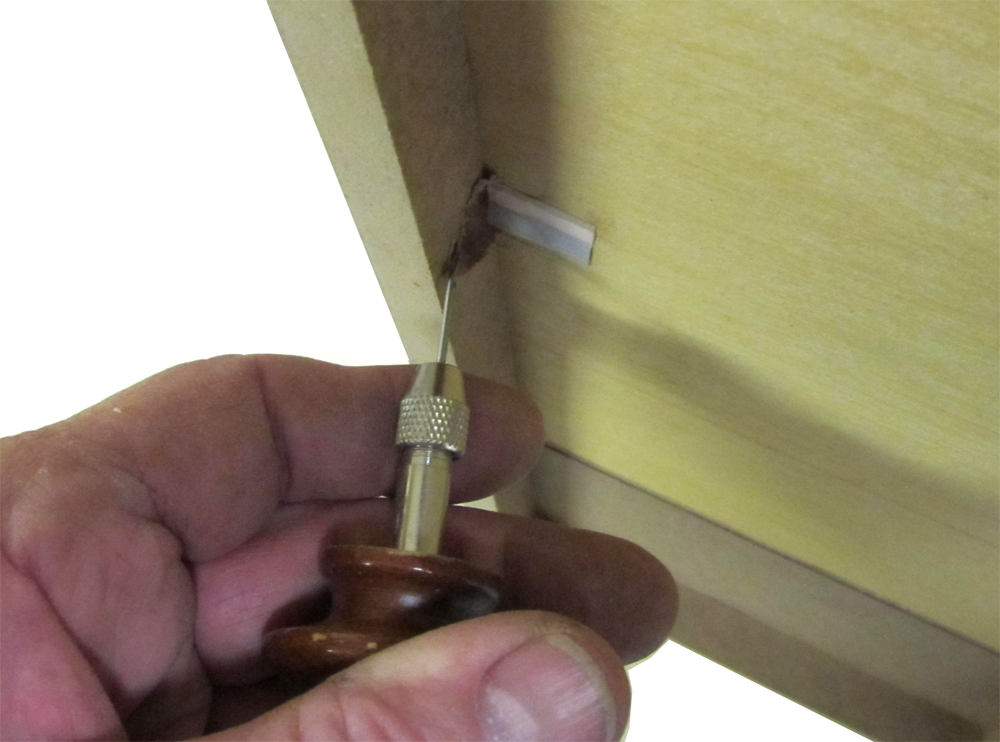
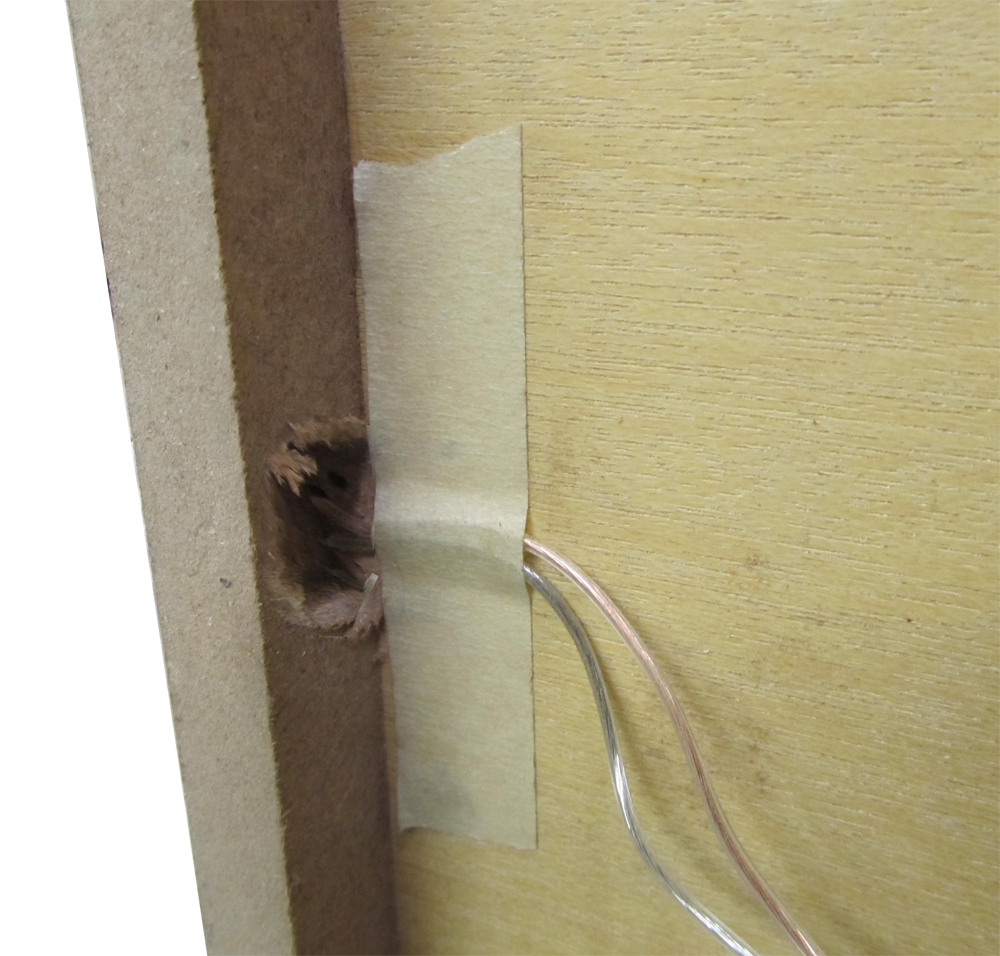
 Tape the Connection Wire to the Base so it won't keep falling out
FoundationDrill18L.png
Tape the Connection Wire to the Base so it won't keep falling out
FoundationDrill18L.png

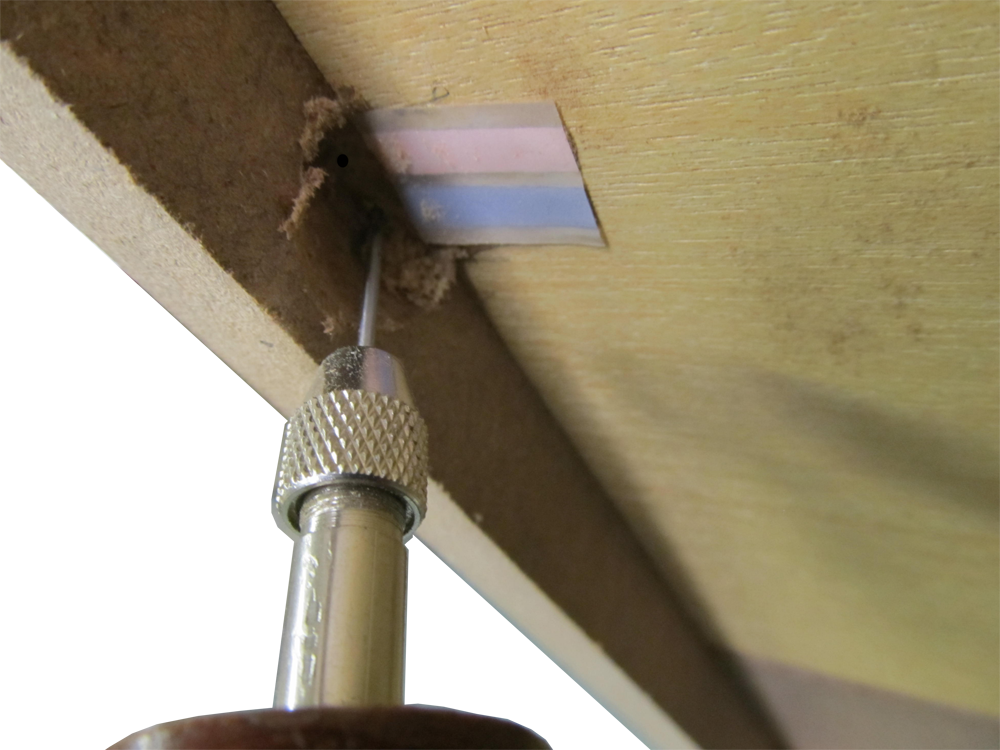
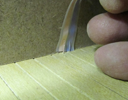 The Tapewire "Main Loop" begins here. If you are going to use LEDs, the center wire of the Jack should go to the Copper lead of the Tapewire
FoundationDrill20L.png
The Tapewire "Main Loop" begins here. If you are going to use LEDs, the center wire of the Jack should go to the Copper lead of the Tapewire
FoundationDrill20L.png
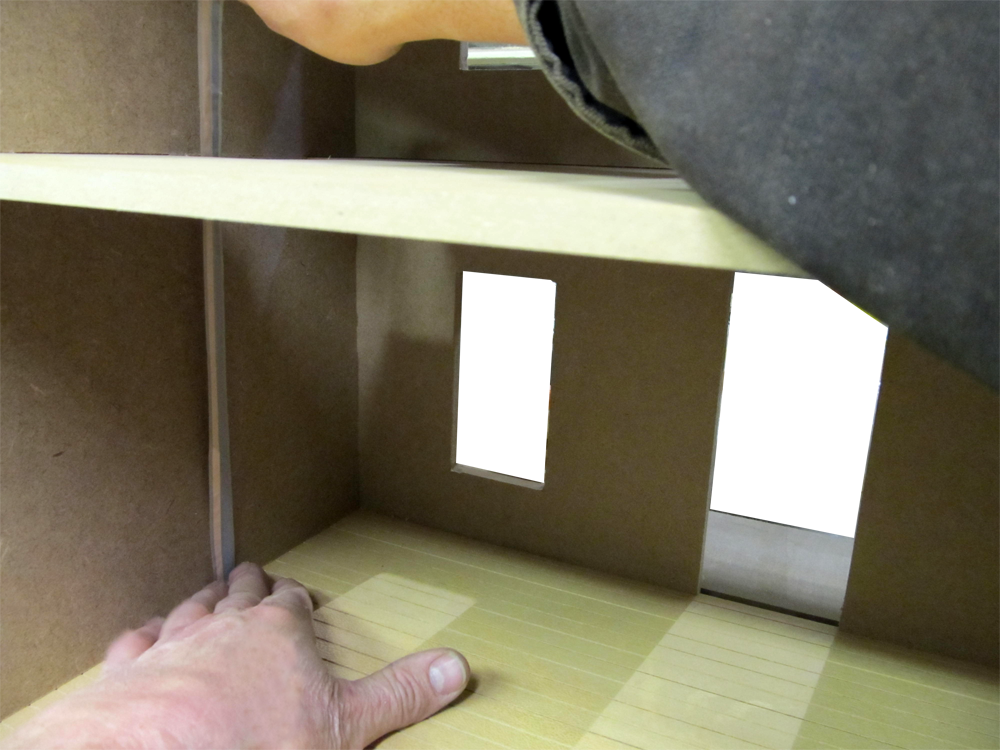
 Lined up at the bottom with the wire and at the top with the E-Slot
FoundationDrill21L.png
Lined up at the bottom with the wire and at the top with the E-Slot
FoundationDrill21L.png

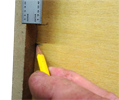
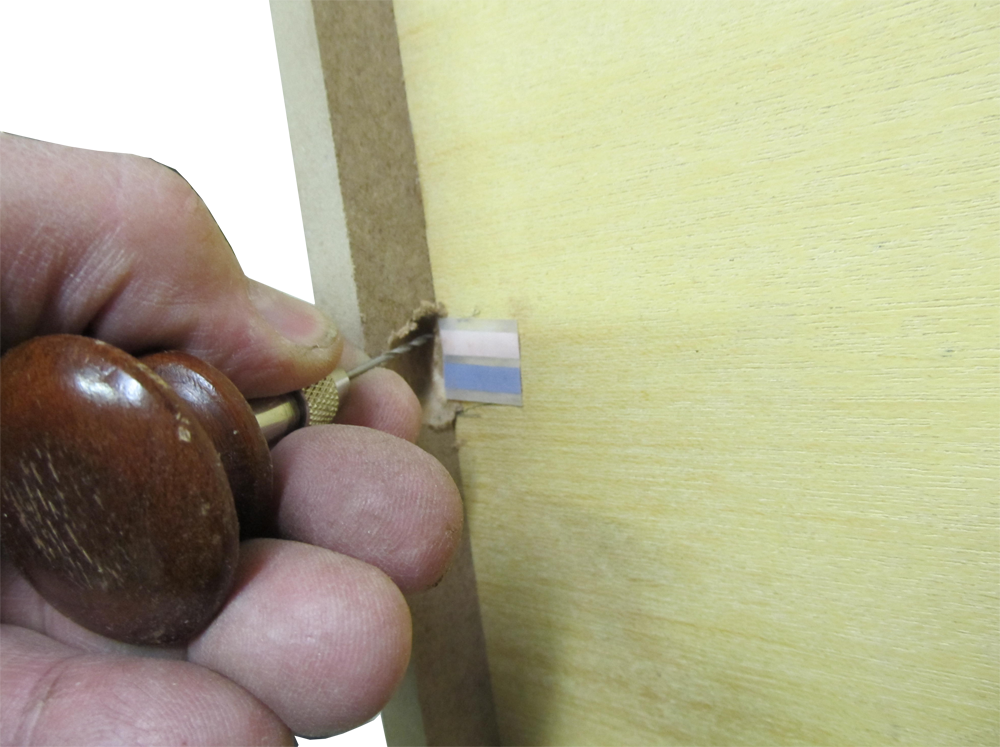
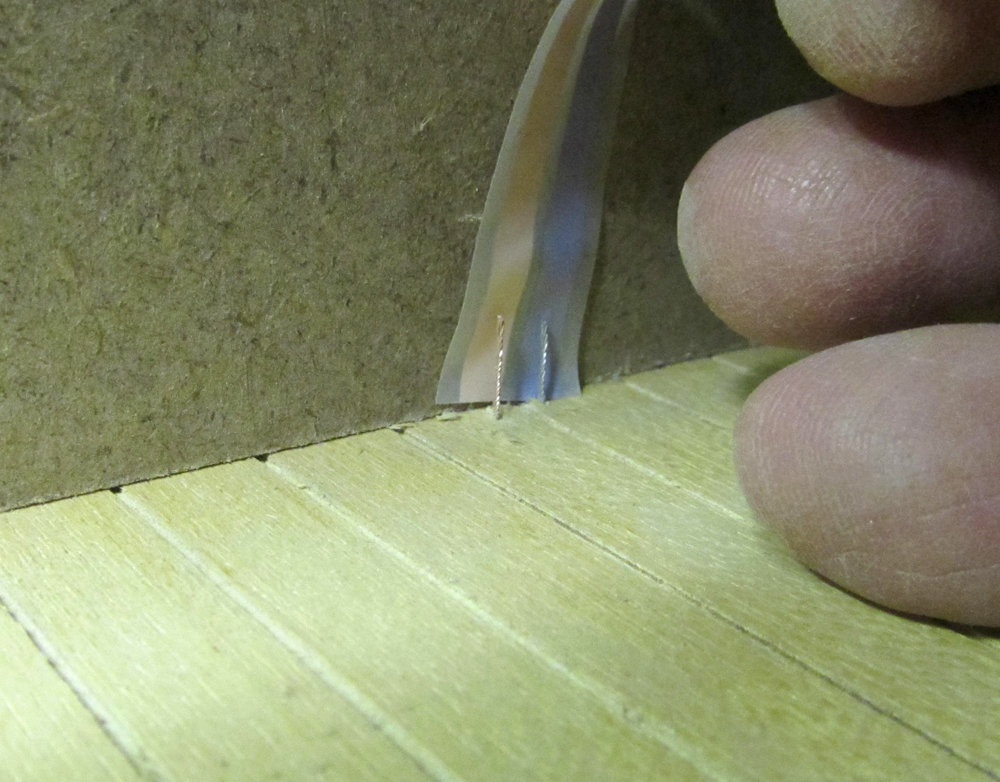
 Punch a hole about 1/2" up (less than 3/4!) and centered on the Tapewire lead
FoundationDrill23L.png
Punch a hole about 1/2" up (less than 3/4!) and centered on the Tapewire lead
FoundationDrill23L.png
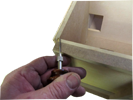
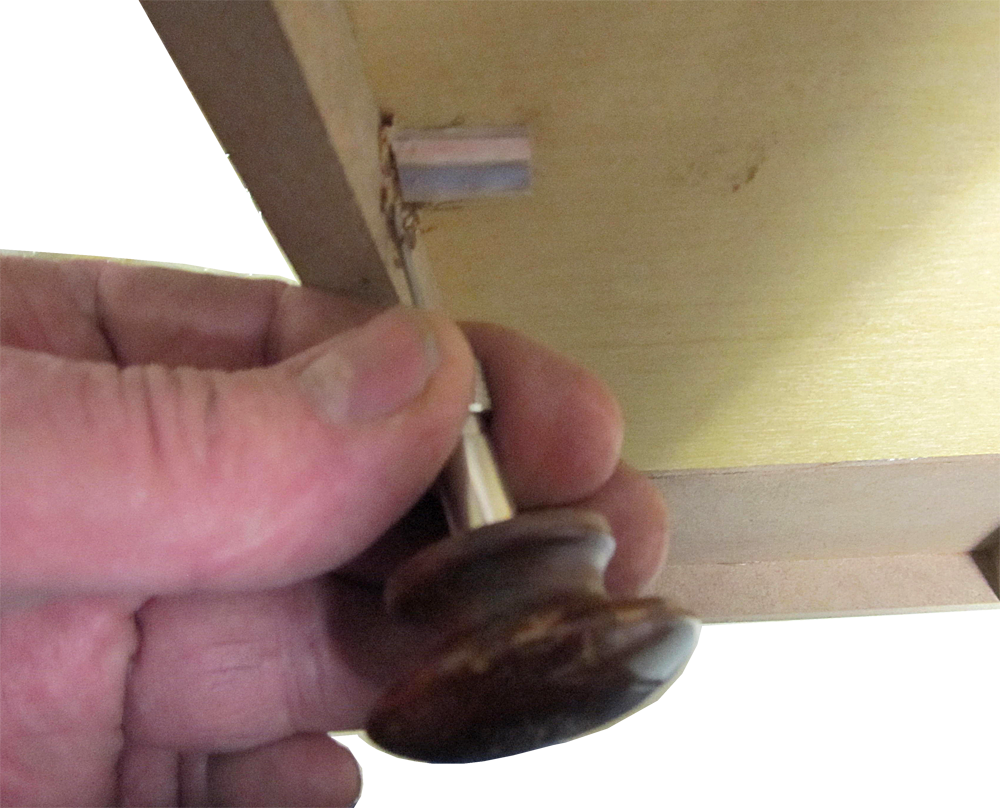
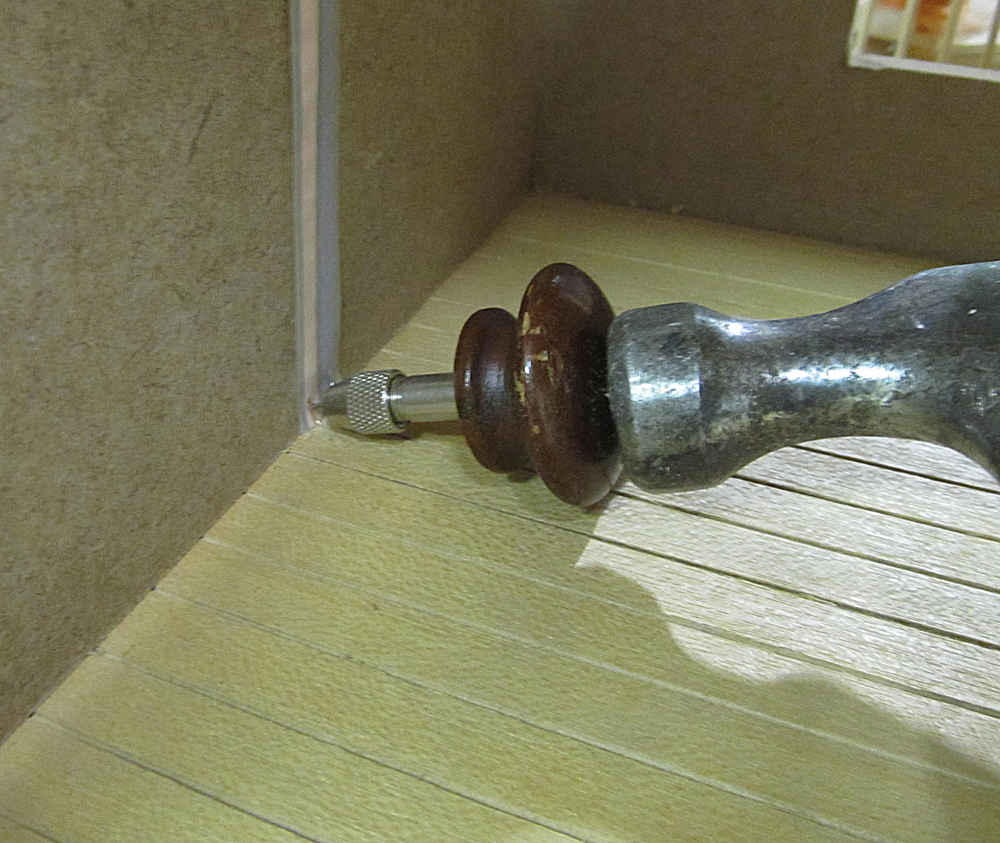
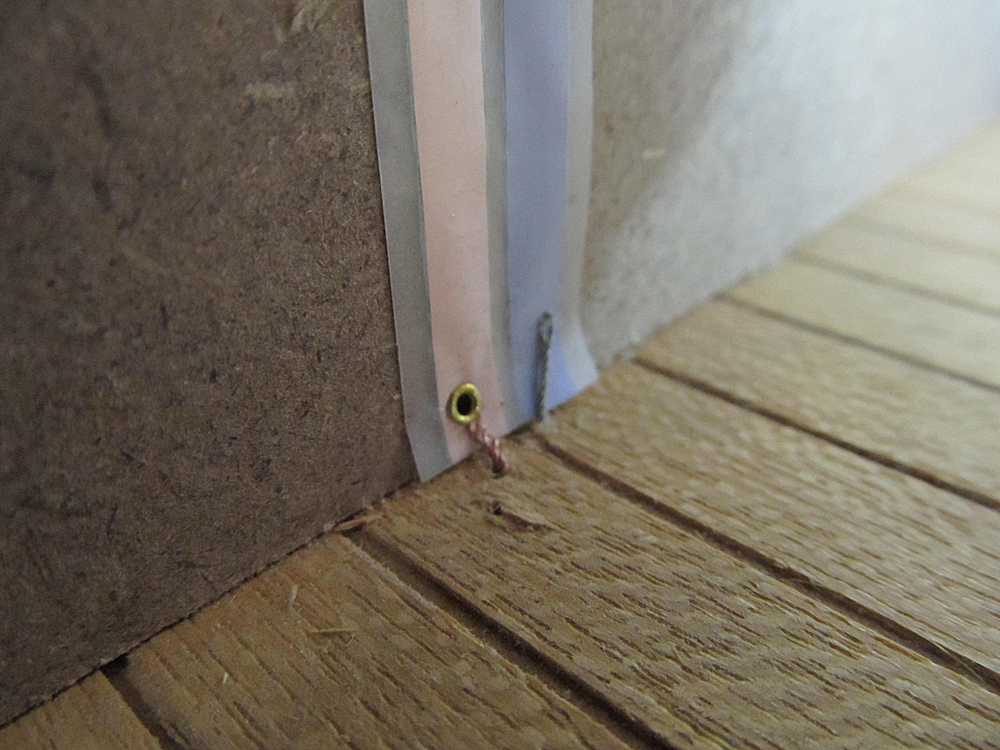
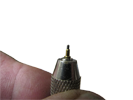 The EL66 is the easiest way to insert eyelets - this is a small hollow eyelet
FoundationDrill25L.png
The EL66 is the easiest way to insert eyelets - this is a small hollow eyelet
FoundationDrill25L.png
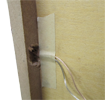
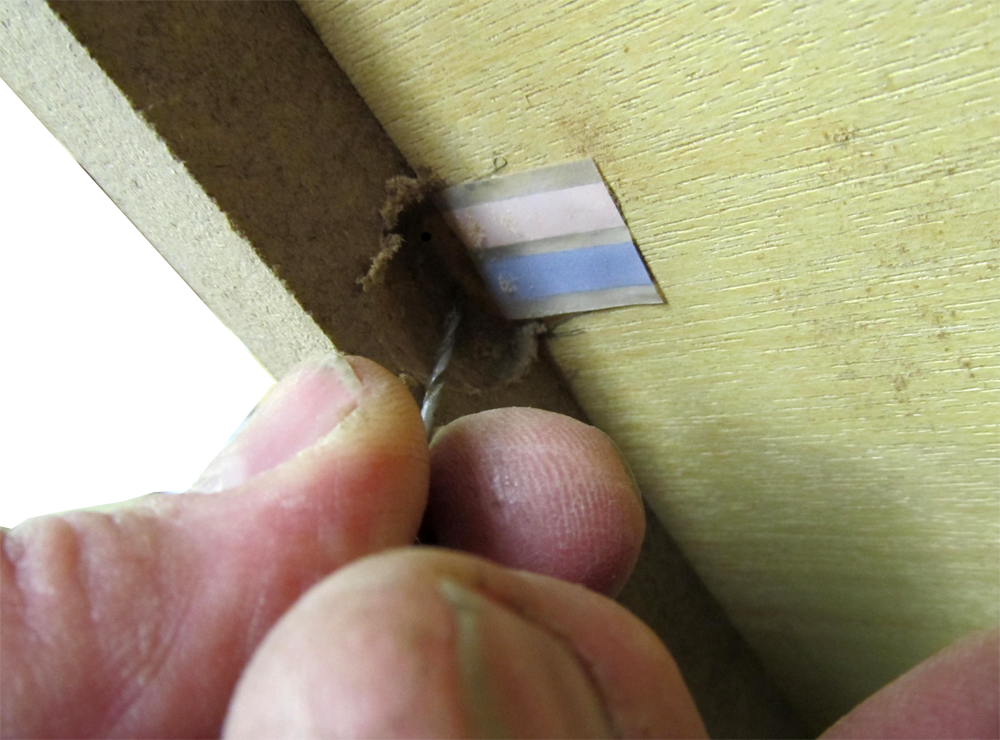
 Insert the eyelet into the hole along with the Connection Wire
FoundationDrill26L.png
Insert the eyelet into the hole along with the Connection Wire
FoundationDrill26L.png
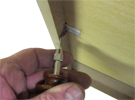
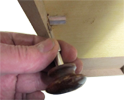
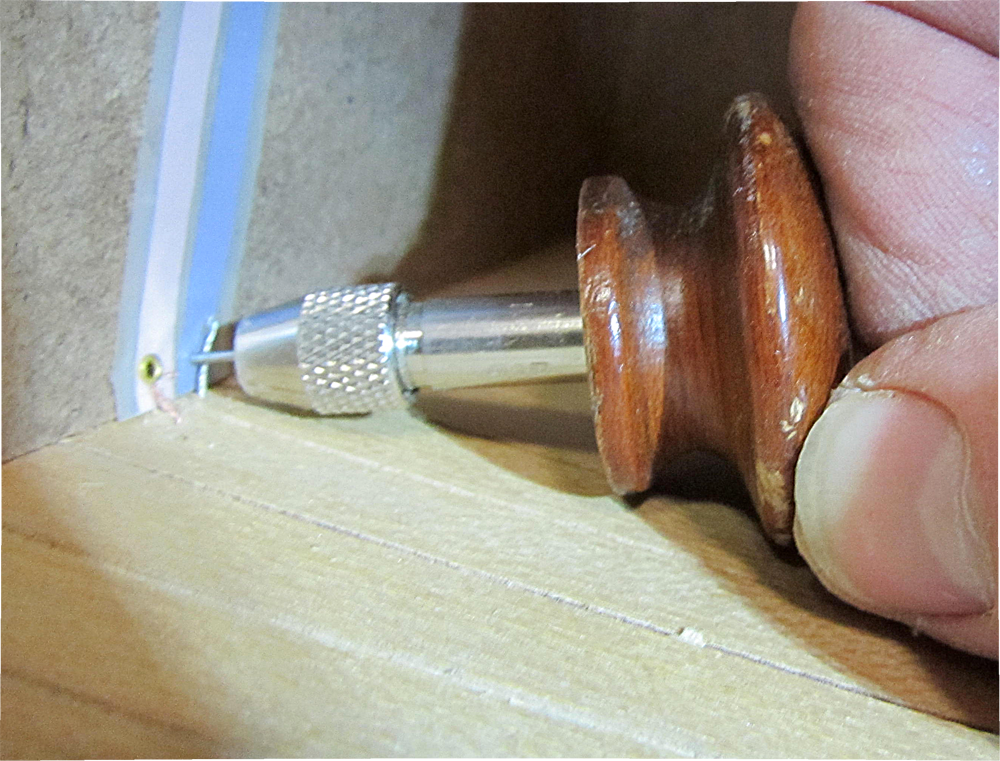
 You can drive the Eyelets in with a hammer of you use the EL66
FoundationDrill27L.png
You can drive the Eyelets in with a hammer of you use the EL66
FoundationDrill27L.png
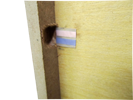
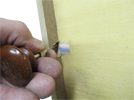
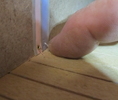
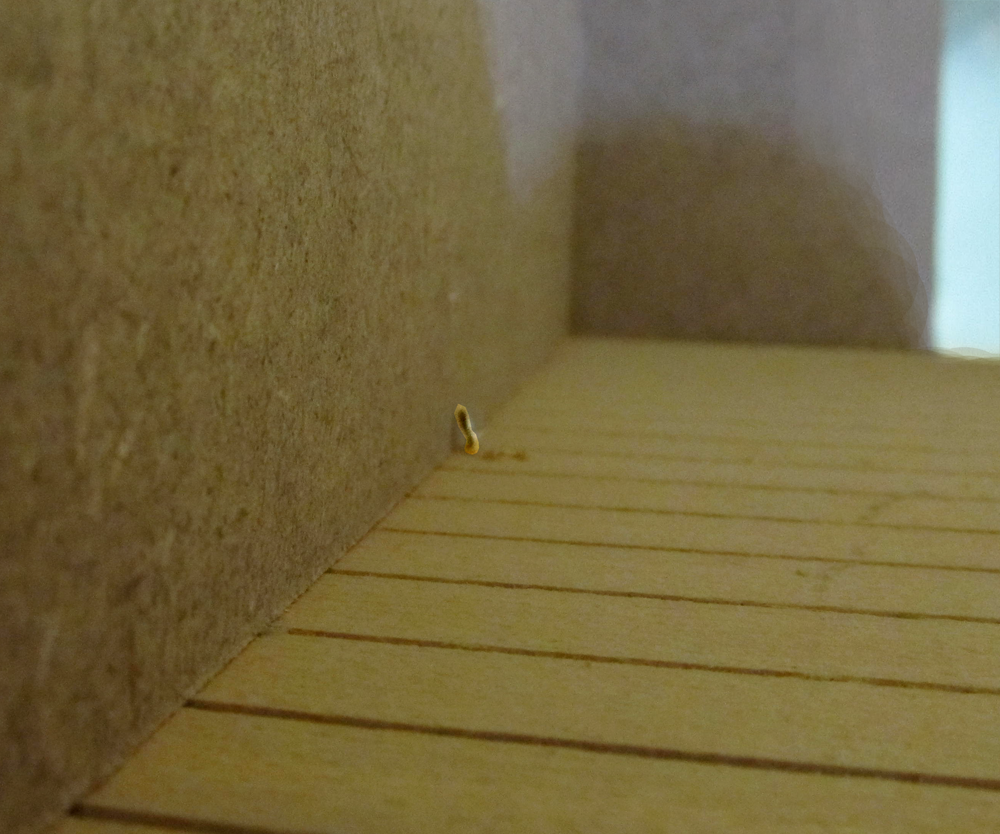
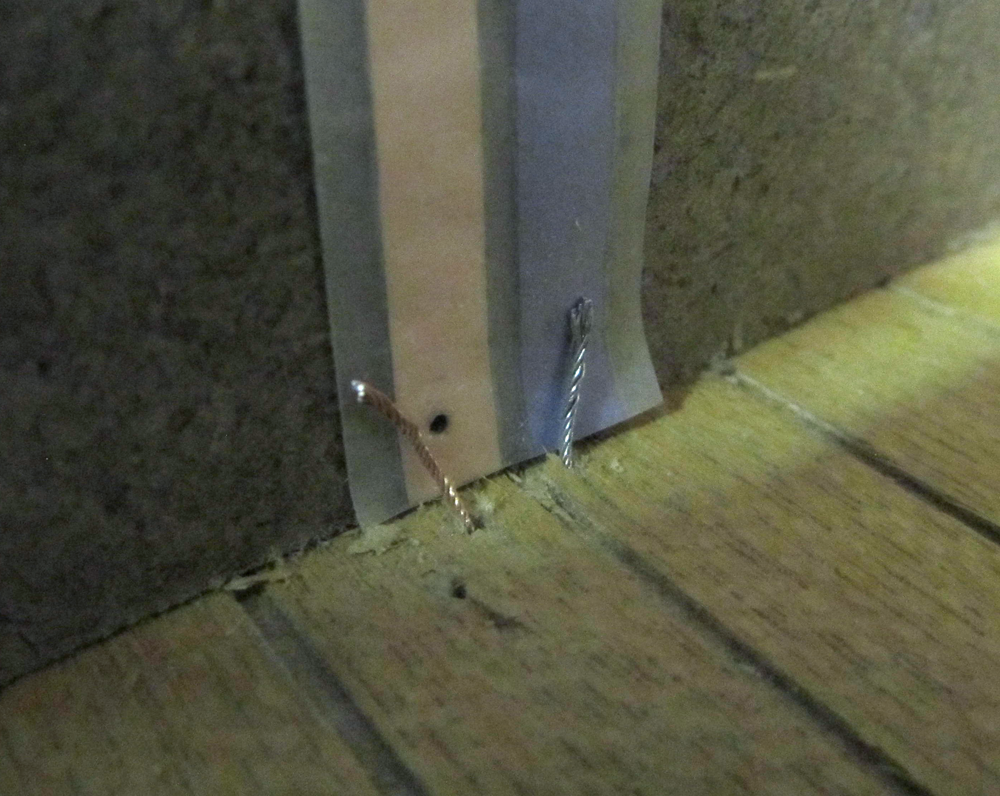
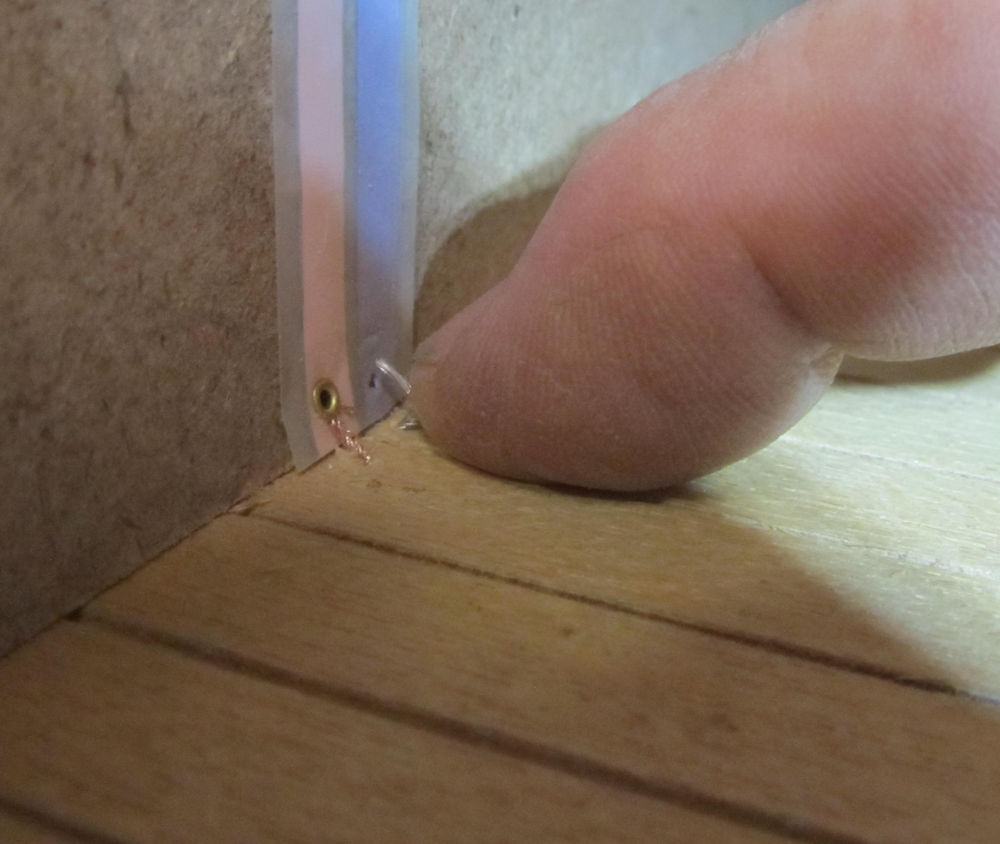
 The eyelet holds the wire in the hole and makes a good electrical connection
FoundationDrill28L.png
The eyelet holds the wire in the hole and makes a good electrical connection
FoundationDrill28L.png
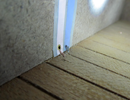
 Arrange the wires and drive the eyelets to make it as flush as possible
FoundationDrill32L.png
Arrange the wires and drive the eyelets to make it as flush as possible
FoundationDrill32L.png