for a larger, printable photo
![]()
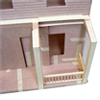
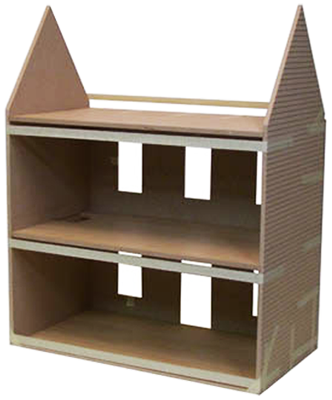
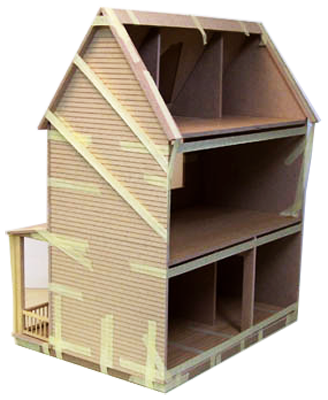
The slideshow shows an un-finished dollhouse taped together to test the parts. In your build, you should Paint, Finish the Floors, and Wire along the way.
Continue to
"Let the Glue Dry"
before stopping
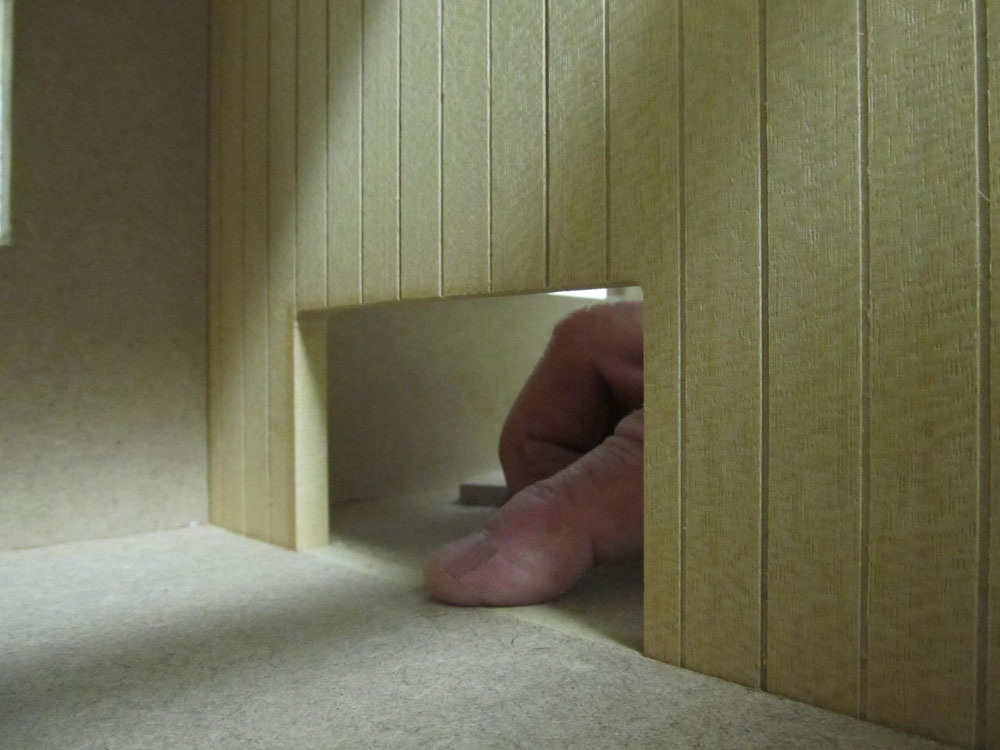
If your floors are tight in the grooves, scrape them
DHTMLGoodies.com 00. See "Supplies" at left to find the products we use in this slideshow
../RGT_Website_assets/ajax-loader.gif
00. See "Supplies" at left to find the products we use in this slideshow
../RGT_Website_assets/ajax-loader.gif
00. See "Supplies" at left to find the products we use in this slideshow
../RGT_Website_assets/ajax-loader.gif
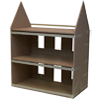
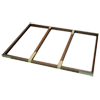
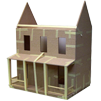
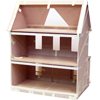
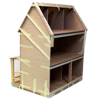
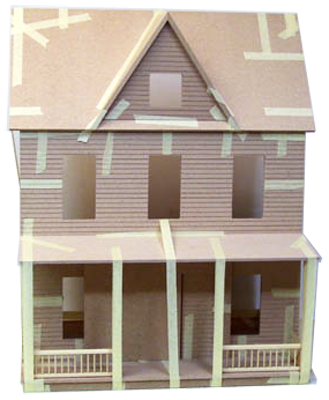
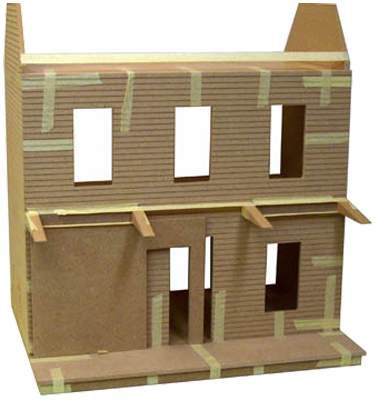
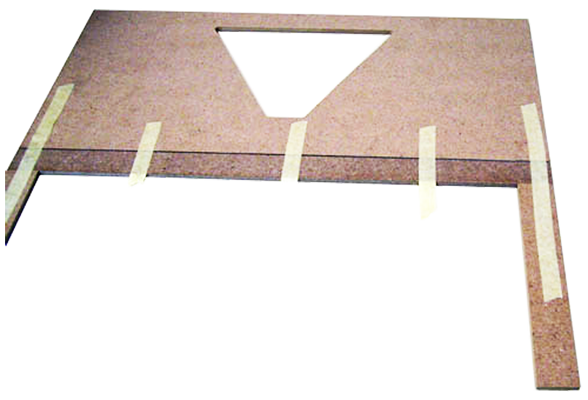
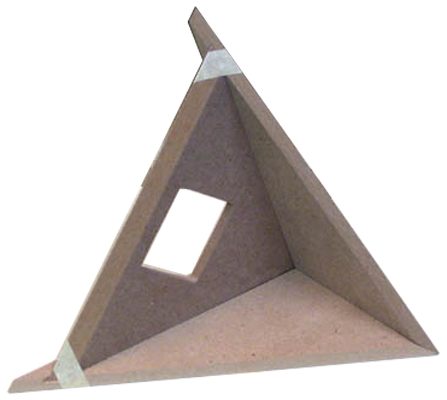
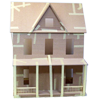 1. Test Assembly of the Vermont Farmhouse Jr using only masking tape (no paint or glue)
JM401Assets/TapedAssembly/0144.png
1. Test Assembly of the Vermont Farmhouse Jr using only masking tape (no paint or glue)
JM401Assets/TapedAssembly/0144.png

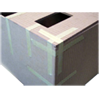
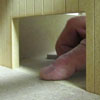
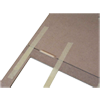
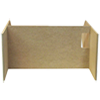 4. The back edge is down, the floor sticks up 1/8"
JM401Assets/TapedAssembly/0109.png
4. The back edge is down, the floor sticks up 1/8"
JM401Assets/TapedAssembly/0109.png
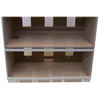
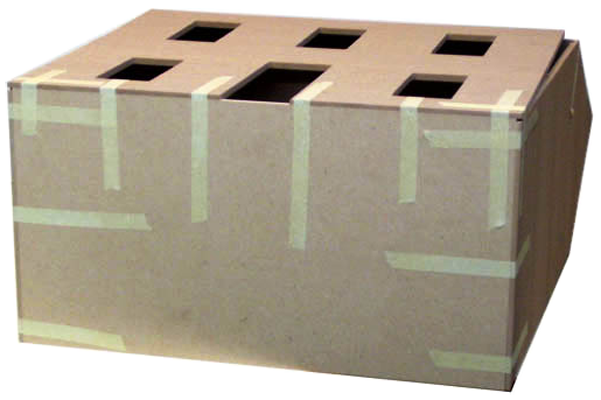
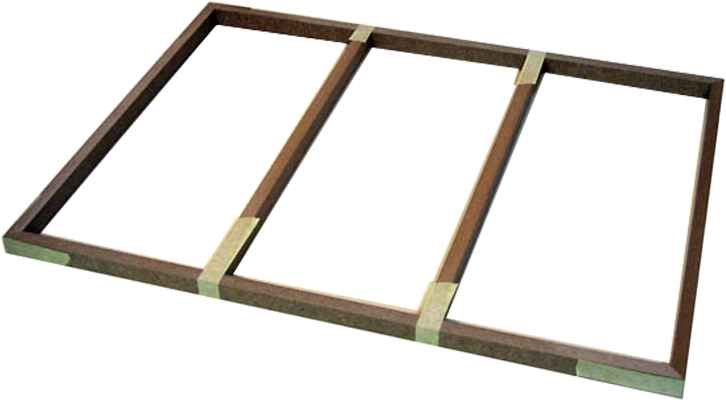
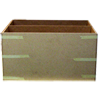 5. Three floors glued in - Base Floor taped firmly
JM401Assets/TapedAssembly/0110.png
5. Three floors glued in - Base Floor taped firmly
JM401Assets/TapedAssembly/0110.png
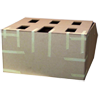
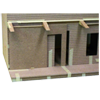
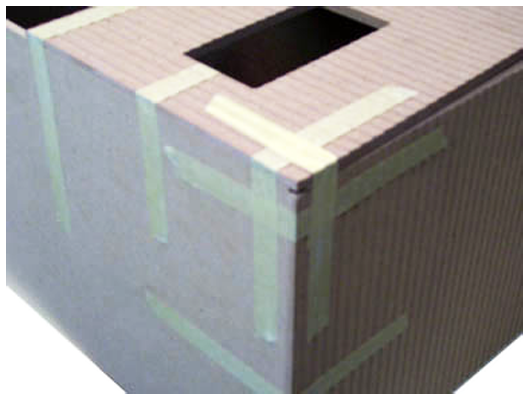
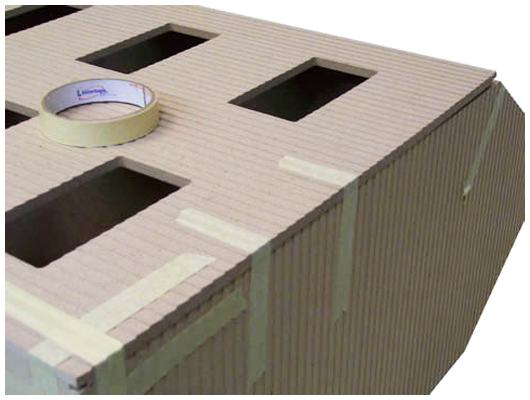
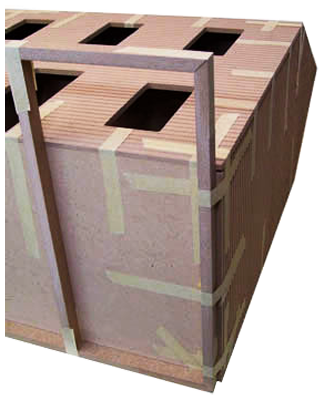
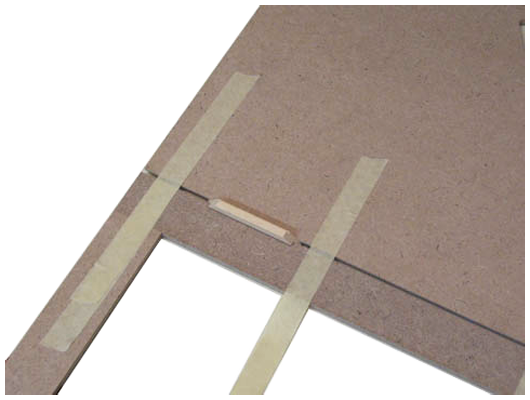
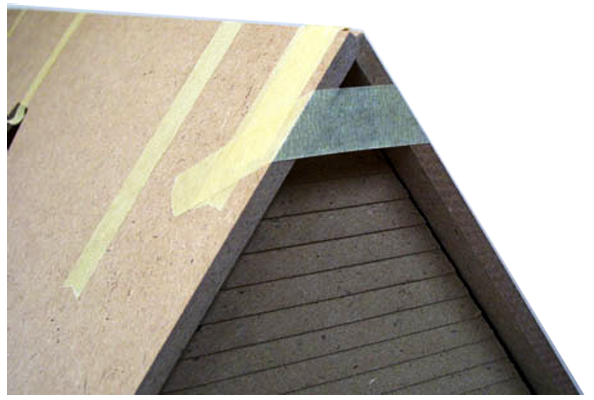
 7. A well-taped corner has tape in all 3 directions
JM401Assets/TapedAssembly/0113.png
7. A well-taped corner has tape in all 3 directions
JM401Assets/TapedAssembly/0113.png
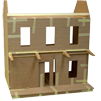
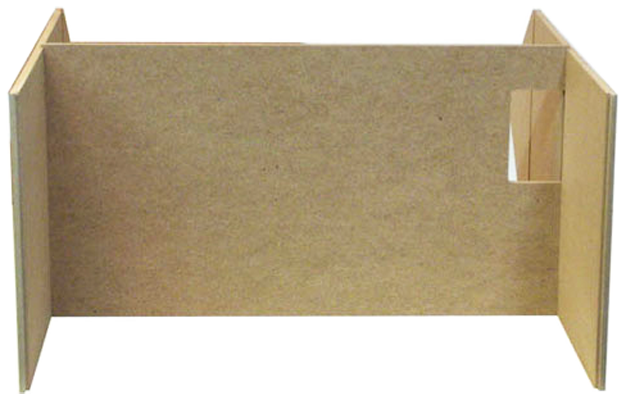
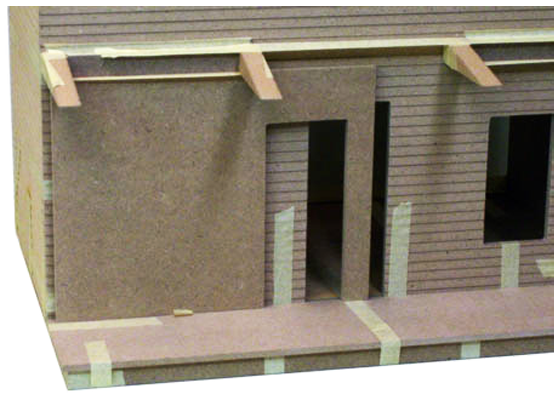
 8. Line up the Sides to the Front from bottom to top
JM401Assets/TapedAssembly/0114.png
8. Line up the Sides to the Front from bottom to top
JM401Assets/TapedAssembly/0114.png
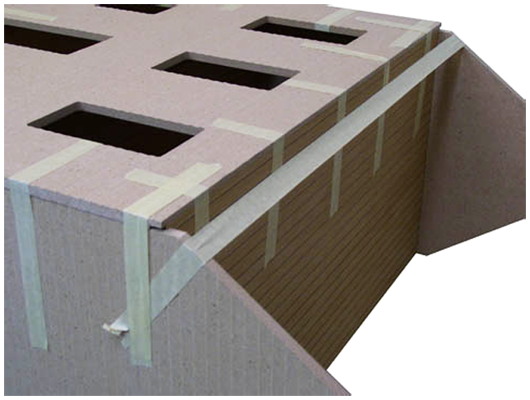
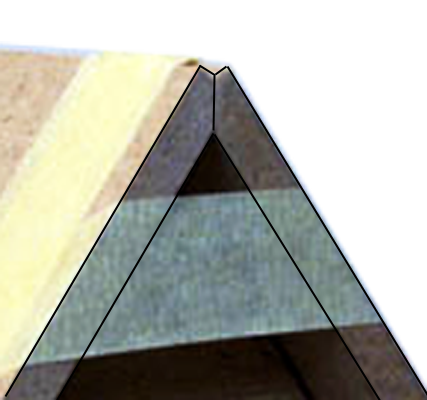
 9. Stretch tape between the Sides above the Front
JM401Assets/TapedAssembly/0115.png
9. Stretch tape between the Sides above the Front
JM401Assets/TapedAssembly/0115.png
 10. Stretch tape across the back - keep things tight
JM401Assets/TapedAssembly/0119.png
10. Stretch tape across the back - keep things tight
JM401Assets/TapedAssembly/0119.png
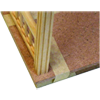
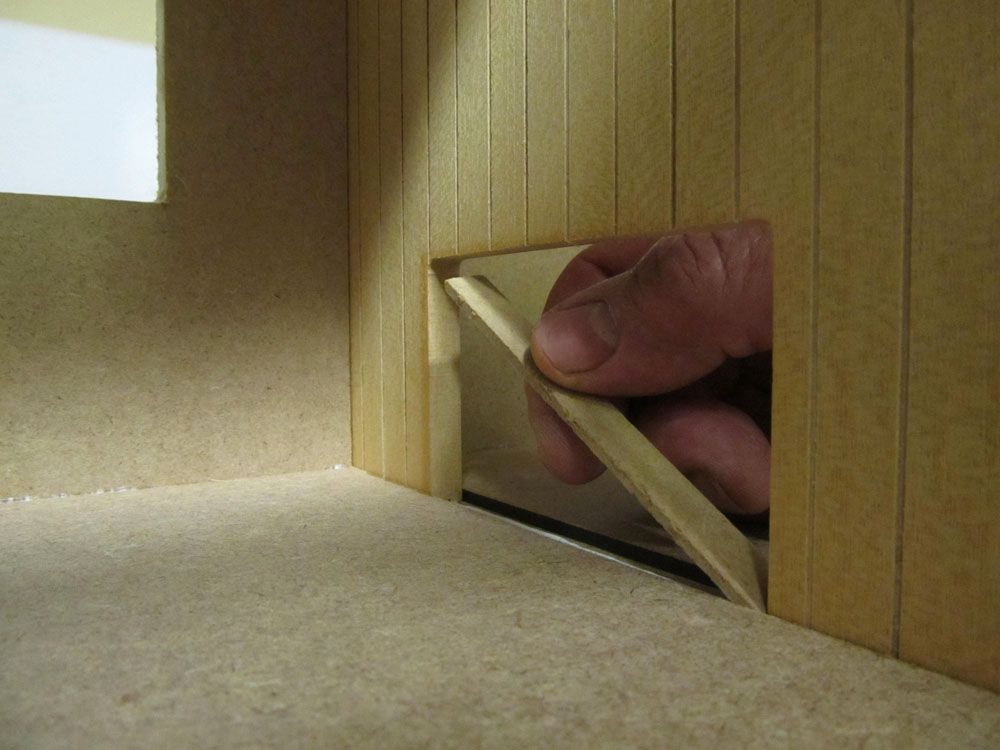
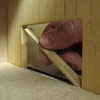 11. The "Groove-Fill" fills the groove ...
JM401Assets/TapedAssembly/GrooveFill_01L.jpg
11. The "Groove-Fill" fills the groove ...
JM401Assets/TapedAssembly/GrooveFill_01L.jpg
 12... and makes the wall smooth within the stair cutout
JM401Assets/TapedAssembly/GrooveFill_02L.jpg
12... and makes the wall smooth within the stair cutout
JM401Assets/TapedAssembly/GrooveFill_02L.jpg

 15. Wiring? It's easiest to do some of the wiring before attaching the Foundation
../Buttons/Wiring.png
15. Wiring? It's easiest to do some of the wiring before attaching the Foundation
../Buttons/Wiring.png
 16. Attach the Foundation lined up in back, make it centered from back to front
JM401Assets/TapedAssembly/0126.png
16. Attach the Foundation lined up in back, make it centered from back to front
JM401Assets/TapedAssembly/0126.png
 17. Tape and weight the Base to the Foundation. Finish painting
JM401Assets/TapedAssembly/0127.png
17. Tape and weight the Base to the Foundation. Finish painting
JM401Assets/TapedAssembly/0127.png
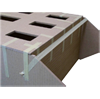
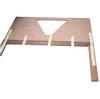
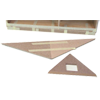
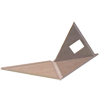
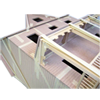
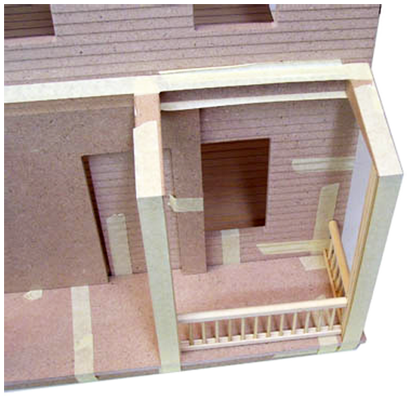
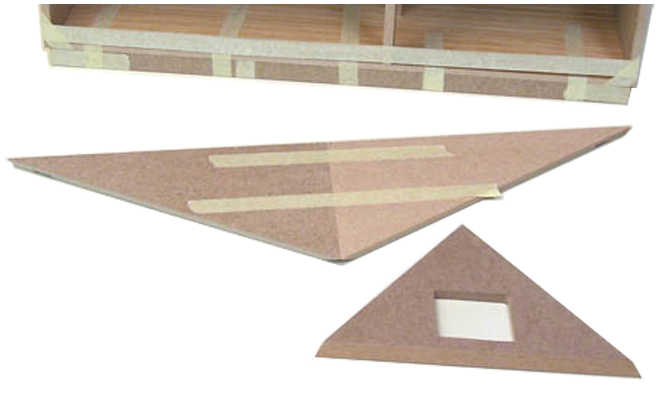
 18. Porch Floor, SupportTriangles, and TriangleSpacers
JM401Assets/TapedAssembly/0131.png
18. Porch Floor, SupportTriangles, and TriangleSpacers
JM401Assets/TapedAssembly/0131.png
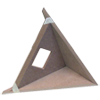
 19. Dividers and Porch Posts locate the SupportTriangles
JM401Assets/TapedAssembly/0132.png
19. Dividers and Porch Posts locate the SupportTriangles
JM401Assets/TapedAssembly/0132.png
 20. Locate the Posts and Rails below the Triangles
JM401Assets/TapedAssembly/0134.png
20. Locate the Posts and Rails below the Triangles
JM401Assets/TapedAssembly/0134.png
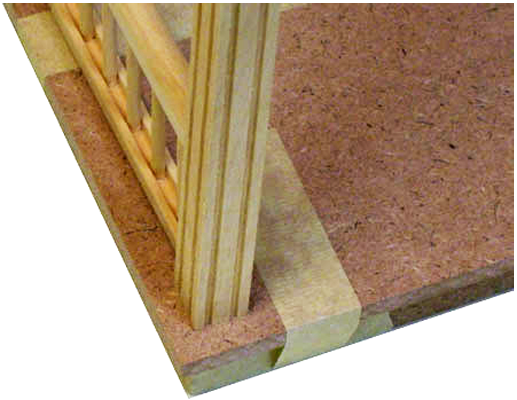
 21. Scrape a spot in the paint to glue down the Posts
JM401Assets/TapedAssembly/0133.png
21. Scrape a spot in the paint to glue down the Posts
JM401Assets/TapedAssembly/0133.png
 24. Wiring? It's easiest to do some of the wiring before attaching the Rear Roof
../Buttons/Wiring.png
24. Wiring? It's easiest to do some of the wiring before attaching the Rear Roof
../Buttons/Wiring.png
 25. Space between the Front and Rear Roof keeps the tape from breaking
JM401Assets/TapedAssembly/0136.png
25. Space between the Front and Rear Roof keeps the tape from breaking
JM401Assets/TapedAssembly/0136.png
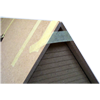
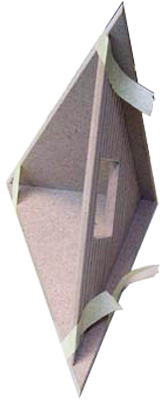
 26. I don't permanently attach the Rear Roof until interior work is done
JM401Assets/TapedAssembly/0137.png
26. I don't permanently attach the Rear Roof until interior work is done
JM401Assets/TapedAssembly/0137.png
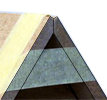
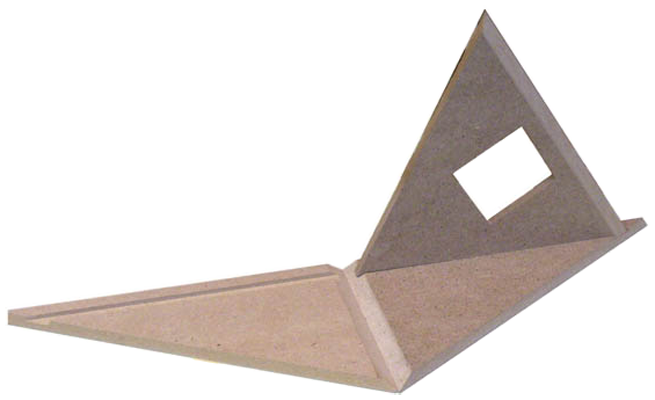
 27. Glue the Front Roof to the Assembly centered
JM401Assets/TapedAssembly/0138.png
27. Glue the Front Roof to the Assembly centered
JM401Assets/TapedAssembly/0138.png
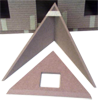
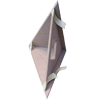
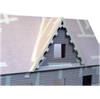
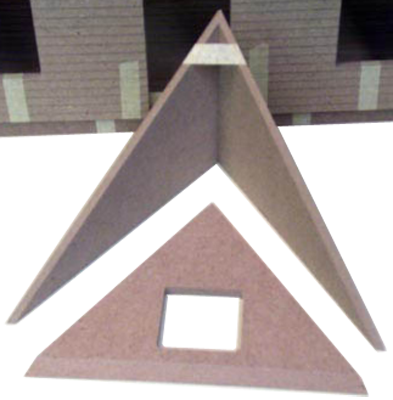
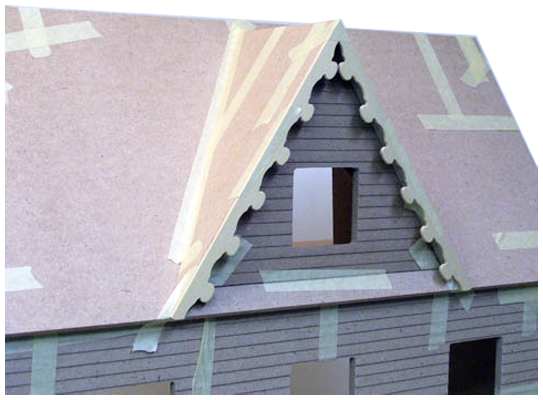
 34. If you shingled the triangle, trim them back to fit in the grooves
JM401Assets/TapedAssembly/0143.png
34. If you shingled the triangle, trim them back to fit in the grooves
JM401Assets/TapedAssembly/0143.png
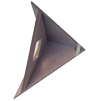
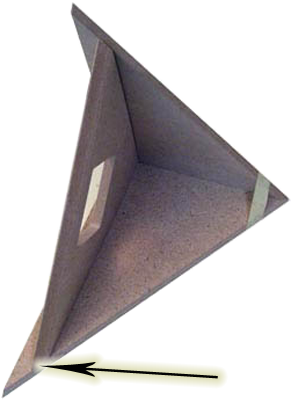
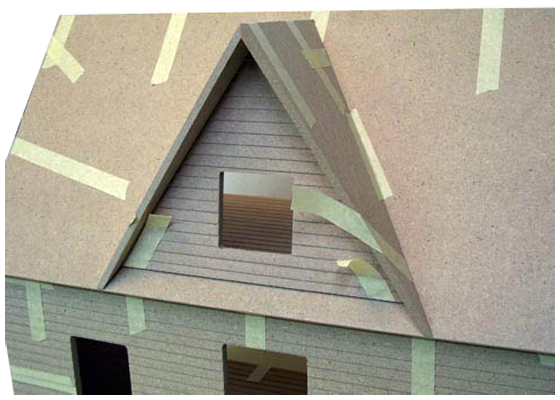
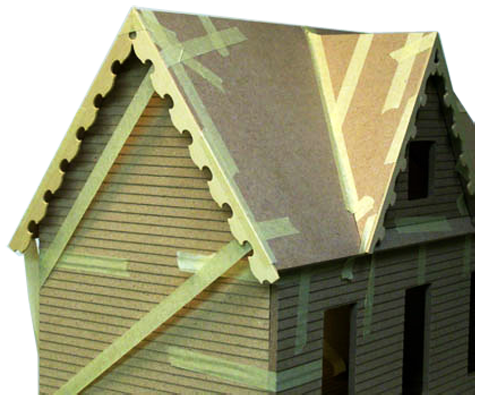
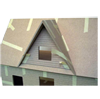 35. Lined up on the inside and at the bottom of the Gable Roofs
JM401Assets/TapedAssembly/0141E.png
35. Lined up on the inside and at the bottom of the Gable Roofs
JM401Assets/TapedAssembly/0141E.png
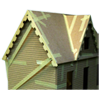
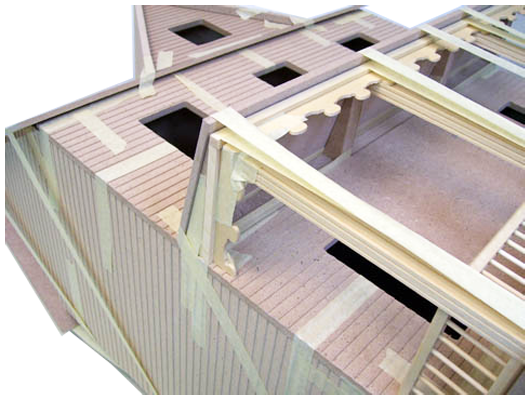
 39. Porch Trim and Porch Gingerbread
 I attach Gingerbread after all other exterior finishing is done JM401Assets/TapedAssembly/0148.png
 40. Gable Gingerbread
 I lift Gingerbread to cover the edges of the shingles JM401Assets/TapedAssembly/0149.png
 42. For the complete story, follow your instructions
PaintColors/401Blue_display.png
42. For the complete story, follow your instructions
PaintColors/401Blue_display.png
Assembly Home (here)
Housebody
Gable
Porch