![]()
![]()
![]()
![]()
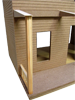
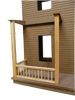
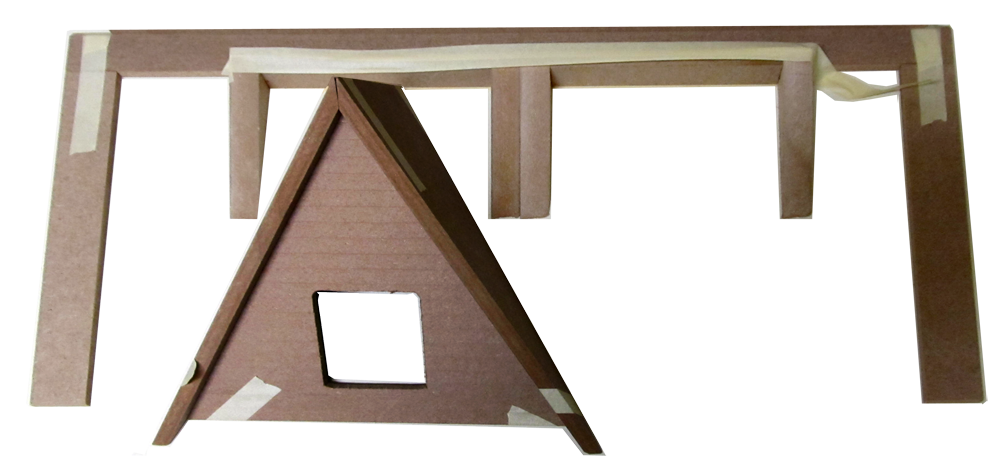
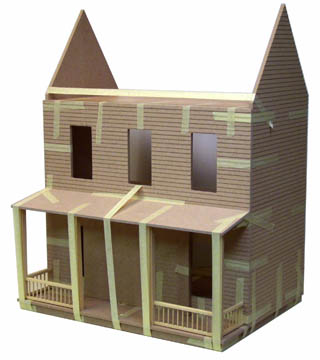
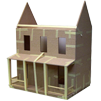
The slideshow shows an un-finished dollhouse taped together to test the parts. In your build, you should Paint and Wire along the way.
Continue to
"Let the Glue Dry"
before stopping


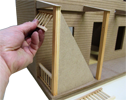
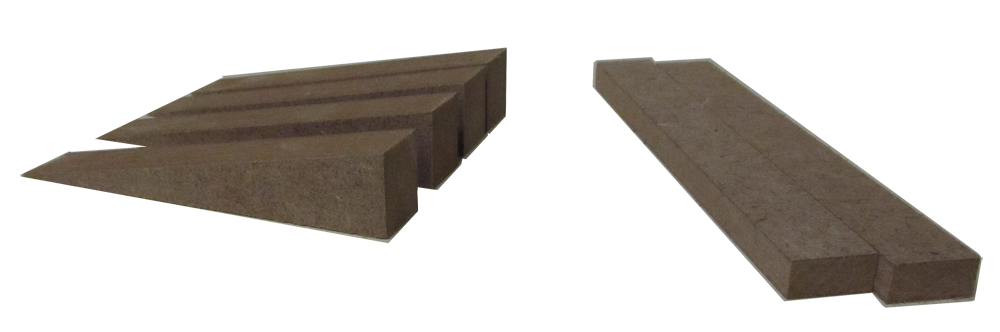
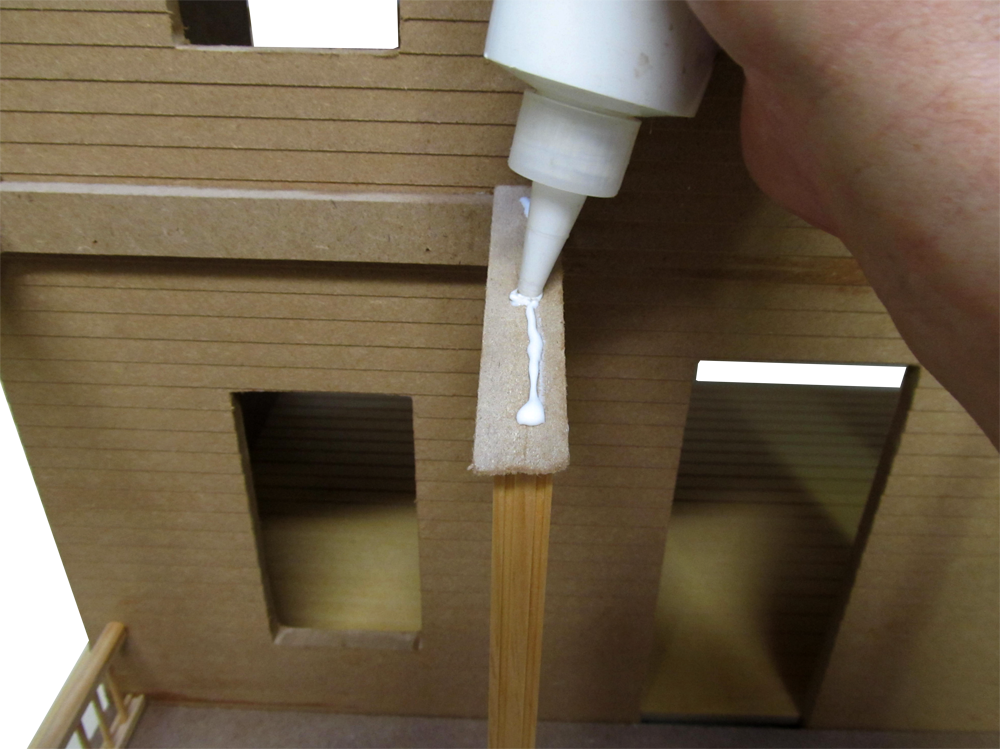
 I glue and tape them together along with other pre-assembly
PorchTriangle/PorchTriangle04L.png
I glue and tape them together along with other pre-assembly
PorchTriangle/PorchTriangle04L.png
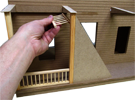
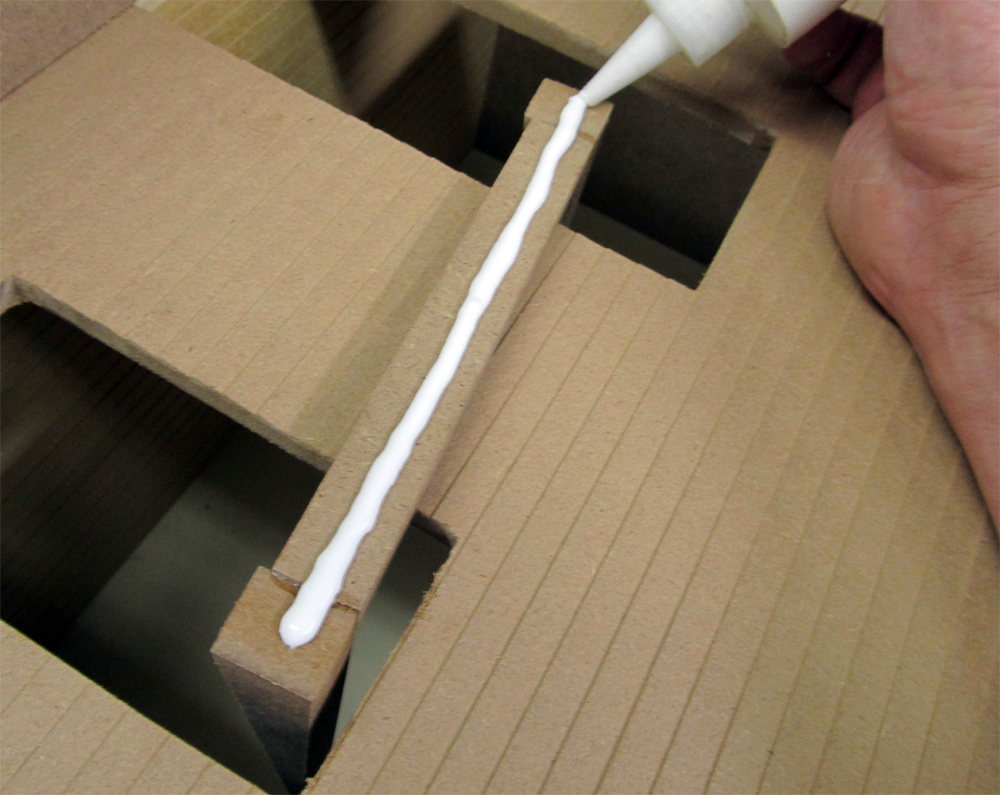
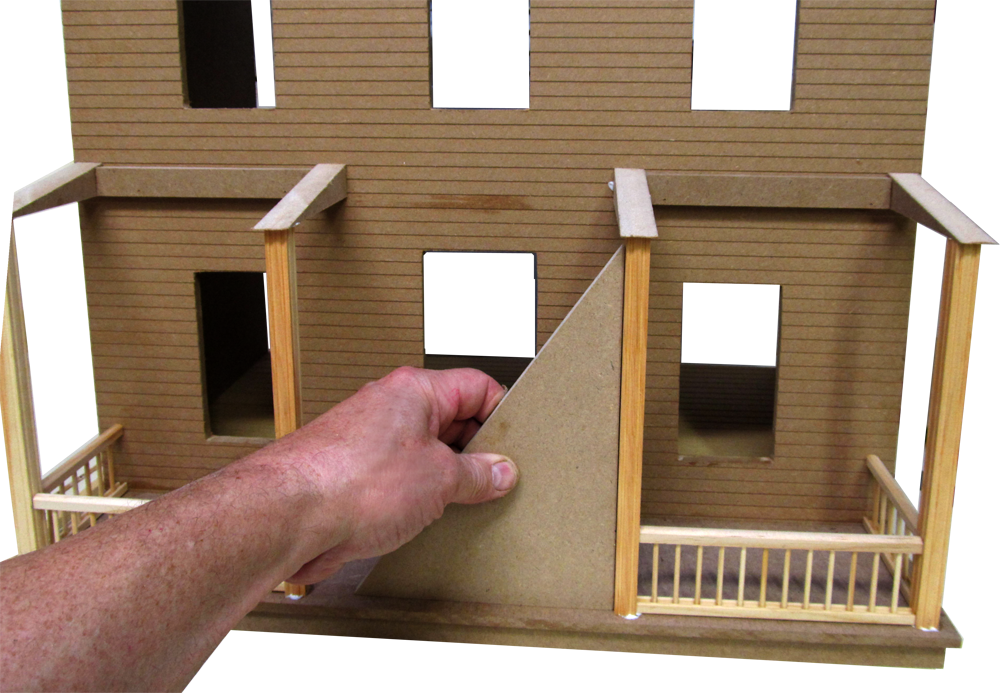
 Ready to install them? Use plenty of glue and scrape a bare spot on the house paint
PorchTriangle/PorchTriangle05L.png
Ready to install them? Use plenty of glue and scrape a bare spot on the house paint
PorchTriangle/PorchTriangle05L.png
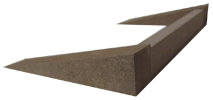
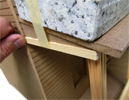
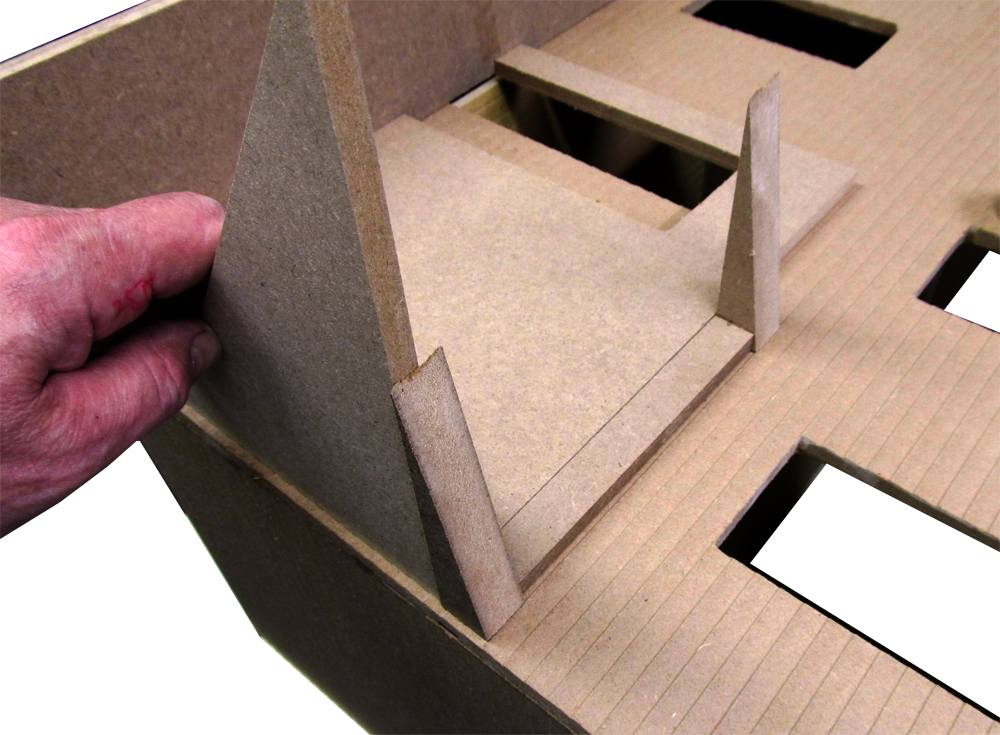
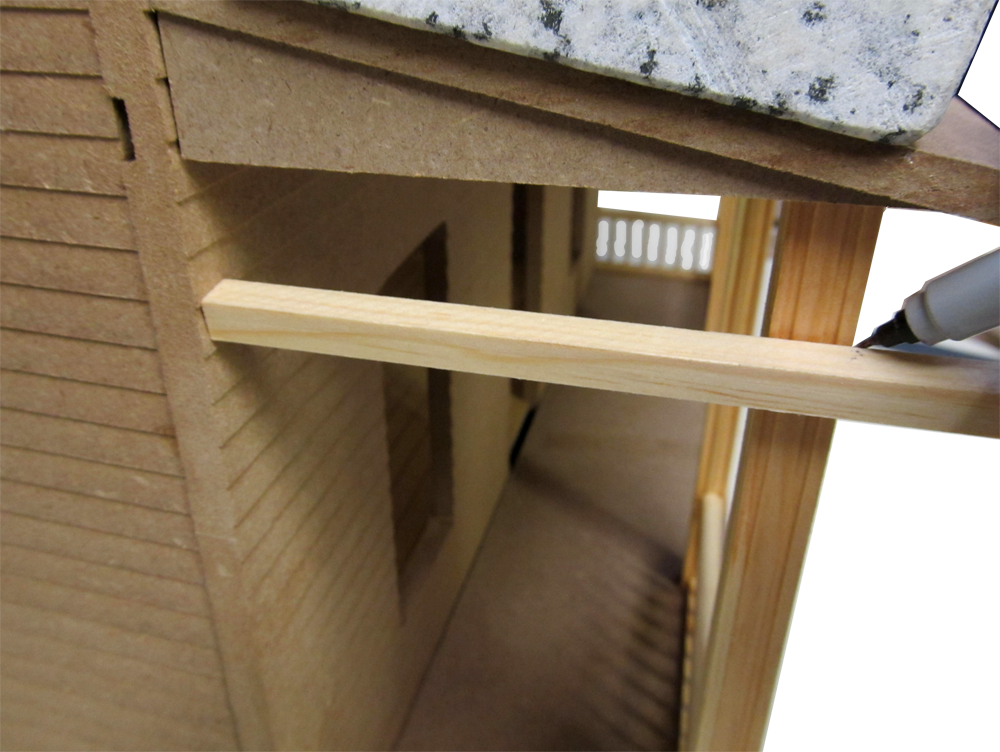
 Locate with Porch Posts or a Divider, 1/16" from the edge of the house
PorchTriangle/PorchTriangle06L.png
Locate with Porch Posts or a Divider, 1/16" from the edge of the house
PorchTriangle/PorchTriangle06L.png
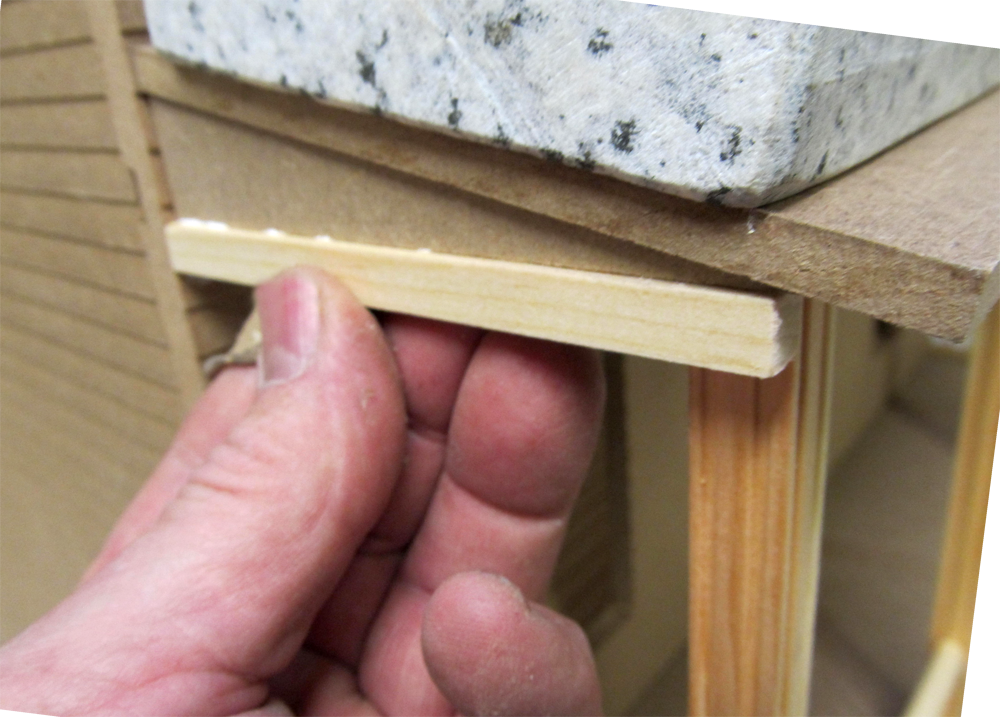
 Let the glue dry but take out the Divider after 10 minutes or so
PorchTriangle/PorchTriangle07L.png
Let the glue dry but take out the Divider after 10 minutes or so
PorchTriangle/PorchTriangle07L.png
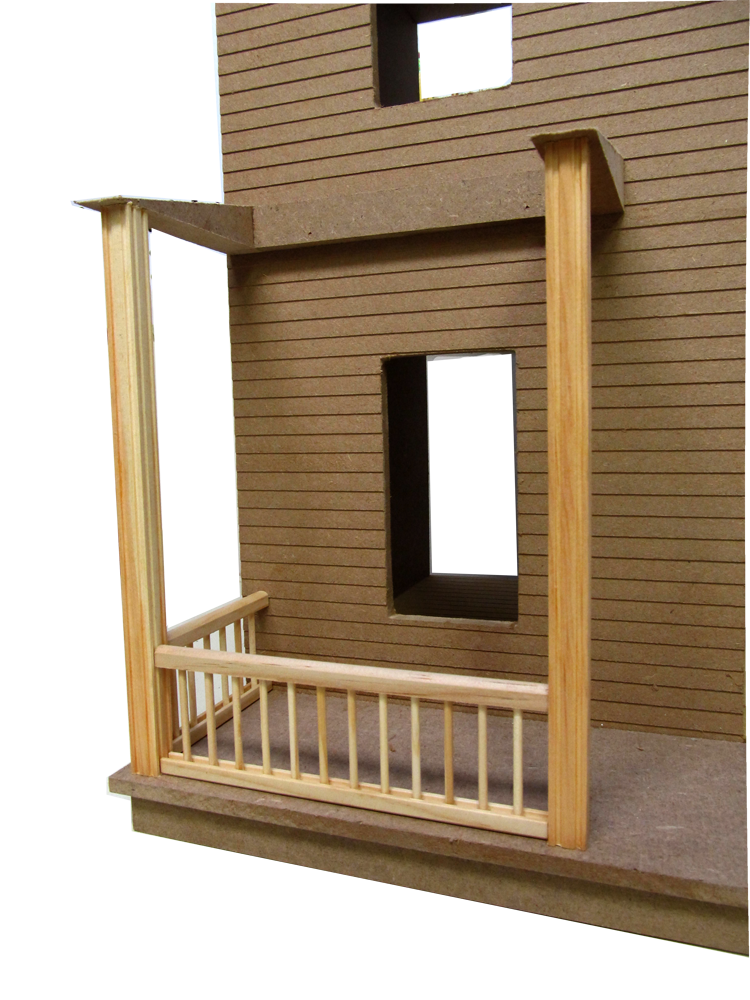
 One rail-length locates the top - square side-to-side
PorchTriangle/PorchTriangle09L.png
One rail-length locates the top - square side-to-side
PorchTriangle/PorchTriangle09L.png
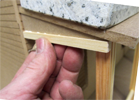
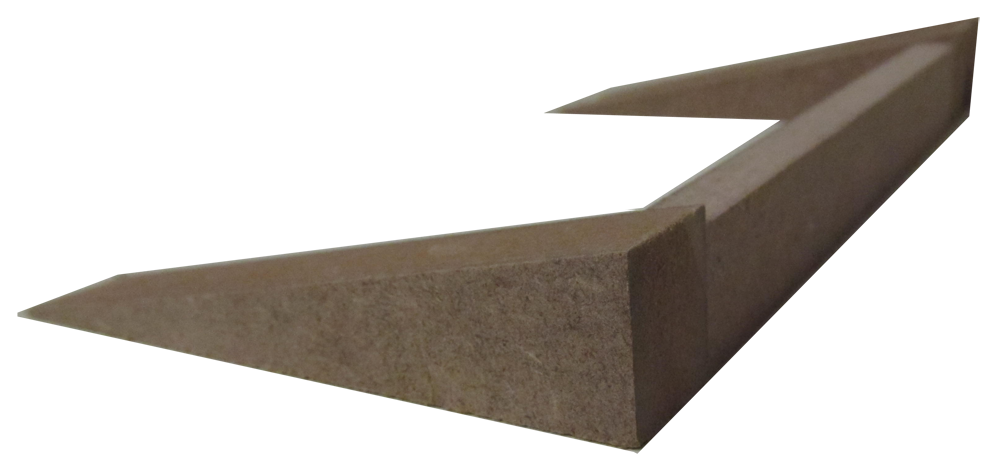
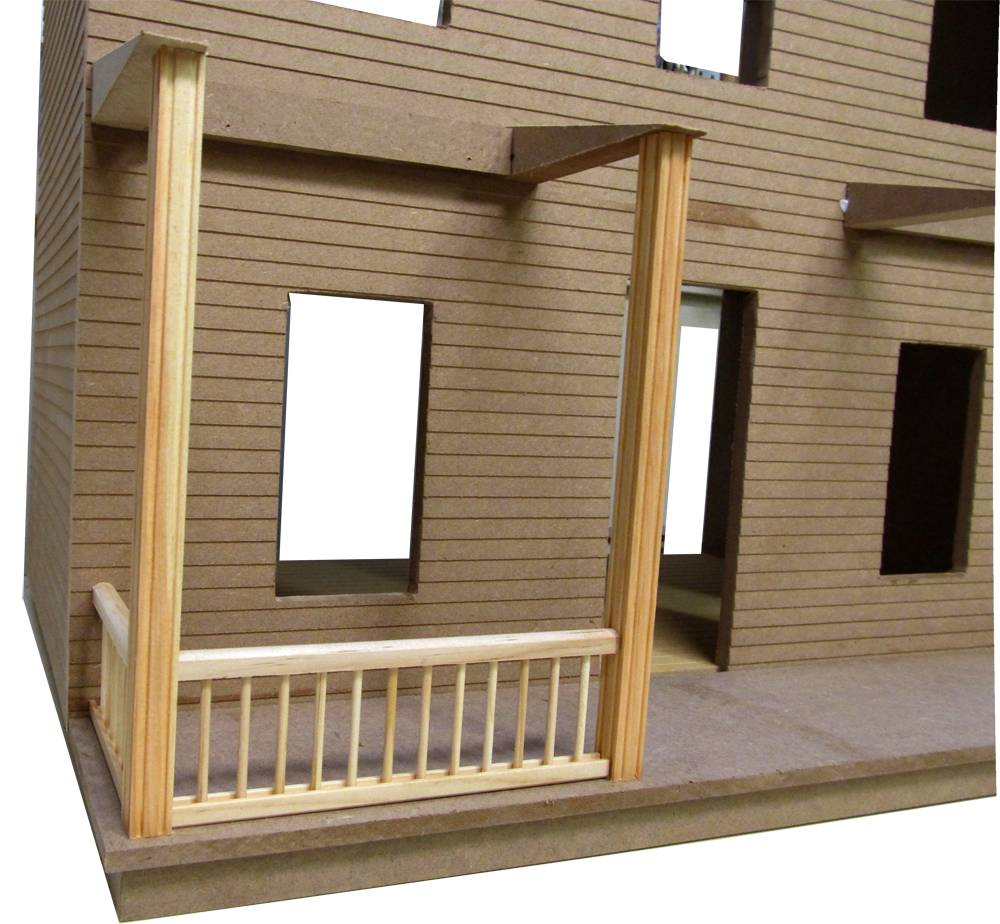
 The corner Post lines up on the inside edge of the Triangle
PorchTriangle/PorchTriangle10L.png
The corner Post lines up on the inside edge of the Triangle
PorchTriangle/PorchTriangle10L.png
 The middle Post is in the middle of the Triangle (more-or-less)
PorchTriangle/PorchTriangle12L.png
The middle Post is in the middle of the Triangle (more-or-less)
PorchTriangle/PorchTriangle12L.png
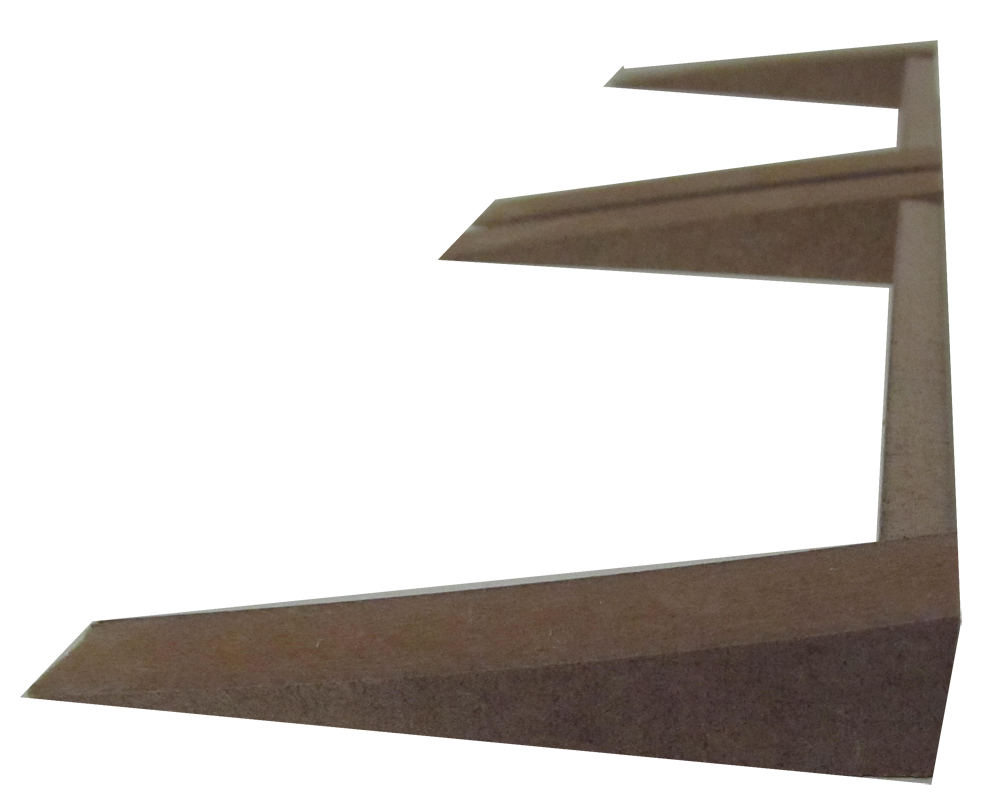
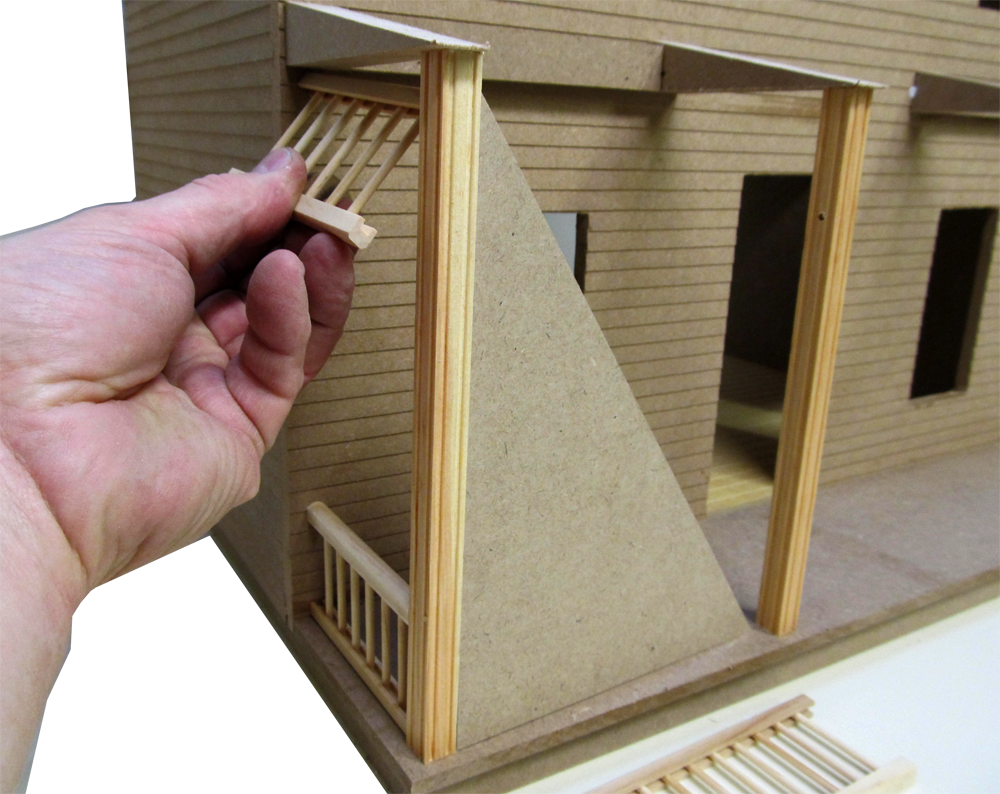
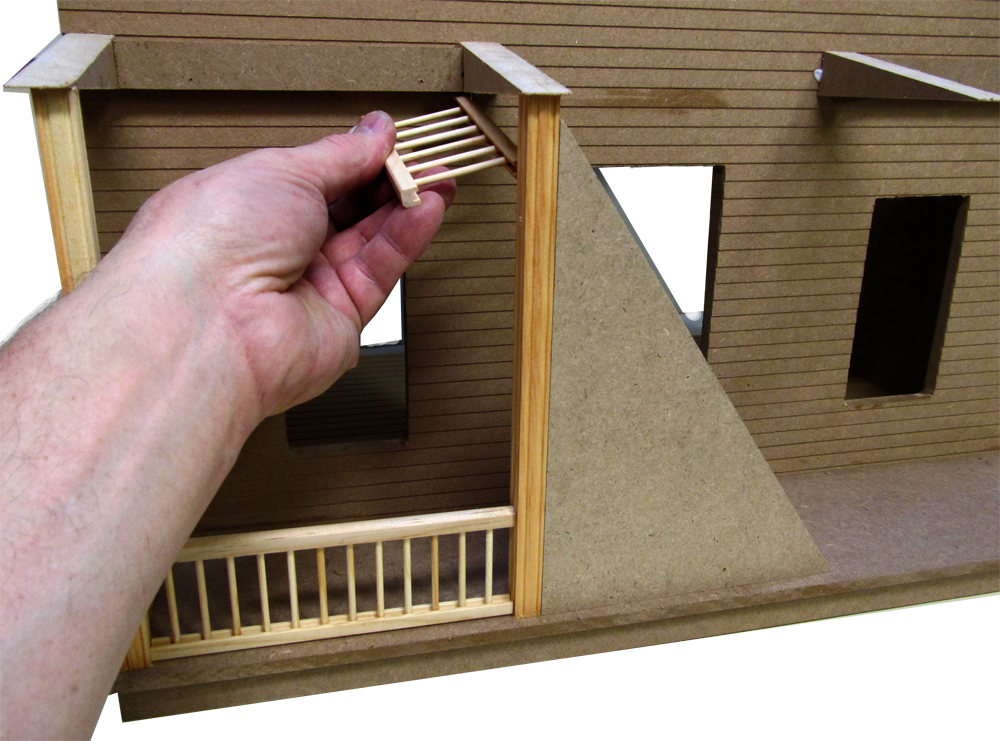
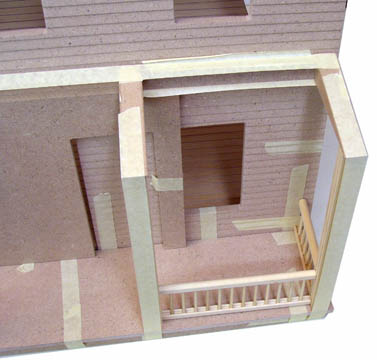
 You'll have to move the short railing around to get all the spaces right
PorchTriangle/PorchTriangle13L.png
You'll have to move the short railing around to get all the spaces right
PorchTriangle/PorchTriangle13L.png
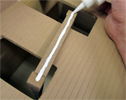
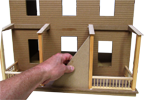
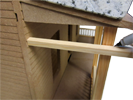
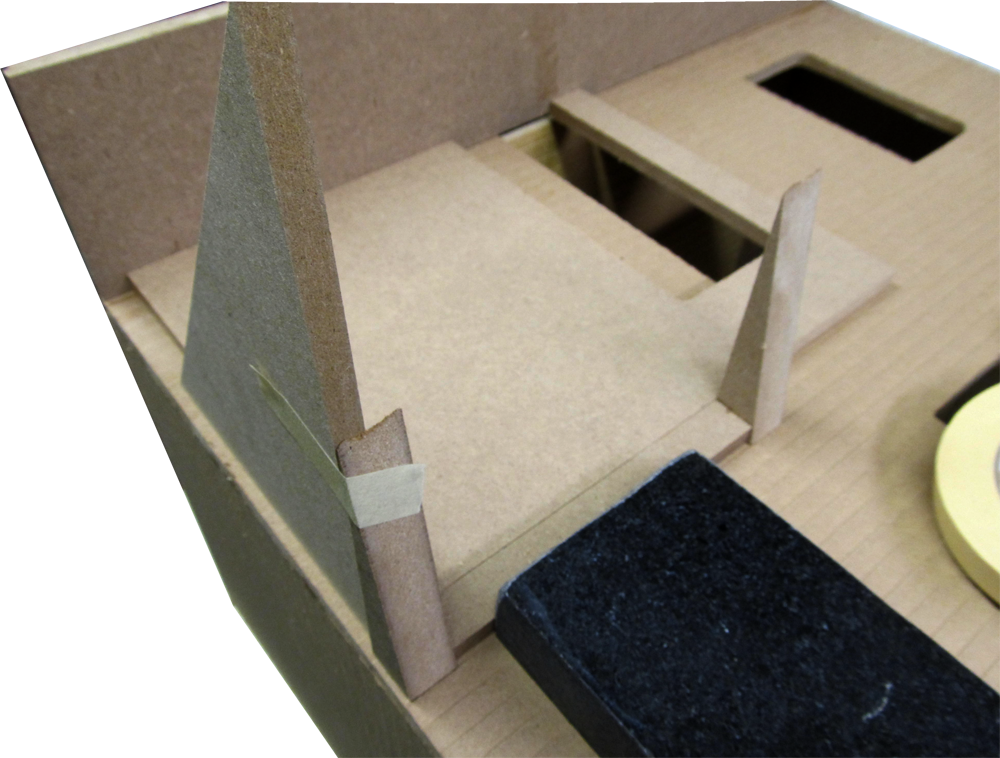
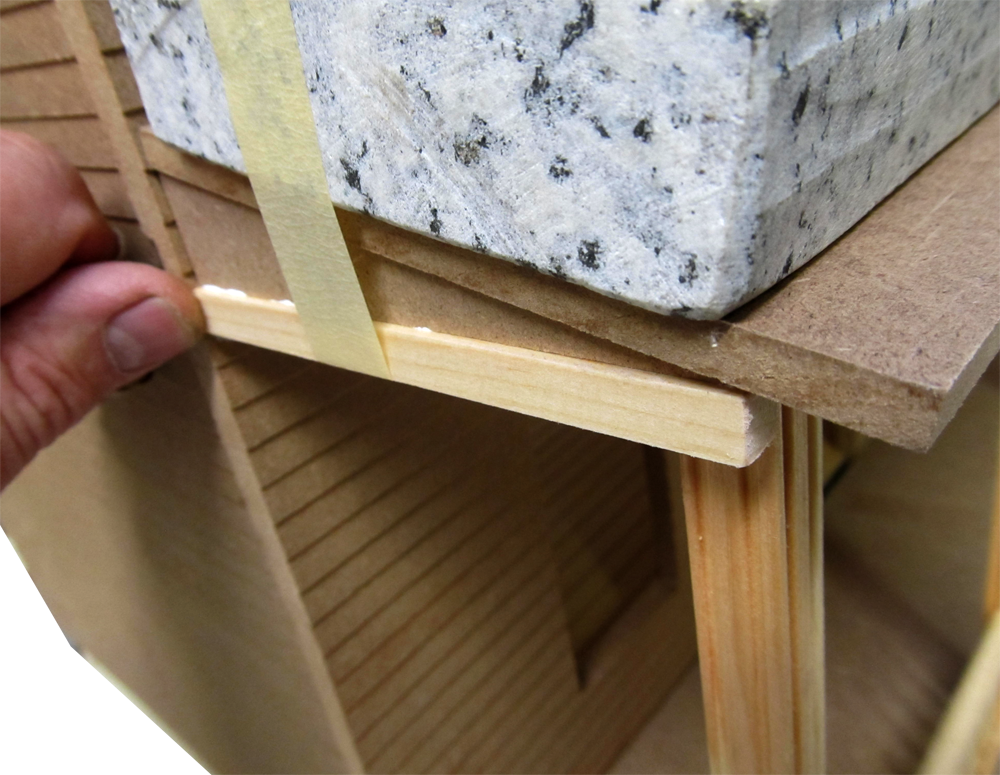
 If you use tape to hold the triangles tight, you have to stop to let the glue dry
JM401Assets/TapedAssembly/0134.png
If you use tape to hold the triangles tight, you have to stop to let the glue dry
JM401Assets/TapedAssembly/0134.png
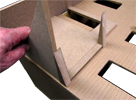
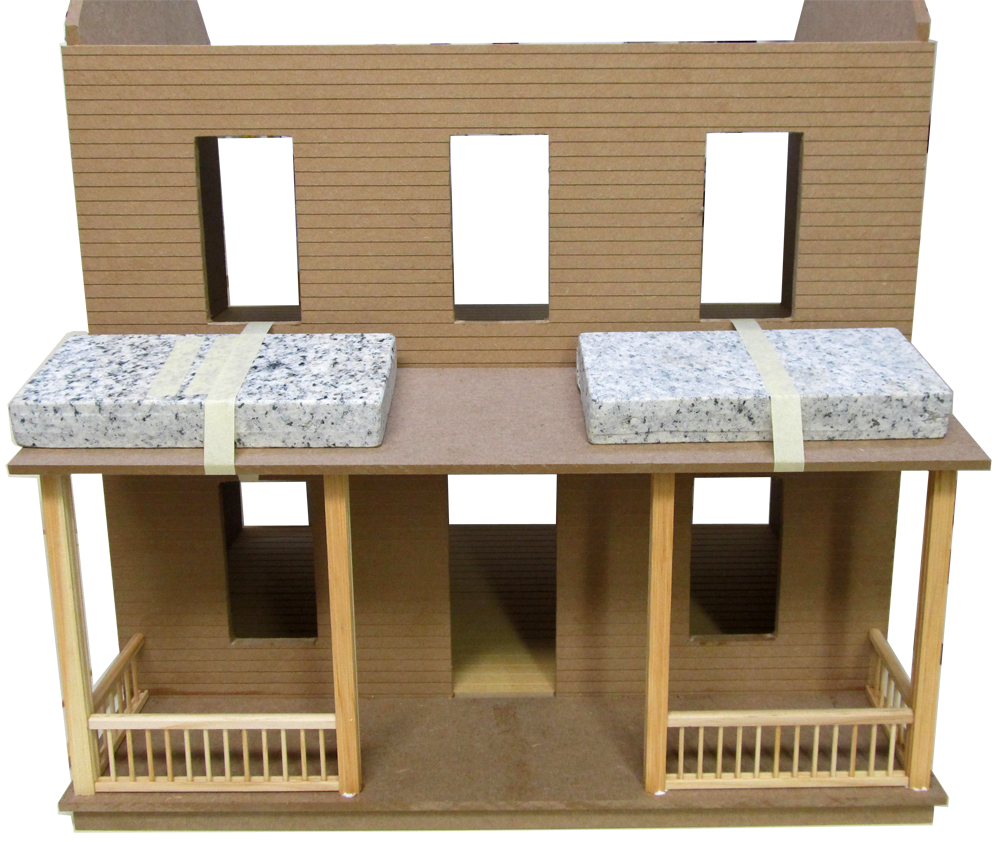
 But I have nice weights for this task so I'll forge on
PorchTriangle/PorchTriangle14L.png
But I have nice weights for this task so I'll forge on
PorchTriangle/PorchTriangle14L.png
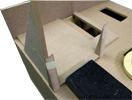
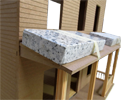
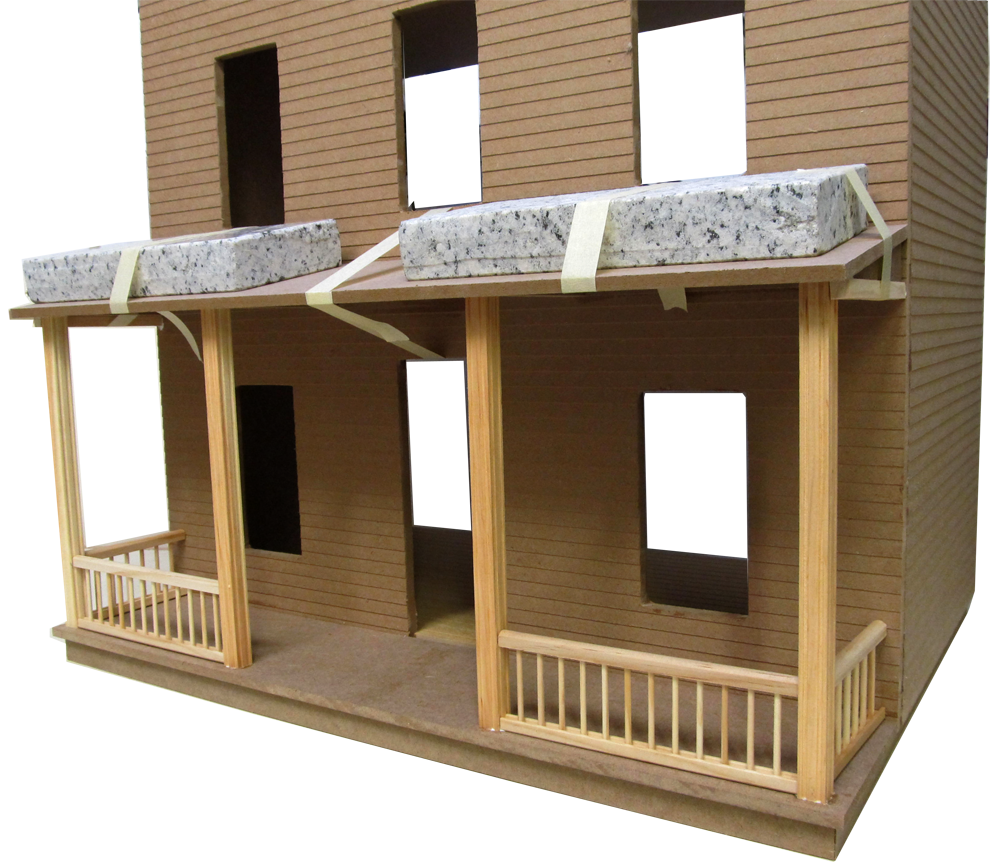
 The Porch Roof is taped and the weigthts are taped to keep them in place
PorchTriangle/PorchTriangle15L.png
The Porch Roof is taped and the weigthts are taped to keep them in place
PorchTriangle/PorchTriangle15L.png
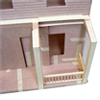
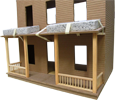
 A different taped-together for photography build used tape instead of weights
JM401Assets/TapedAssembly/0135.png
A different taped-together for photography build used tape instead of weights
JM401Assets/TapedAssembly/0135.png
 But I liked the weights better - Let the glue dry
PorchTriangle/PorchTriangle20L.png
But I liked the weights better - Let the glue dry
PorchTriangle/PorchTriangle20L.png
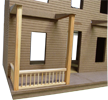
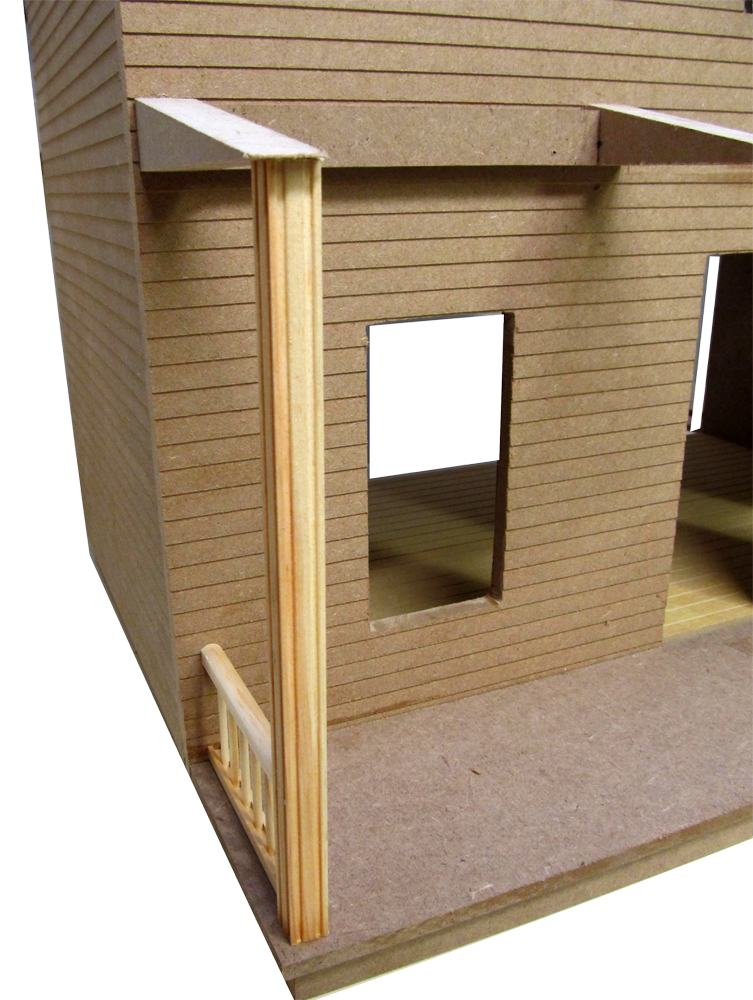
Assembly Home
Housebody
Gable
Porch