![]()
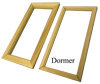
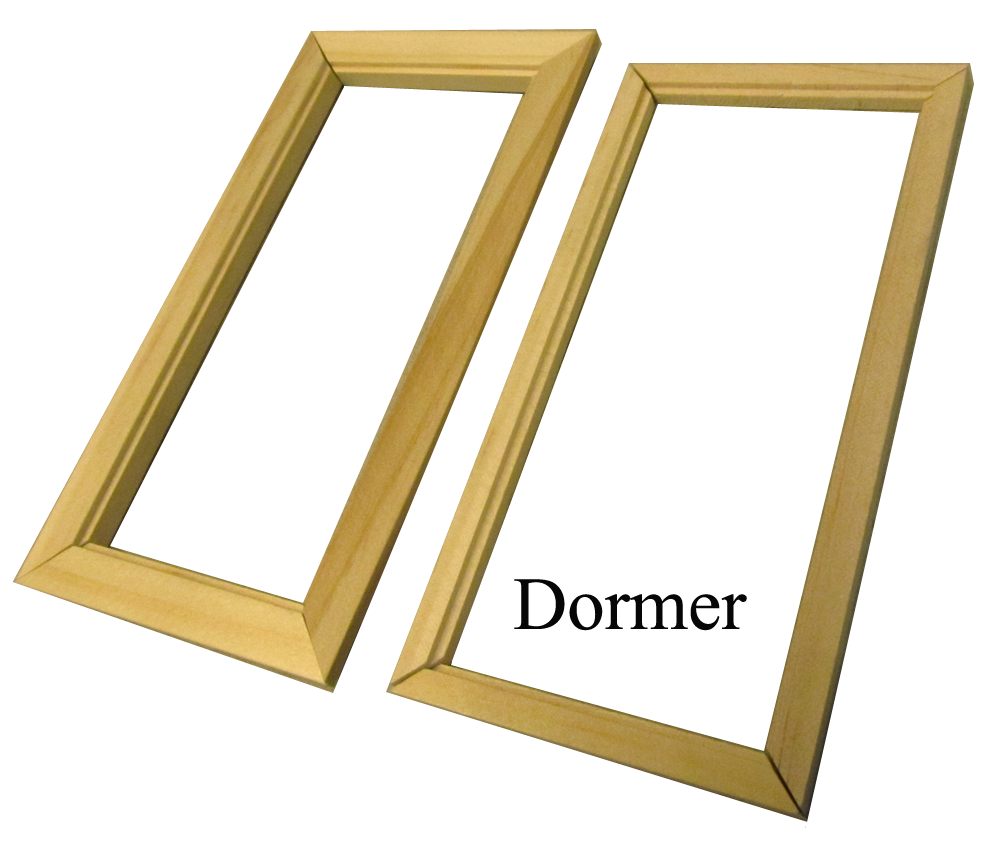
This slideshow Shows Dormer and Dormer Interior Window Frames ("Trim") taped together to illustrate orientation. In your build you will follow the instructions and use these photos to clarify the steps.
Click on the picture for a printable copy
Housebody1
Housebody2
Housebody3
Painting (second-coat)
Top Floor
Start the Wiring
Foundation
Porch
Roof prep. Roof
Dormer Details (here)
Trim and Brackets

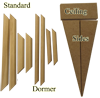

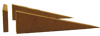
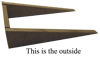
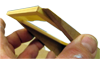
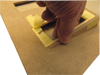
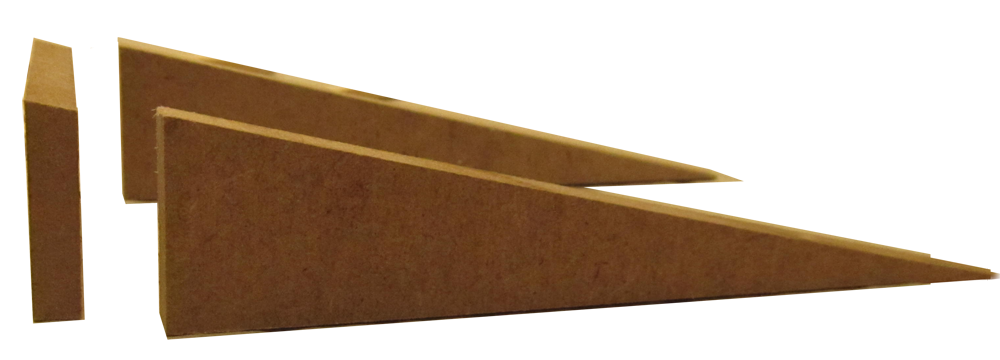
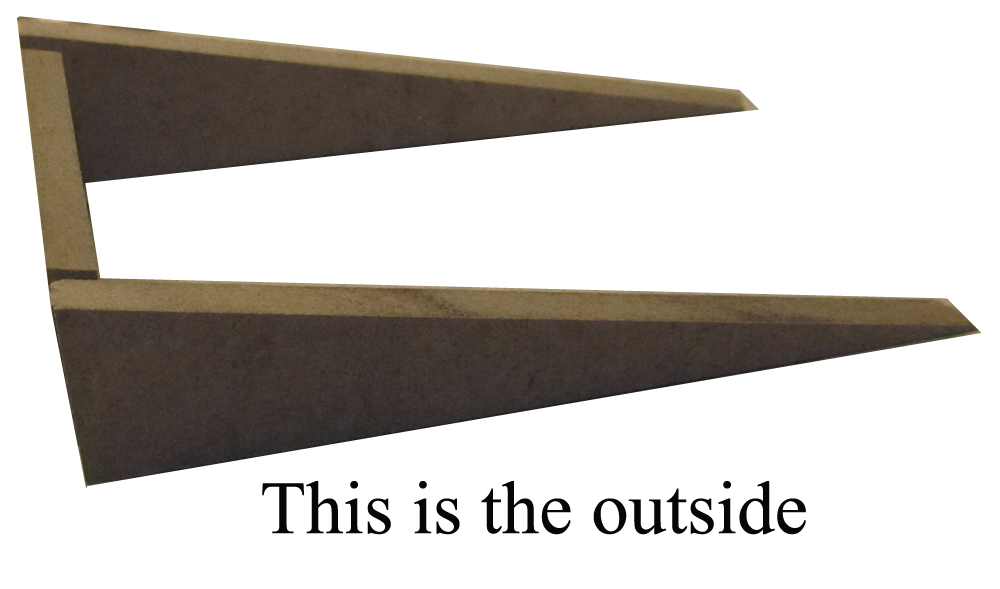
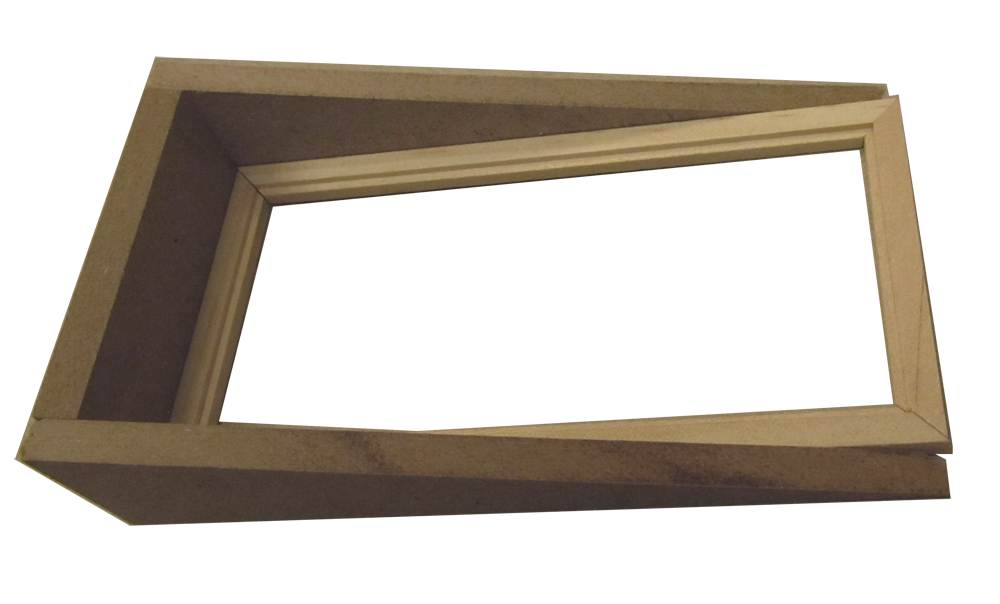
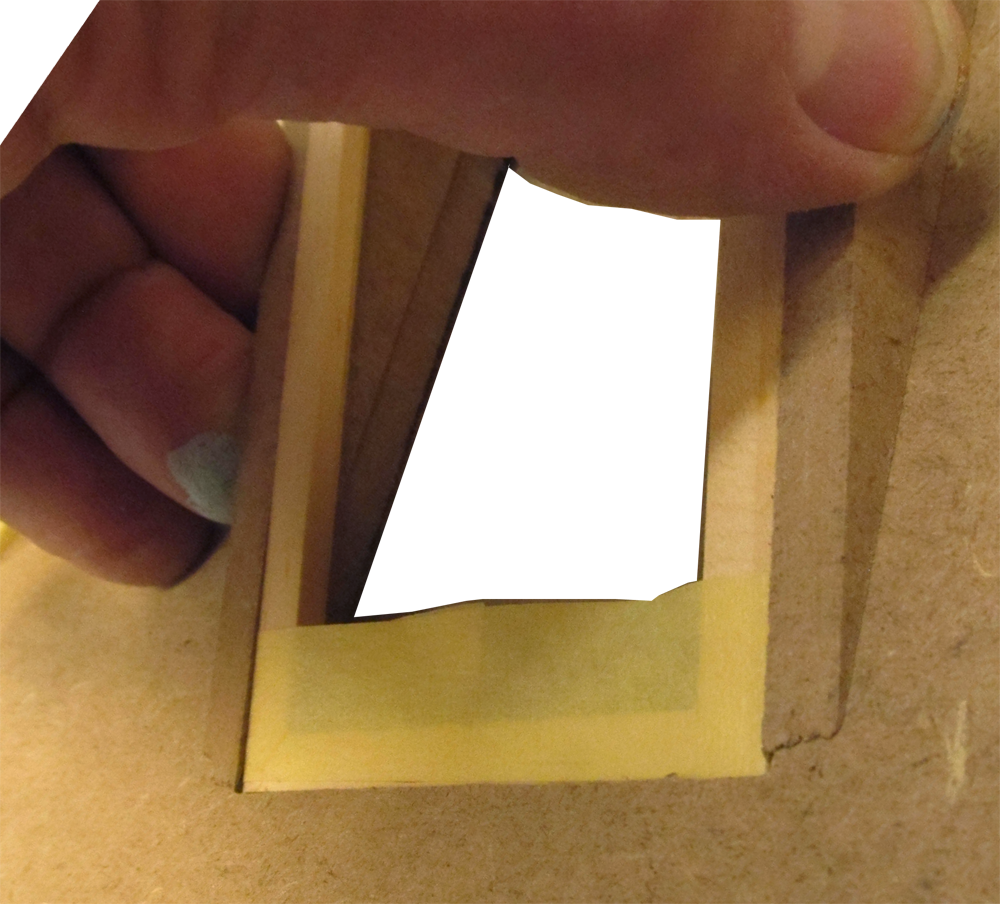
 8. A 'Standard' Frame is used on the outside; 'Dormer Interior' on the inside
DormerDetails/129D.png
8. A 'Standard' Frame is used on the outside; 'Dormer Interior' on the inside
DormerDetails/129D.png
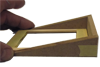
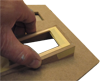
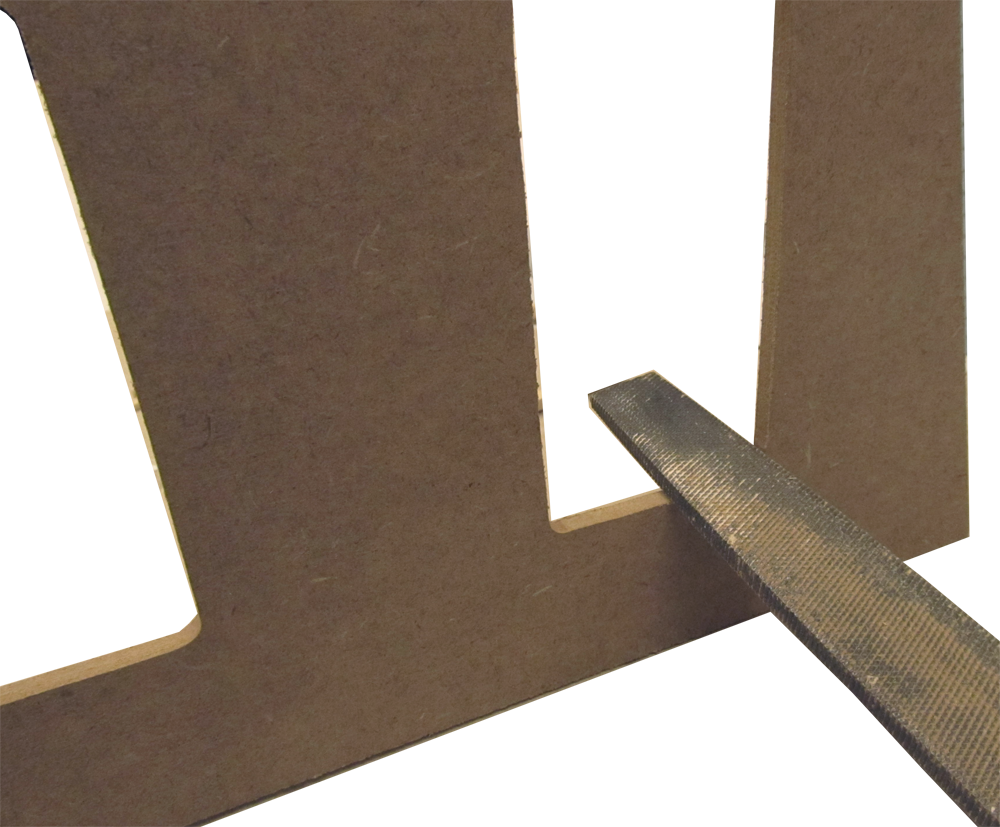
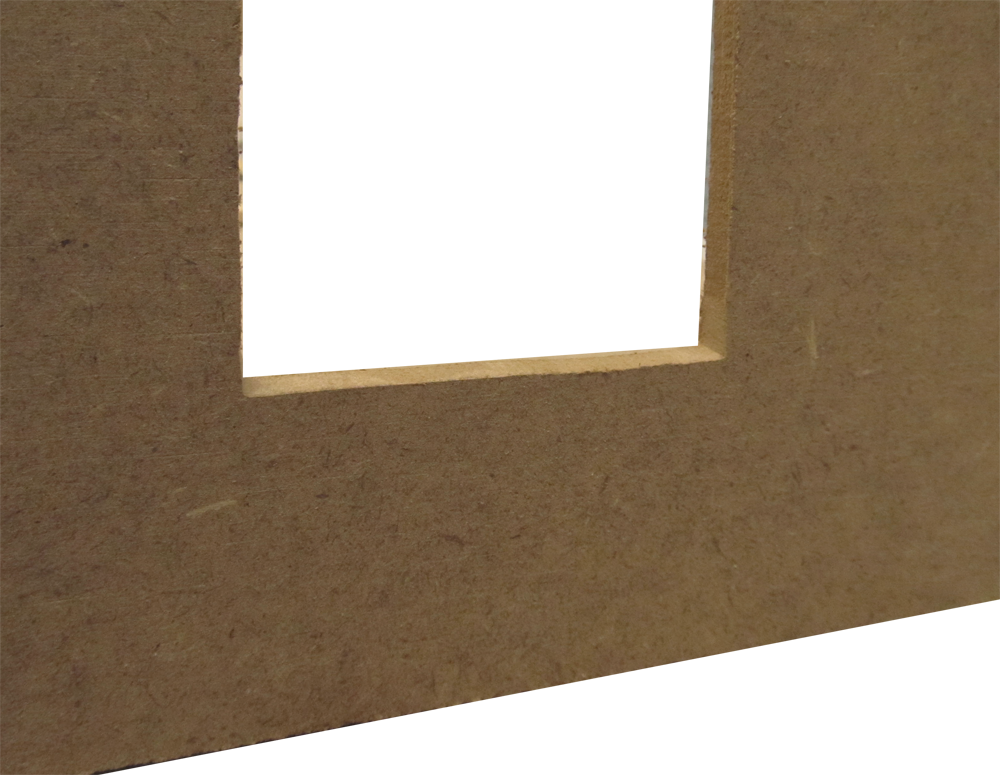
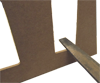 12. Square the cutout in the roof with a coarse file or utility knife
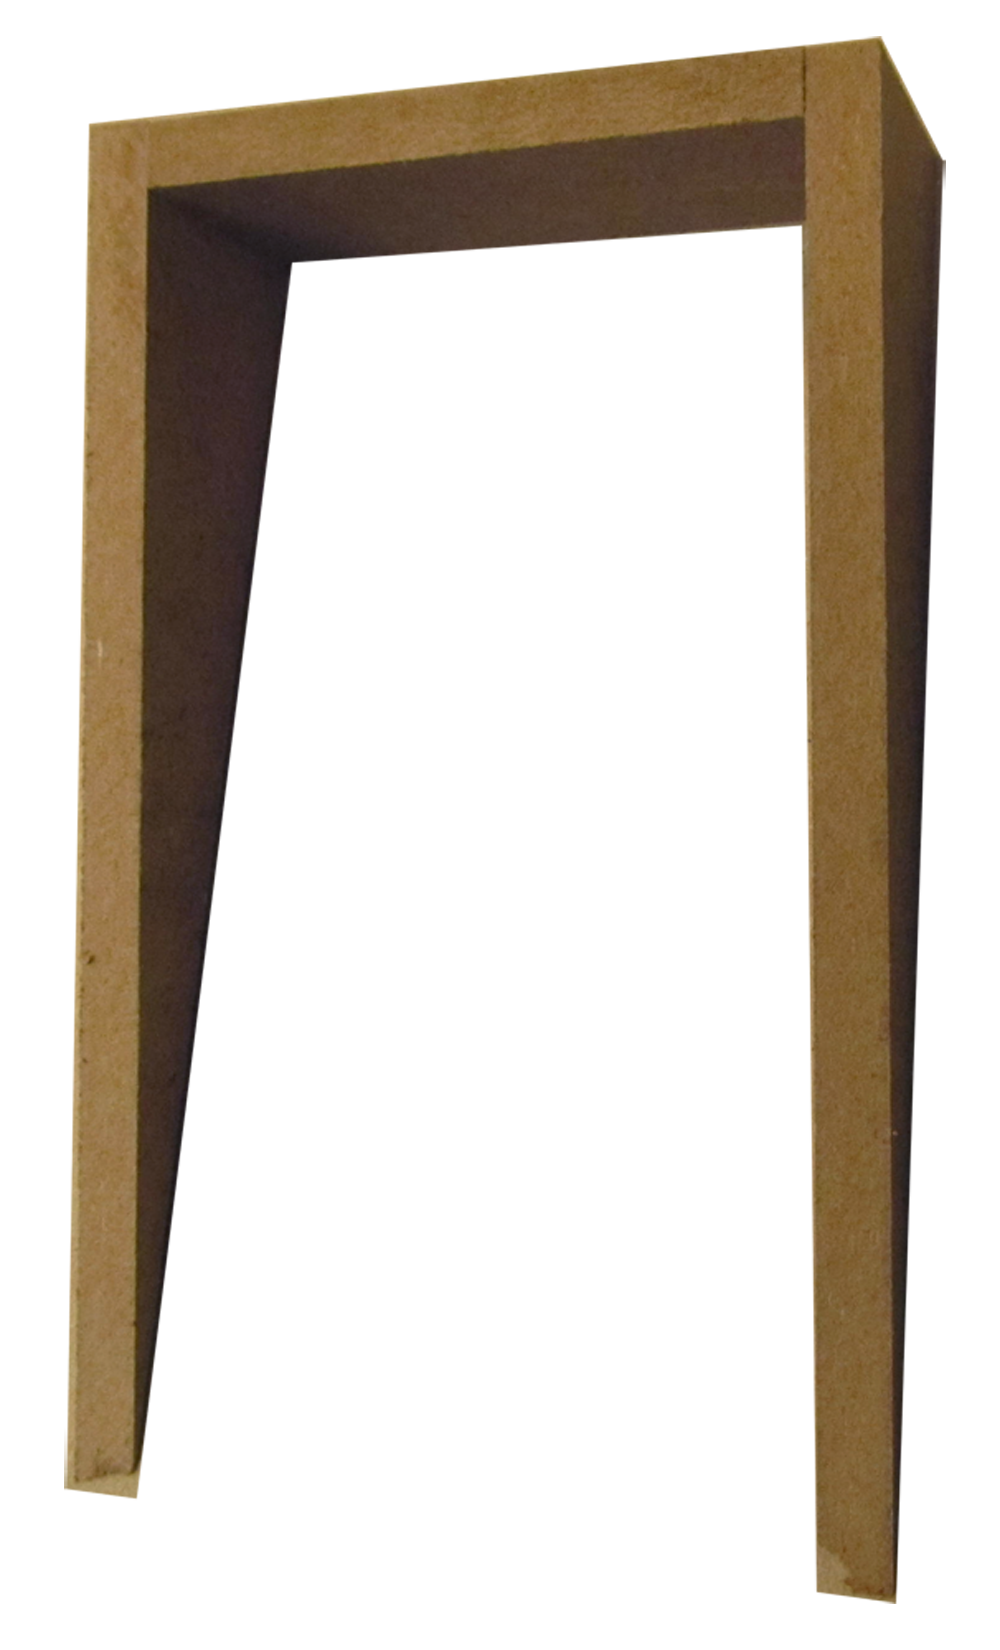
DormerDetails/133D.png
12. Square the cutout in the roof with a coarse file or utility knife
DormerDetails/133D.png
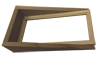
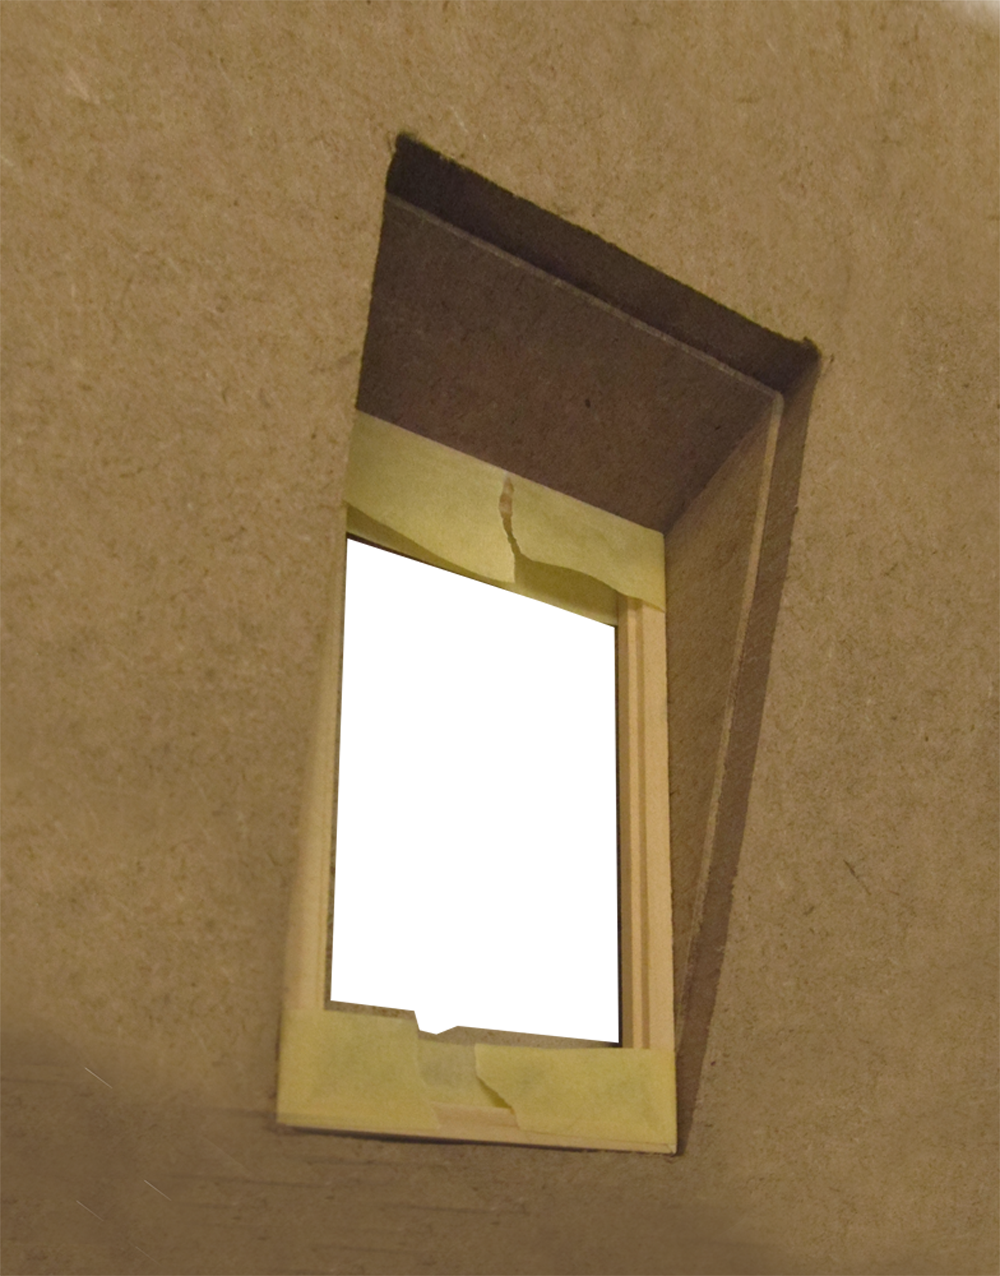
 19. Glue the Dormer Ceiling and Sides lined up with the cutout
DormerDetails/139D.png
19. Glue the Dormer Ceiling and Sides lined up with the cutout
DormerDetails/139D.png
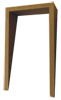
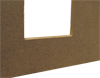
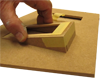
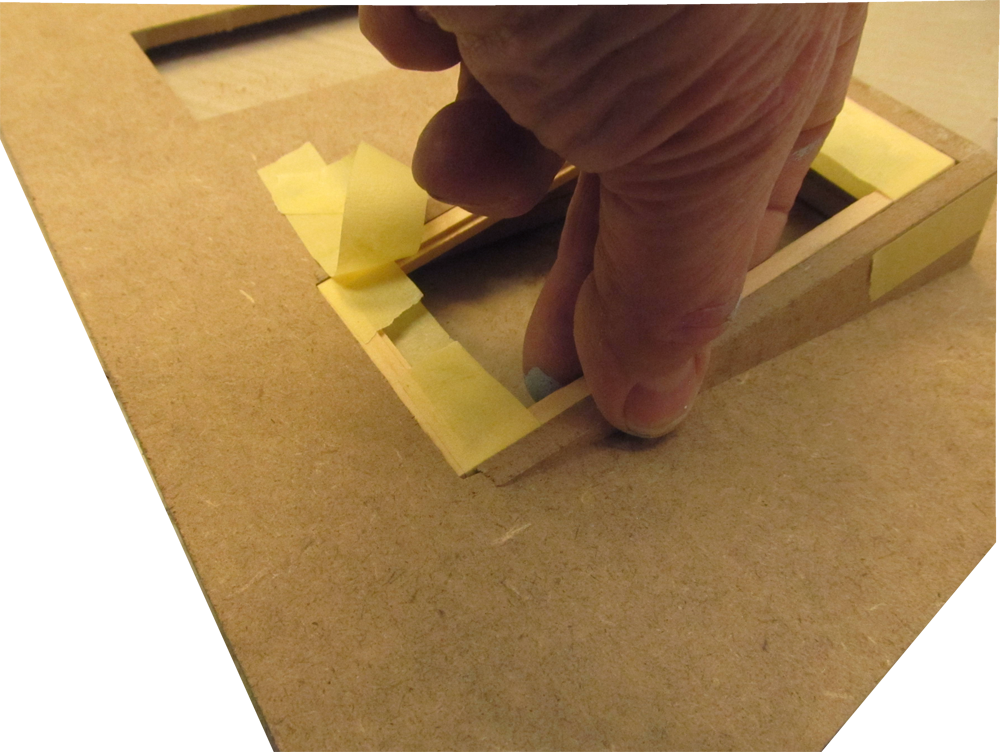
 20. Don't glue the Frame now, but this is where it will be in the finished house
DormerDetails/140D.png
20. Don't glue the Frame now, but this is where it will be in the finished house
DormerDetails/140D.png
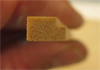
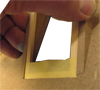
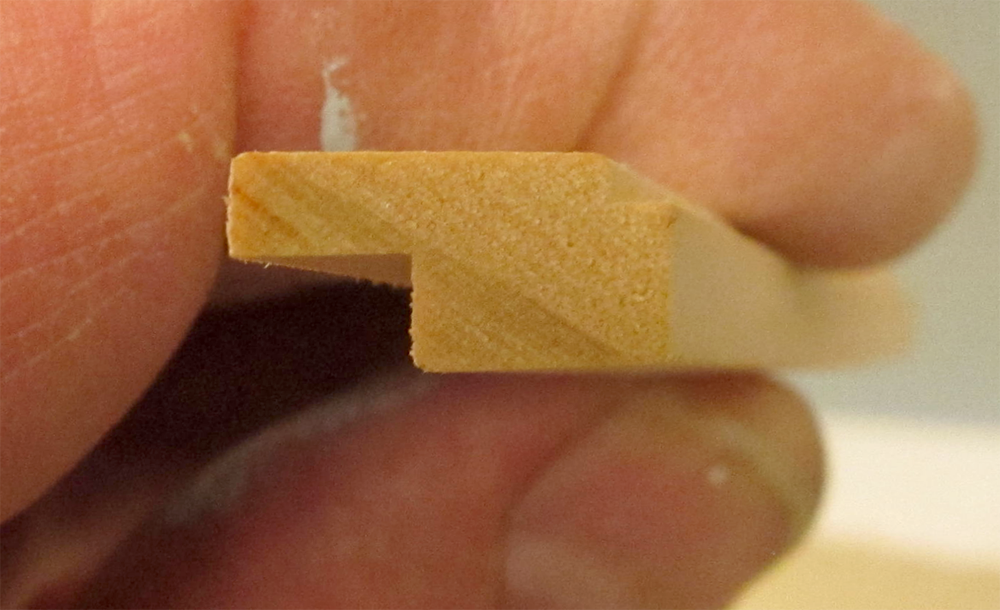
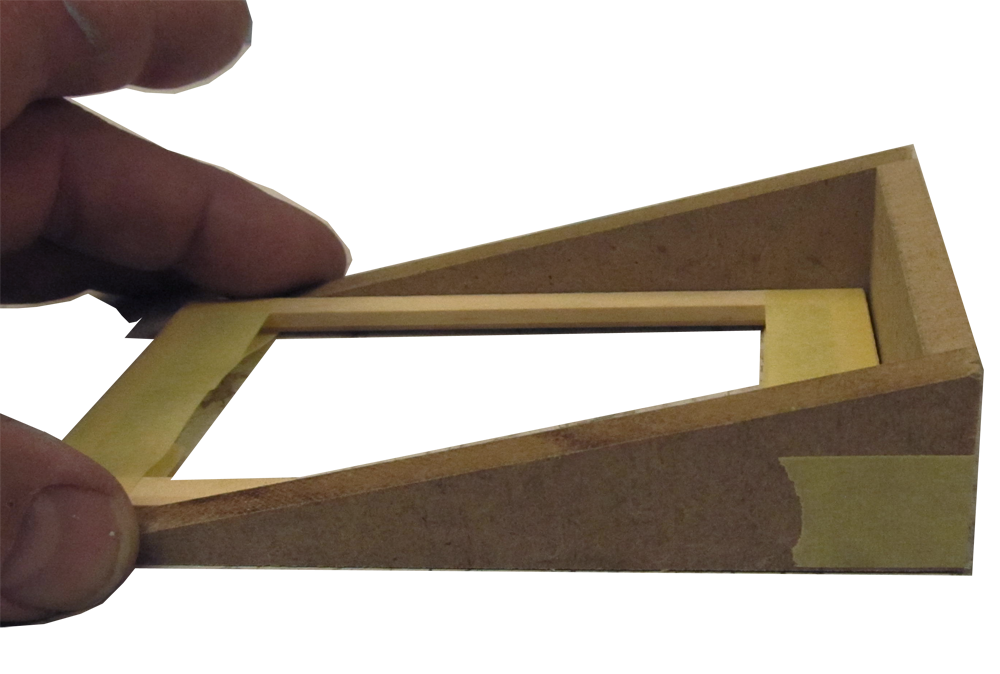
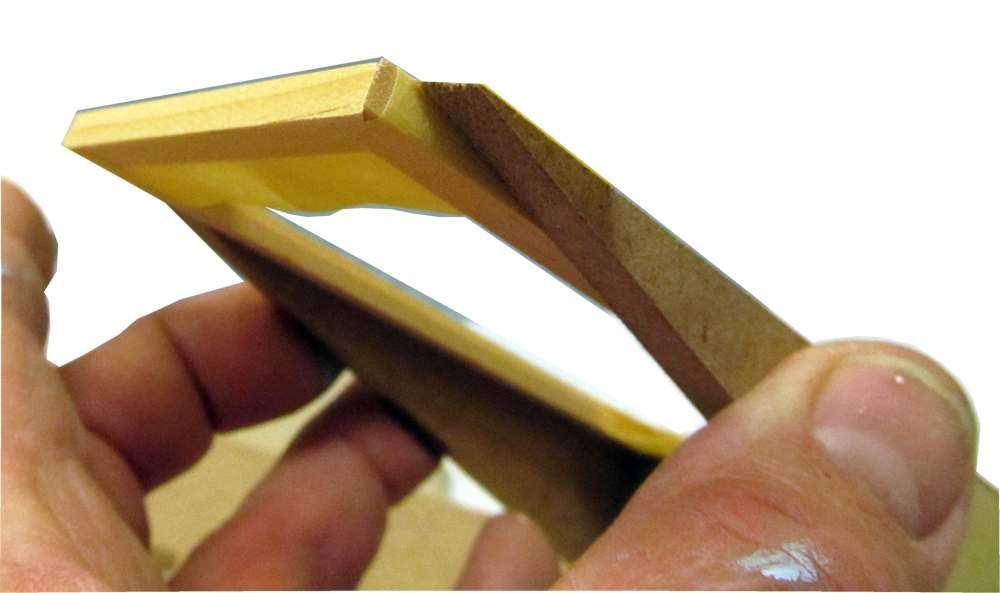
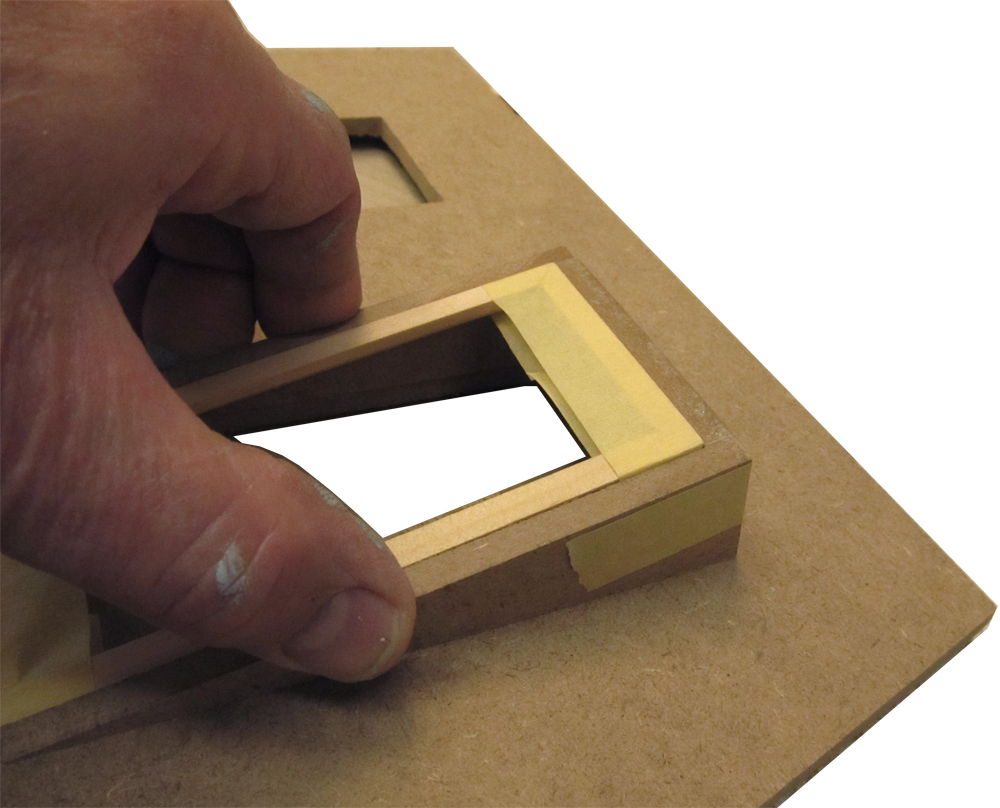
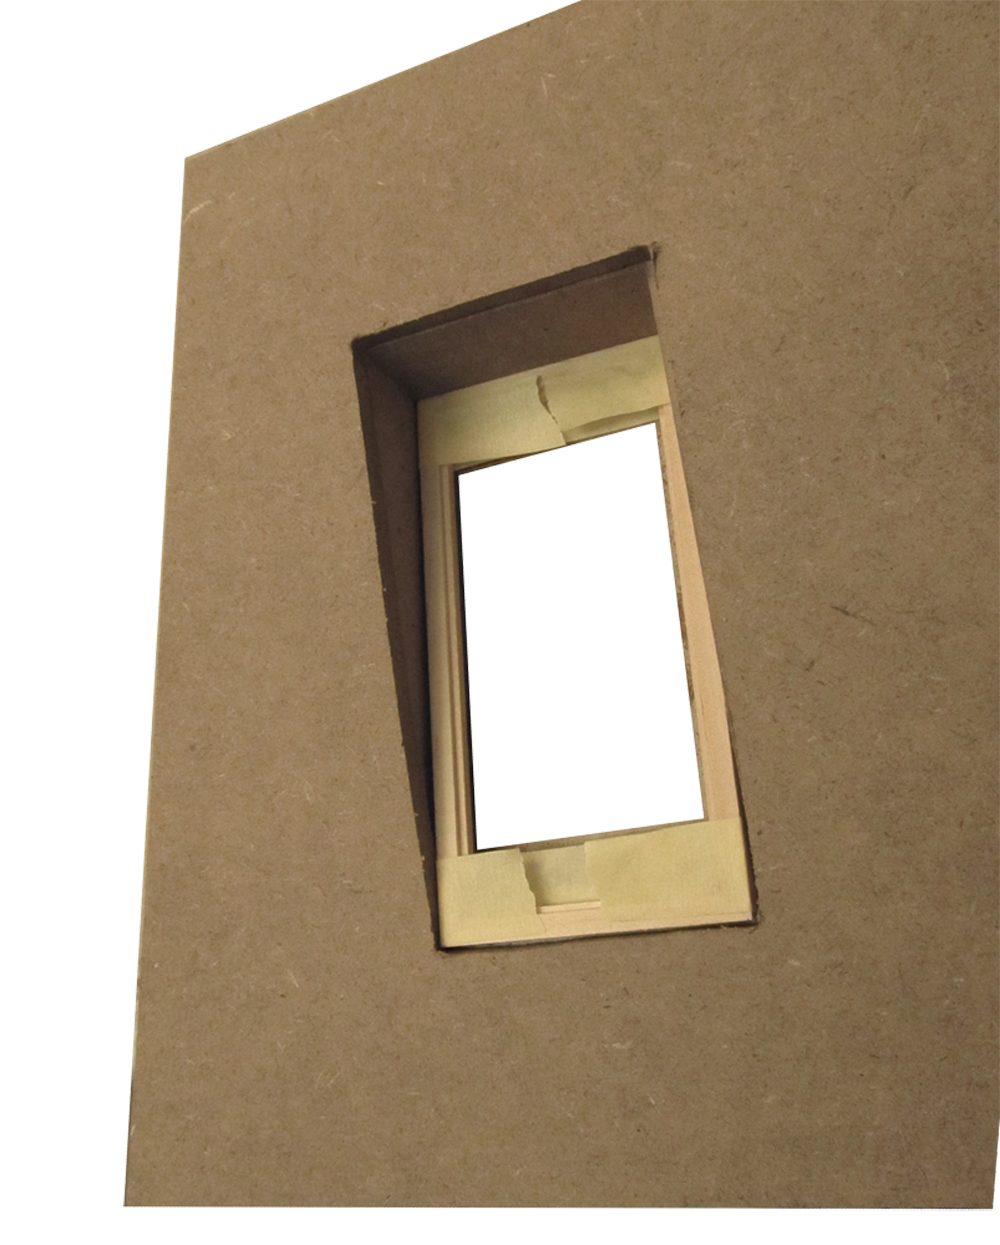
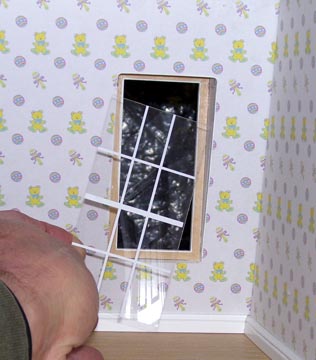
 21. Interior finishing is done - the Pane sits against the Exterior Frame
DormerDetails/141.jpg
21. Interior finishing is done - the Pane sits against the Exterior Frame
DormerDetails/141.jpg
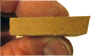
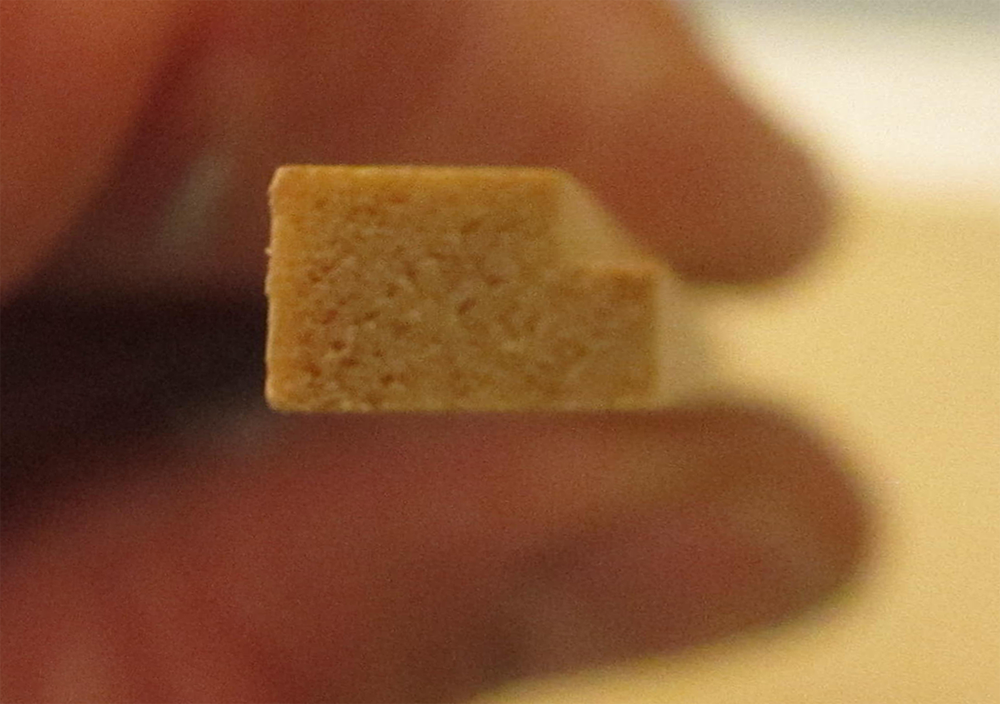
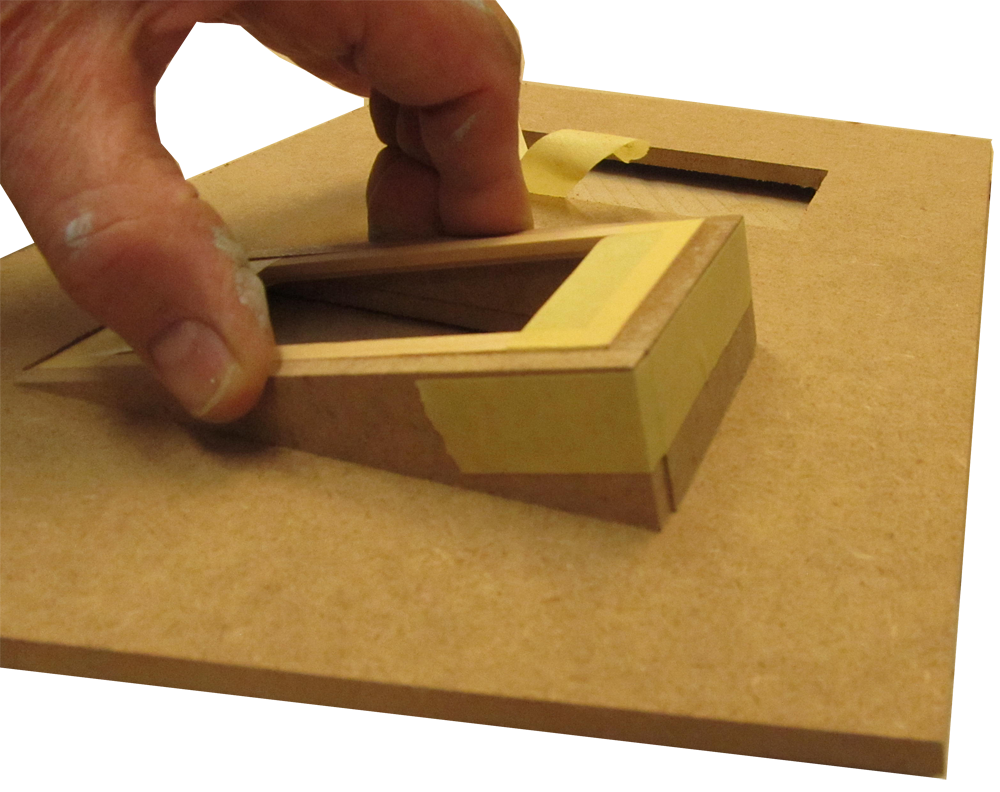
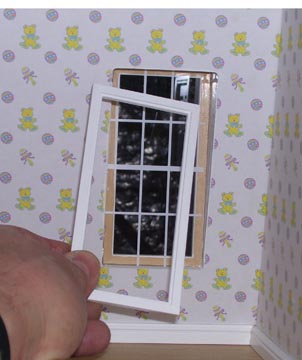
 22. The Interior Frame glues into the Dormer against the Pane
DormerDetails/142.jpg
22. The Interior Frame glues into the Dormer against the Pane
DormerDetails/142.jpg
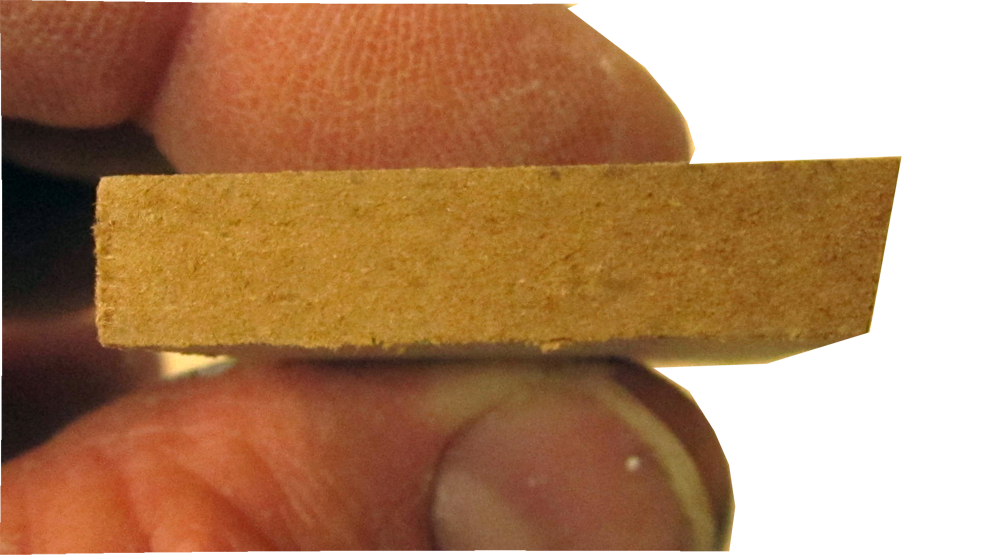
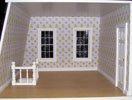
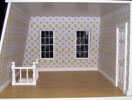 23. The Dormer interior was smoothed and painted before window installation
DormerDetails/143.jpg
23. The Dormer interior was smoothed and painted before window installation
DormerDetails/143.jpg
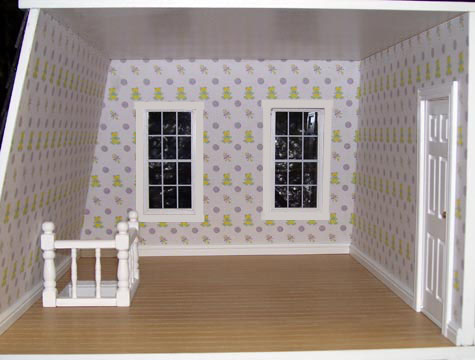
 24. Some builders add stripwood around the cutout (see "SW16" link at left)
DormerDetails/144.jpg
24. Some builders add stripwood around the cutout (see "SW16" link at left)
DormerDetails/144.jpg