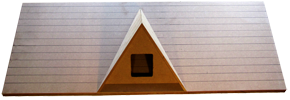
for a larger, printable photo
![]()
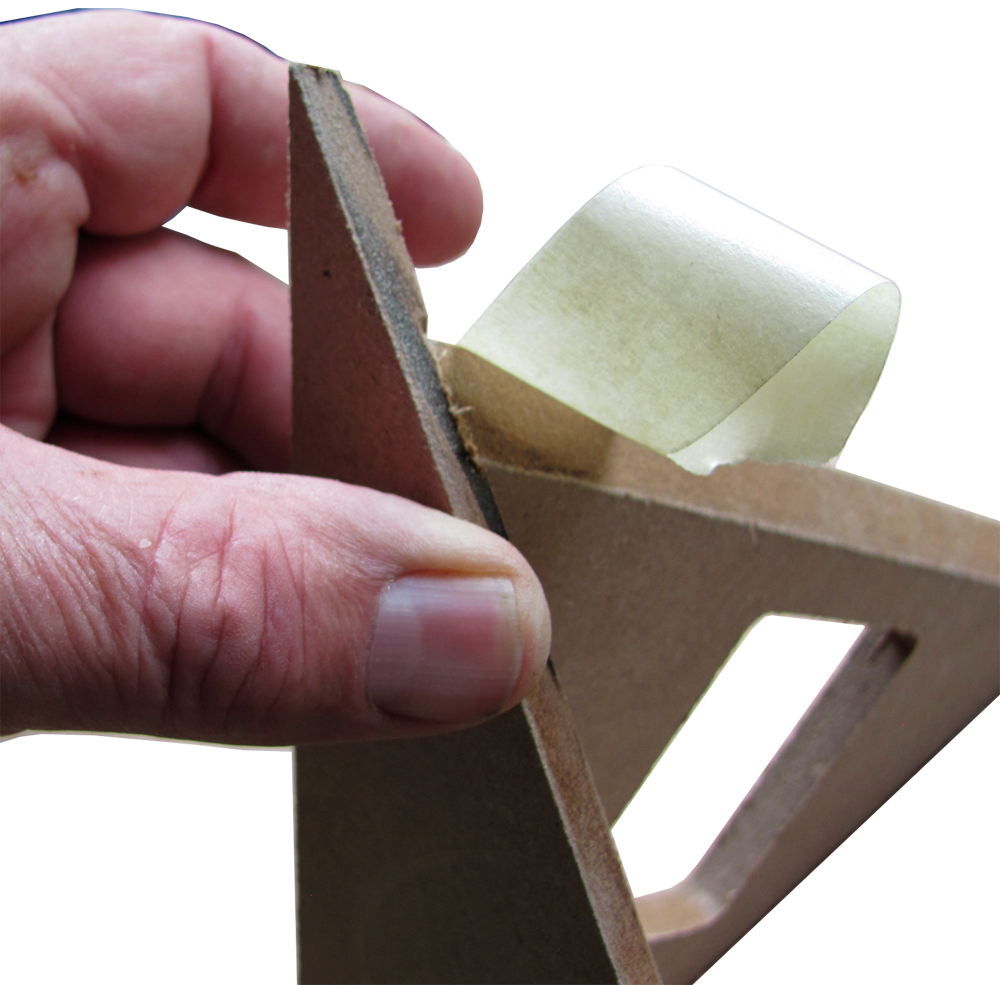
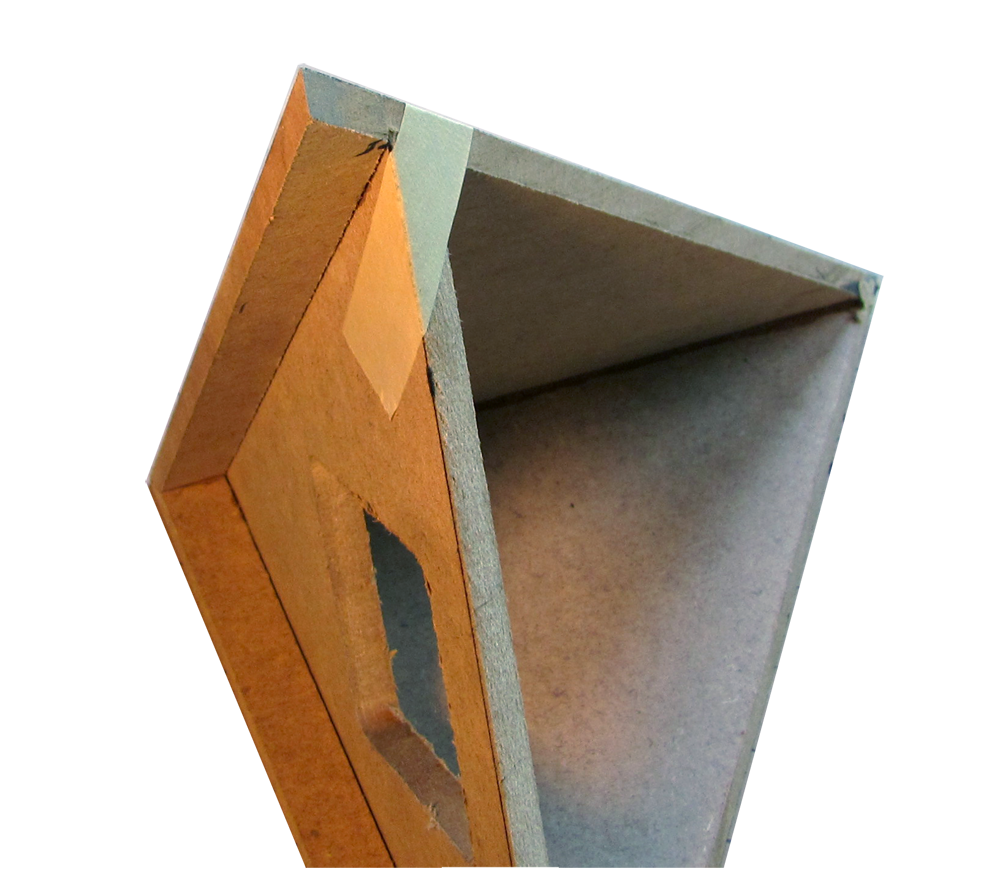
Tape - (high adhesion)
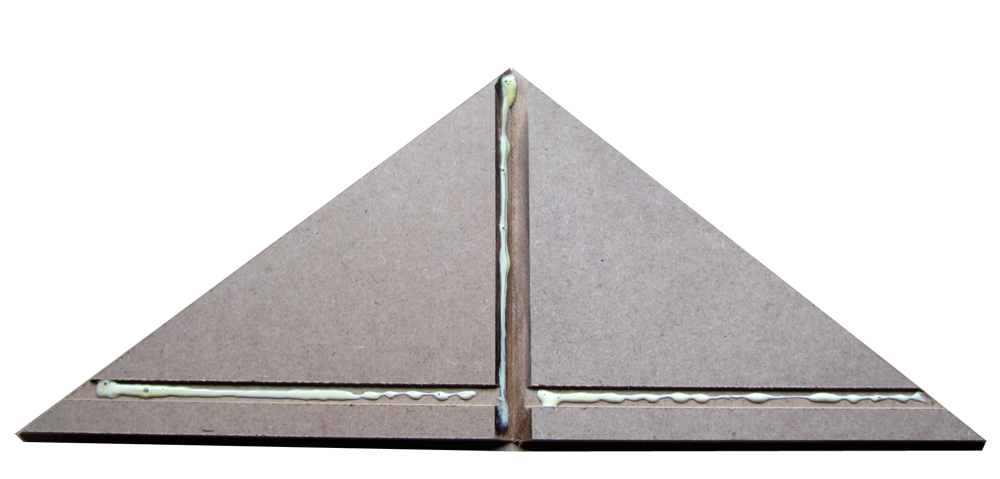
Glue - Assembly
File double-cut coarse
Finishing the Front
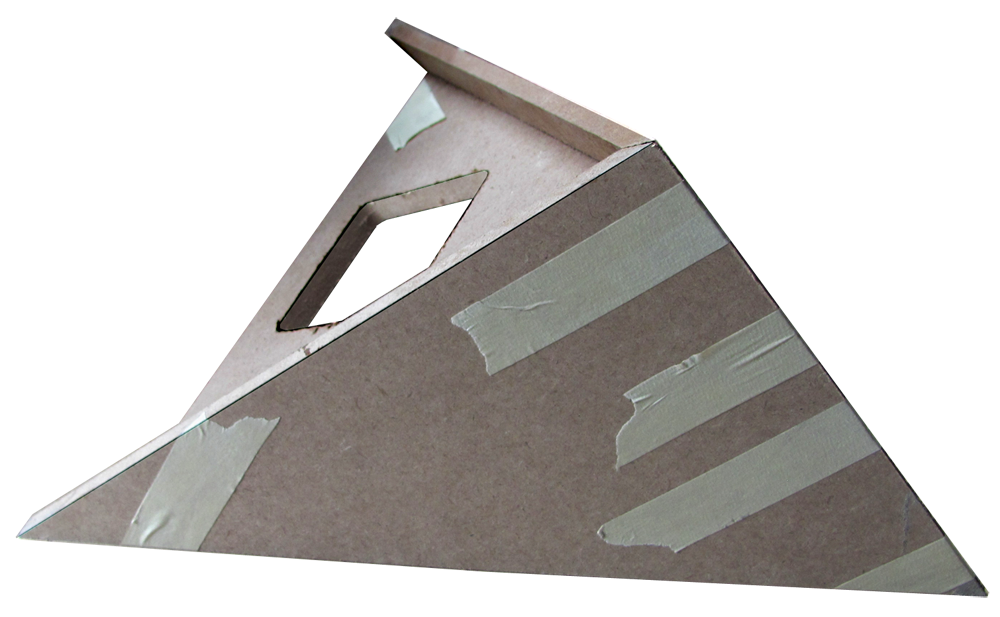
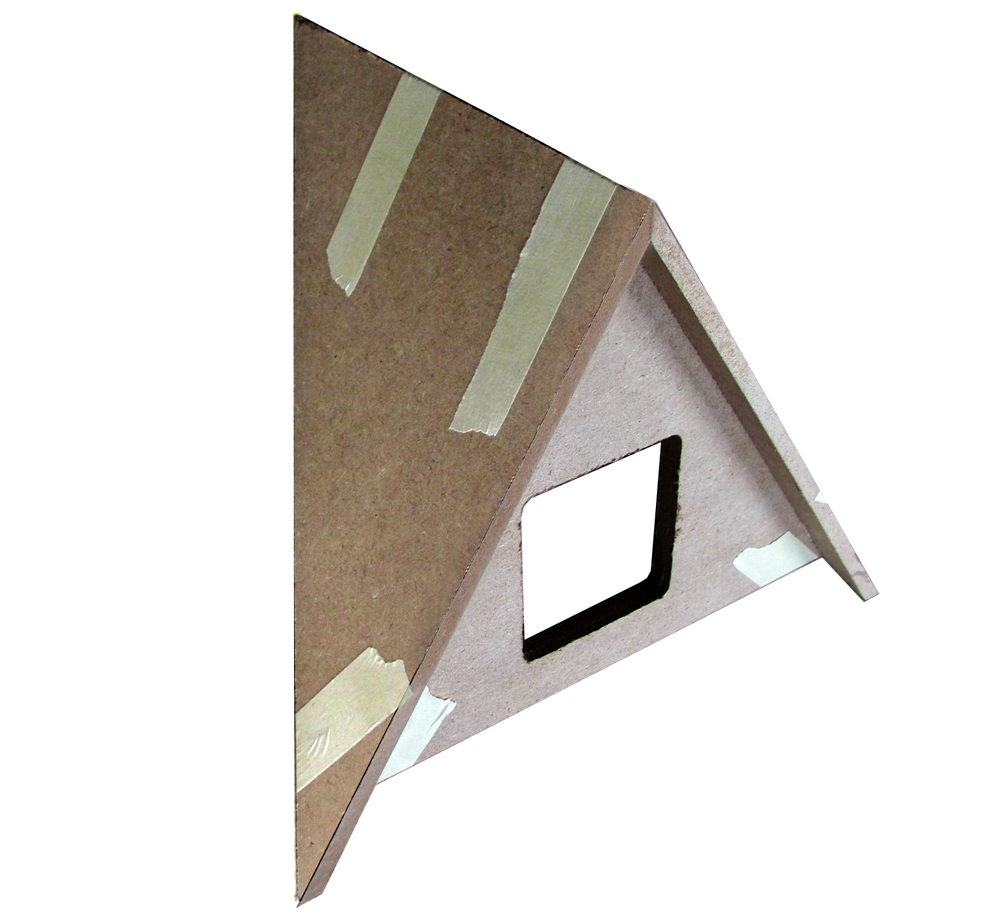
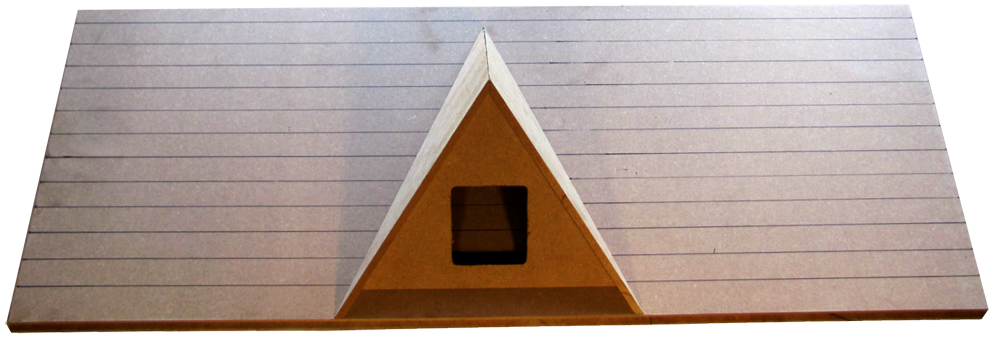
Shingling a Gable Dormer
This Dormer uses about 190 standard sized shingles, but will save about 50 shingles on the house (if you haven't shingled the house yet) so it may add 140 shingles to your shingles need. I have shingled this Dormer with 170 Shingles by using every single cutoff, half shingle, and scrap. Shingling the front takes just under 50 shingles in standard layout.
Shingles Home
Batch Dye
Flashing
DHTMLGoodies.com 00. See "Supplies" at left to find the products we use in this slideshow
../../RGT_Website_assets/ajax-loader.gif
00. See "Supplies" at left to find the products we use in this slideshow
../../RGT_Website_assets/ajax-loader.gif
00. See "Supplies" at left to find the products we use in this slideshow
../../RGT_Website_assets/ajax-loader.gif


DHTMLGoodies.com
![]() 06. Some builders pre-finish the Front... Painting is easiest now
../../Buttons/ClickHere.png
06. Some builders pre-finish the Front... Painting is easiest now
../../Buttons/ClickHere.png


DHTMLGoodies.com
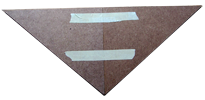
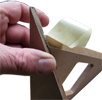
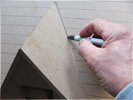
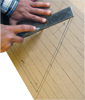
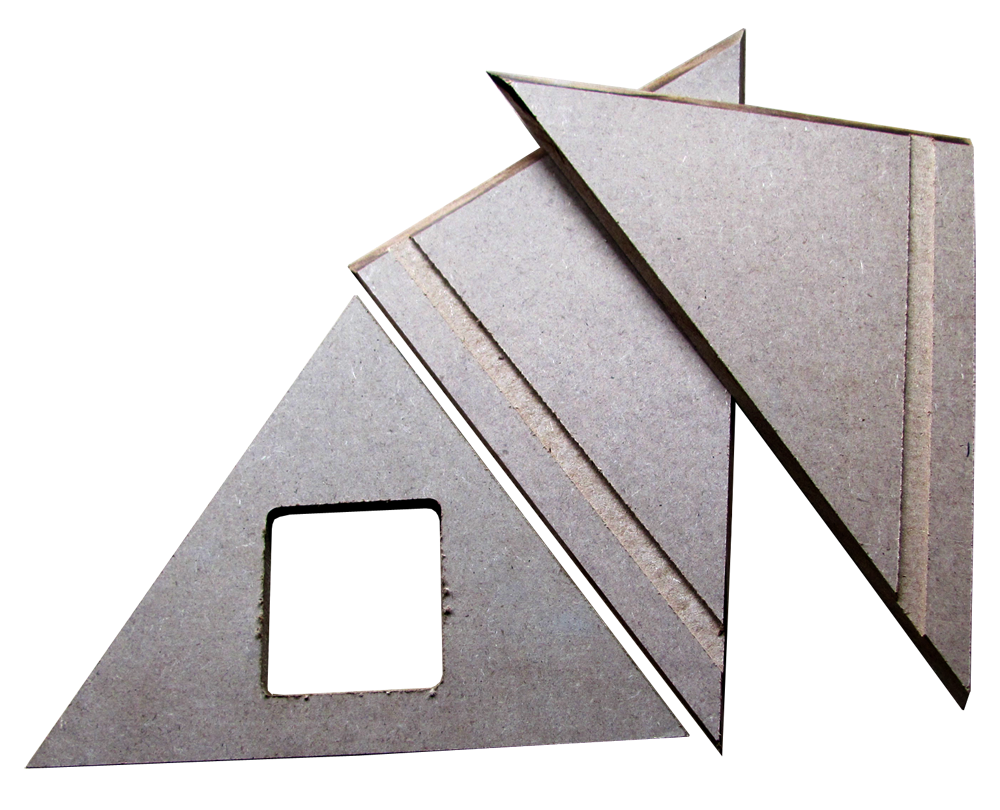
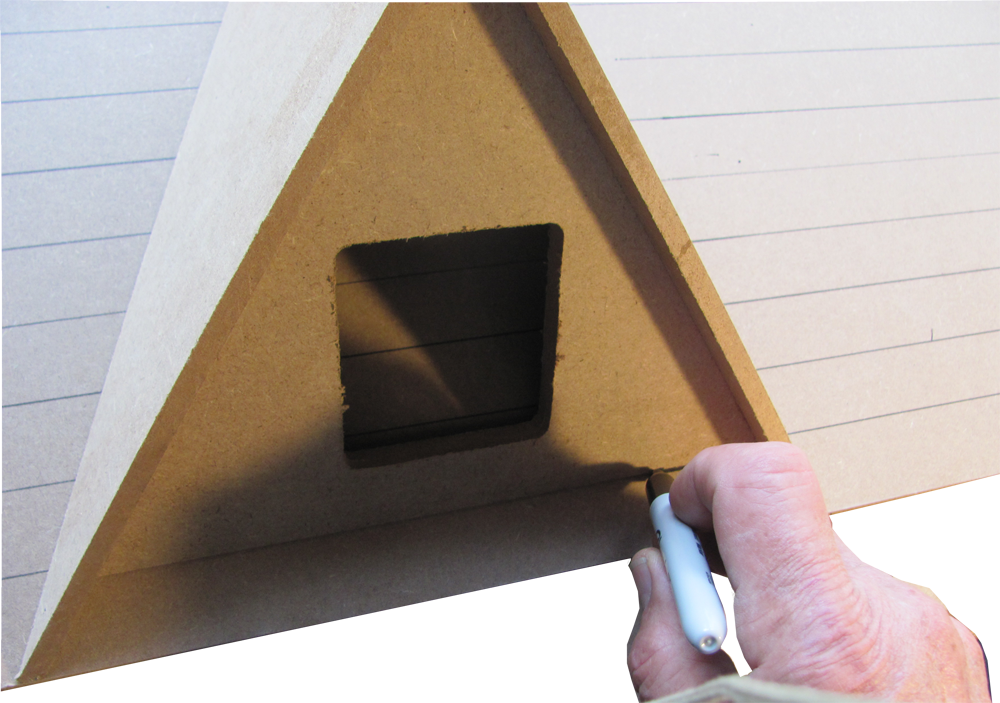
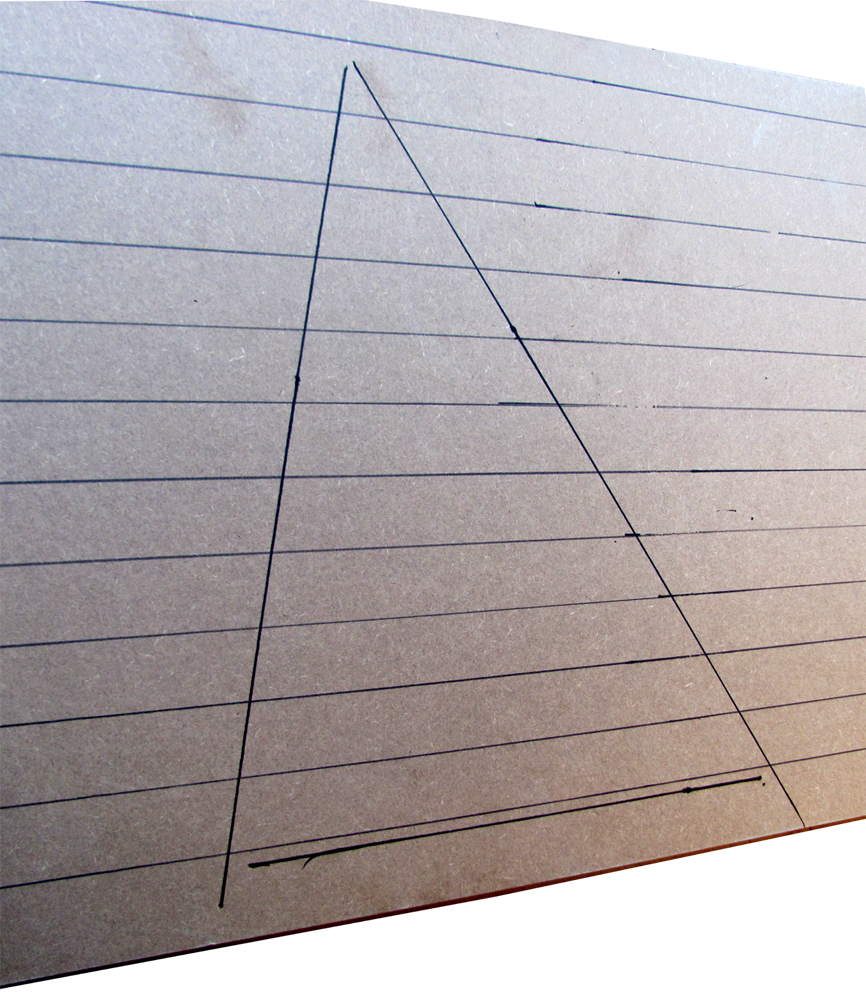
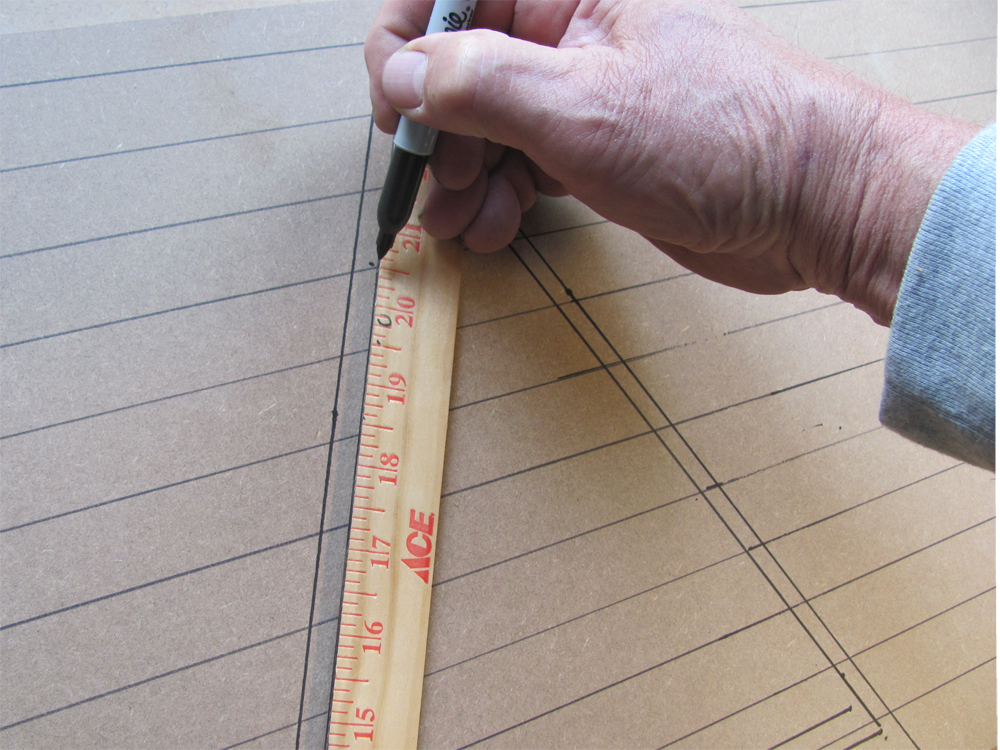
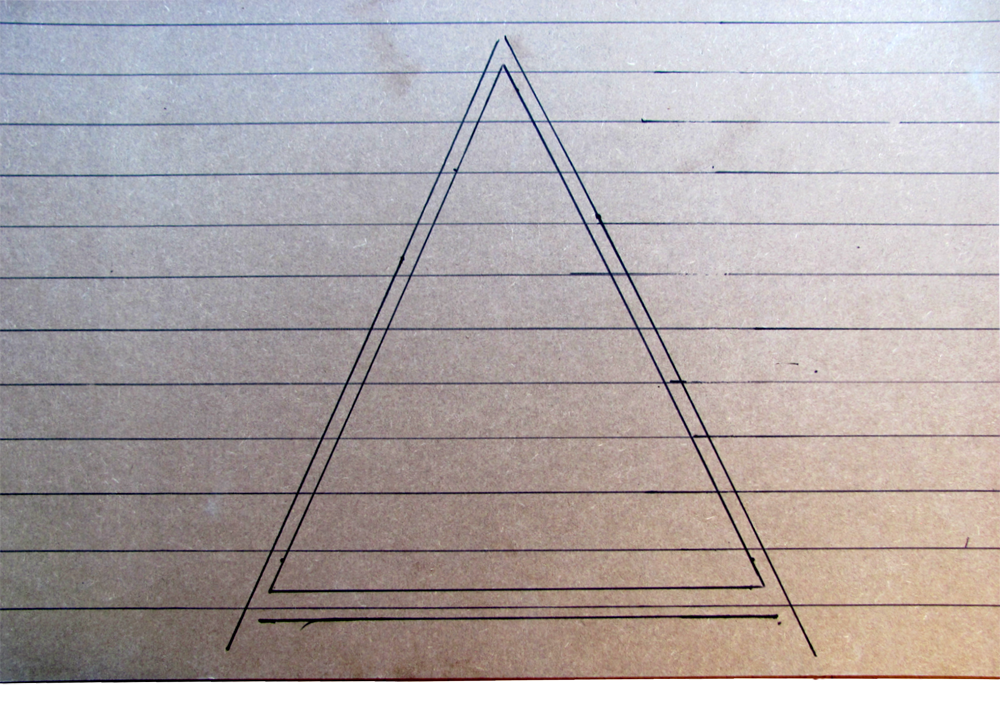
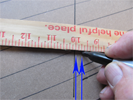 21. Marking a fat 1/4" inside the Roof's tracing in two places on each line
21D.png
21. Marking a fat 1/4" inside the Roof's tracing in two places on each line
21D.png
21. Marking a fat 1/4" inside the Roof's tracing in two places on each line
21D.png

DHTMLGoodies.com
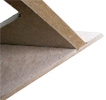
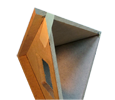
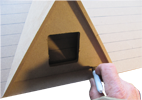
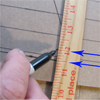
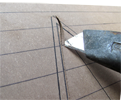
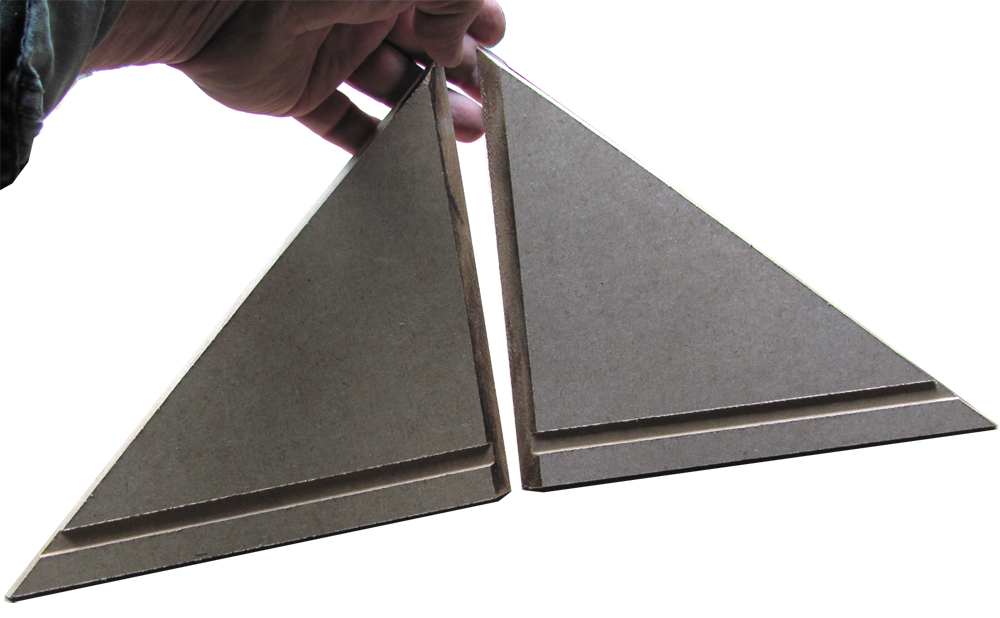
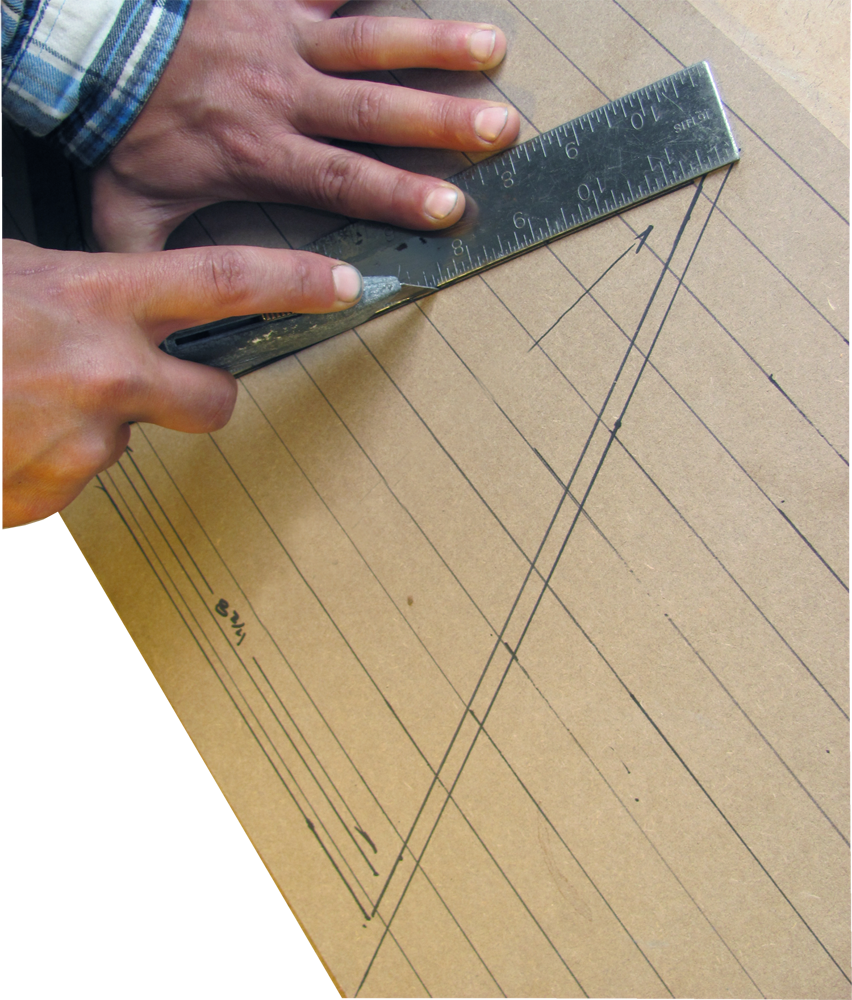
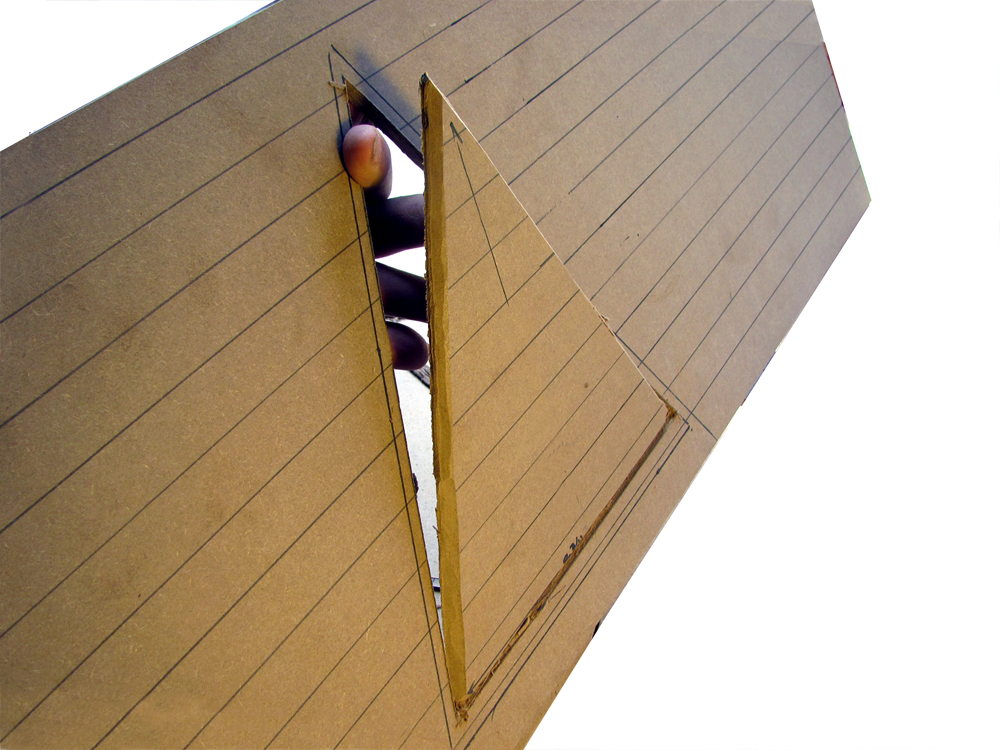
 26. Cut to the inside of the line with a utility knife, a jig saw, or an oscillating multitool
26D.png
26. Cut to the inside of the line with a utility knife, a jig saw, or an oscillating multitool
26D.png
26. Cut to the inside of the line with a utility knife, a jig saw, or an oscillating multitool
26D.png
DHTMLGoodies.com
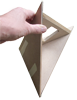
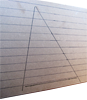
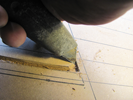
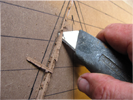
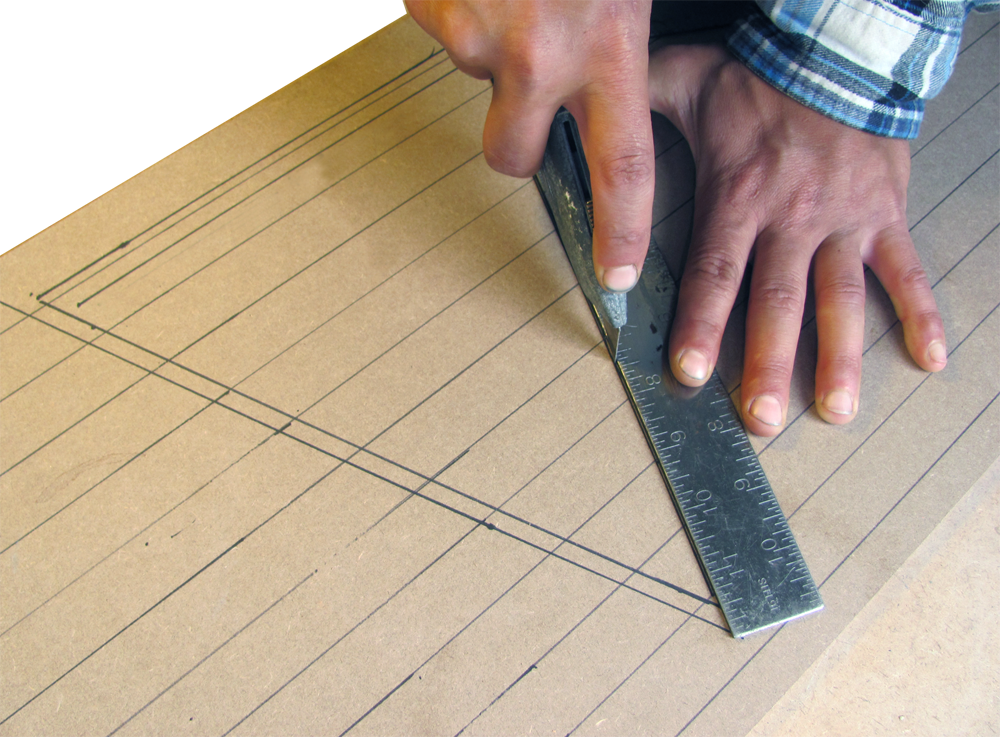
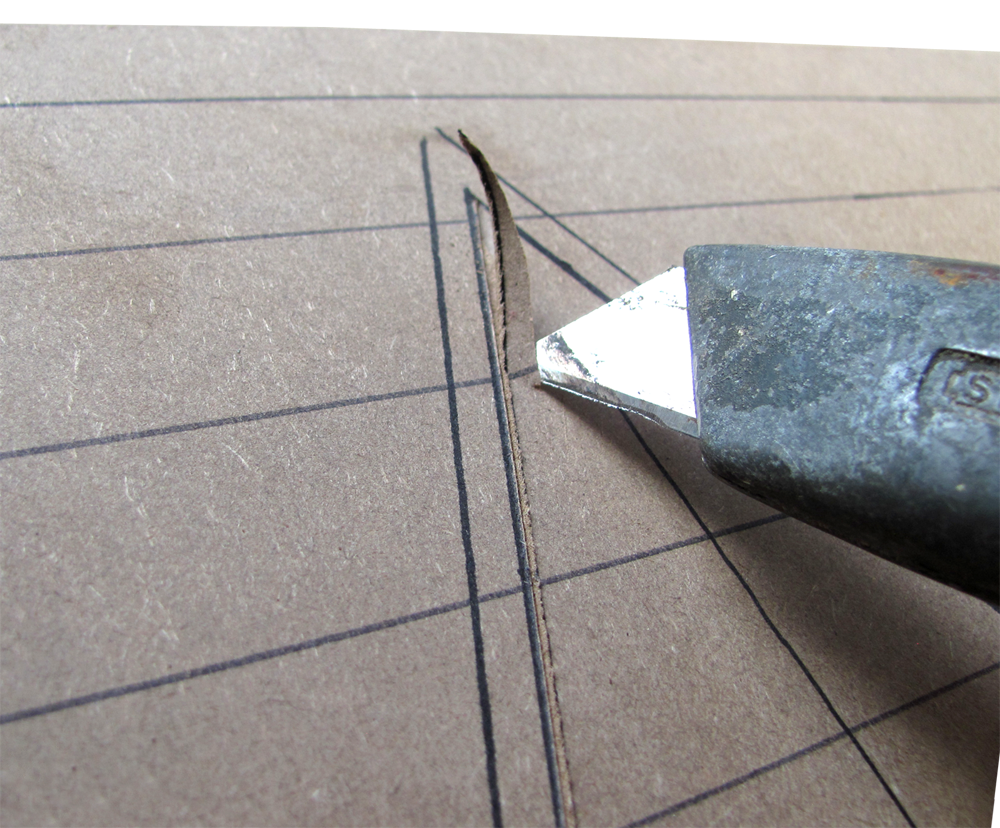
 27. Utility knife cutting starts with a 'straight cut' with the knife straight up-and-down
27D.png
27. Utility knife cutting starts with a 'straight cut' with the knife straight up-and-down
27D.png
27. Utility knife cutting starts with a 'straight cut' with the knife straight up-and-down
27D.png
DHTMLGoodies.com
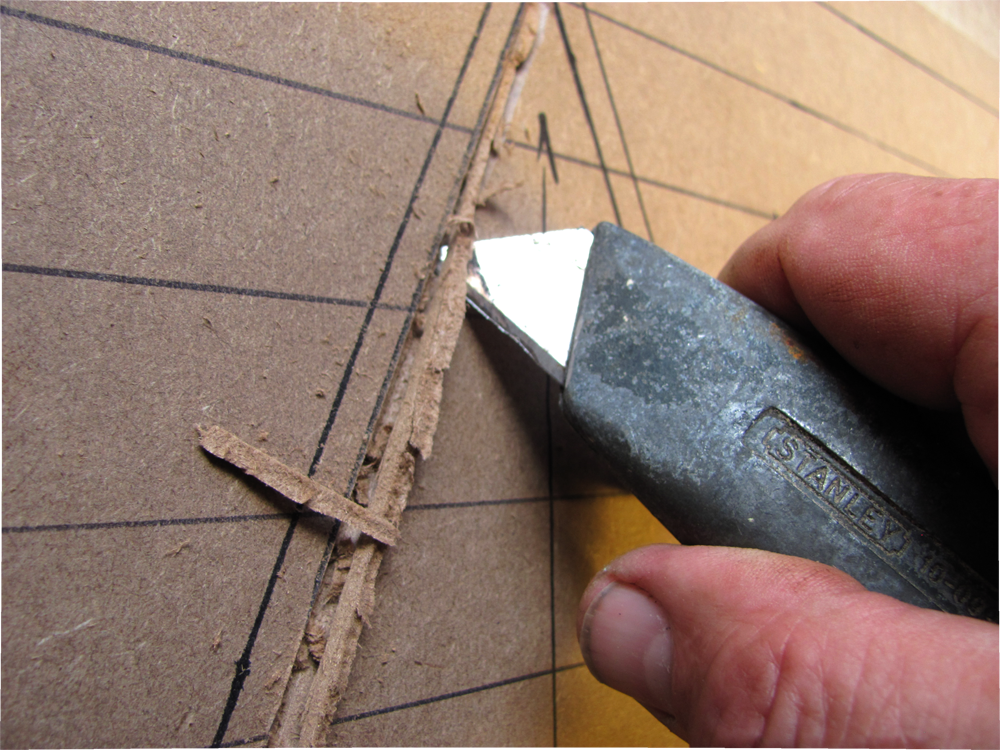
 28. Make several straight cuts, then make a clearing cut to the inside of the straight cut
A clearing cut has the knife at an angle to lift out a ribbon of material 28D.png
28. Make several straight cuts, then make a clearing cut to the inside of the straight cutA clearing cut has the knife at an angle to lift out a ribbon of material 28D.png

DHTMLGoodies.com
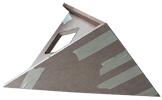
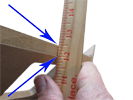
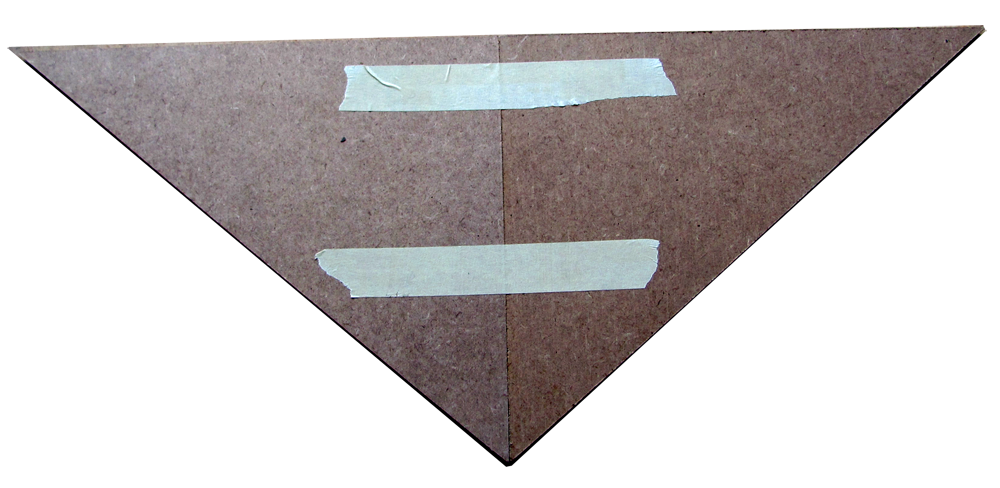
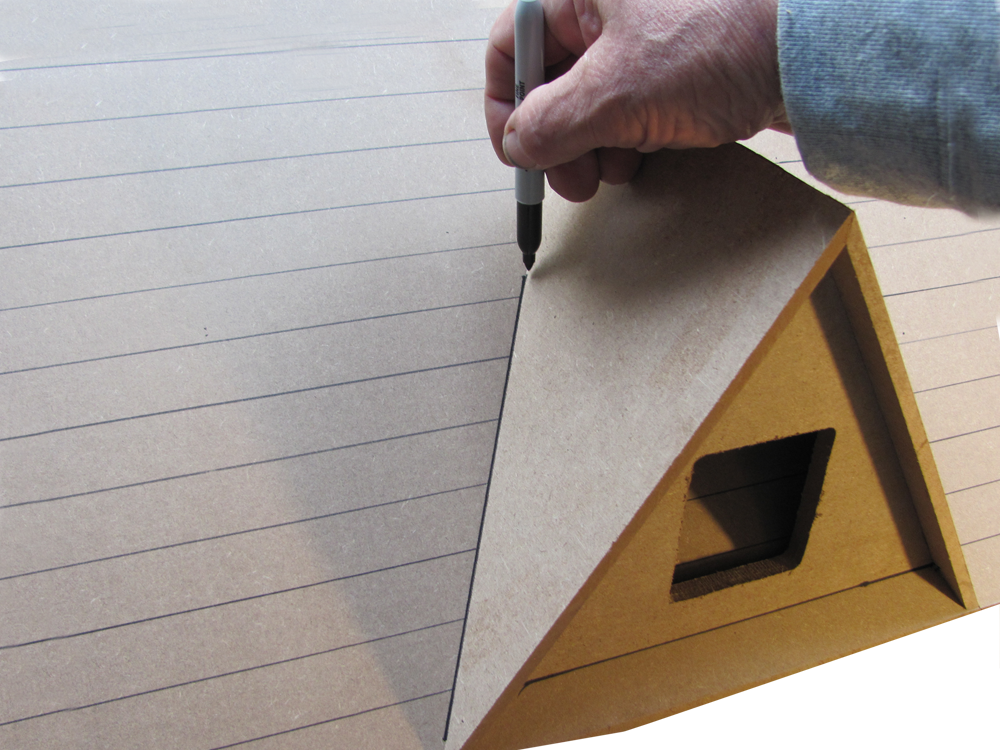
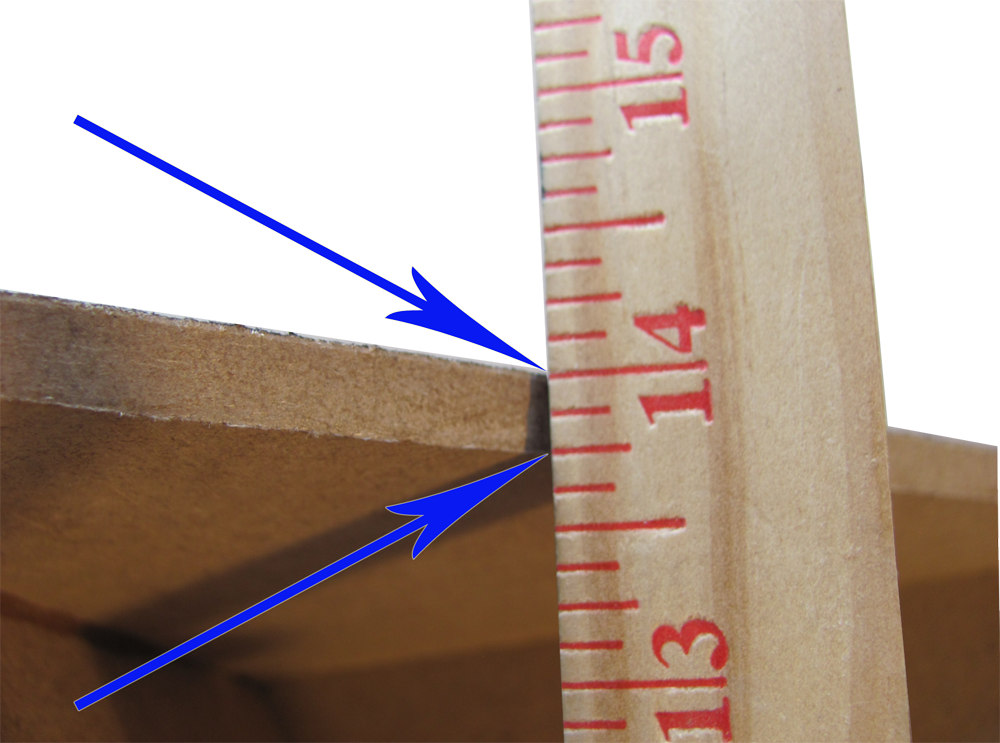
 32. Line up the Dormer with the outer tracing - transfer the house shingle guidelines to the Dormer Roof
32D.png
32. Line up the Dormer with the outer tracing - transfer the house shingle guidelines to the Dormer Roof
32D.png
 32. Line up the Dormer with the outer tracing - transfer the house shingle guidelines to the Dormer Roof
32D.png
32. Line up the Dormer with the outer tracing - transfer the house shingle guidelines to the Dormer Roof
32D.png
DHTMLGoodies.com
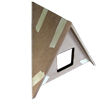
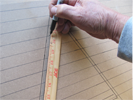
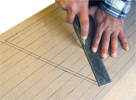
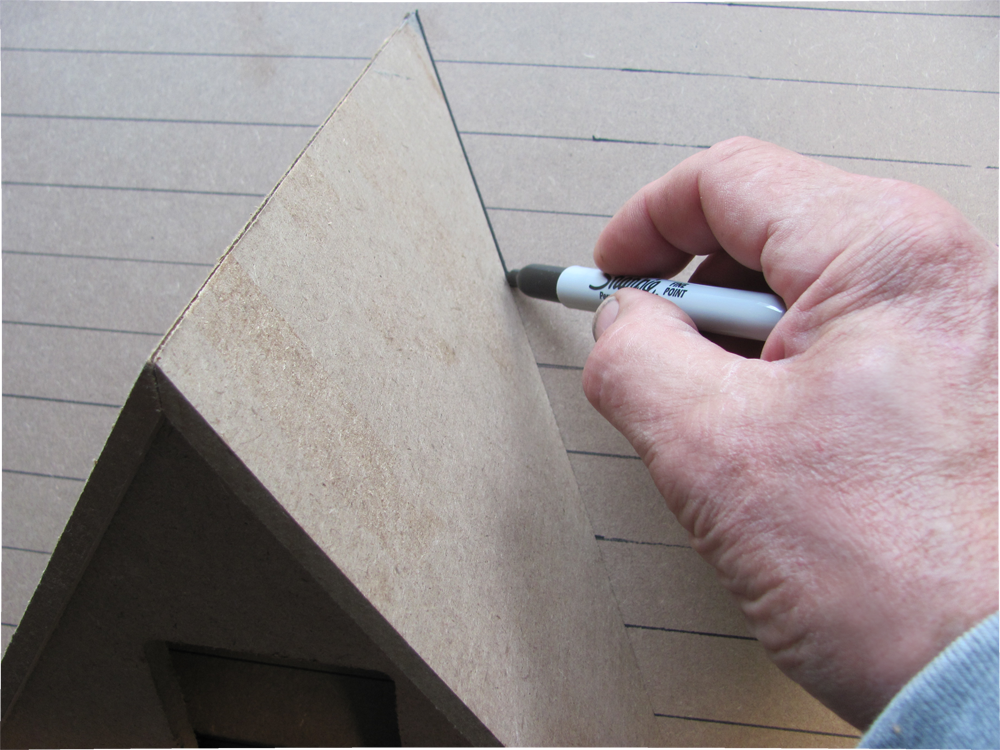
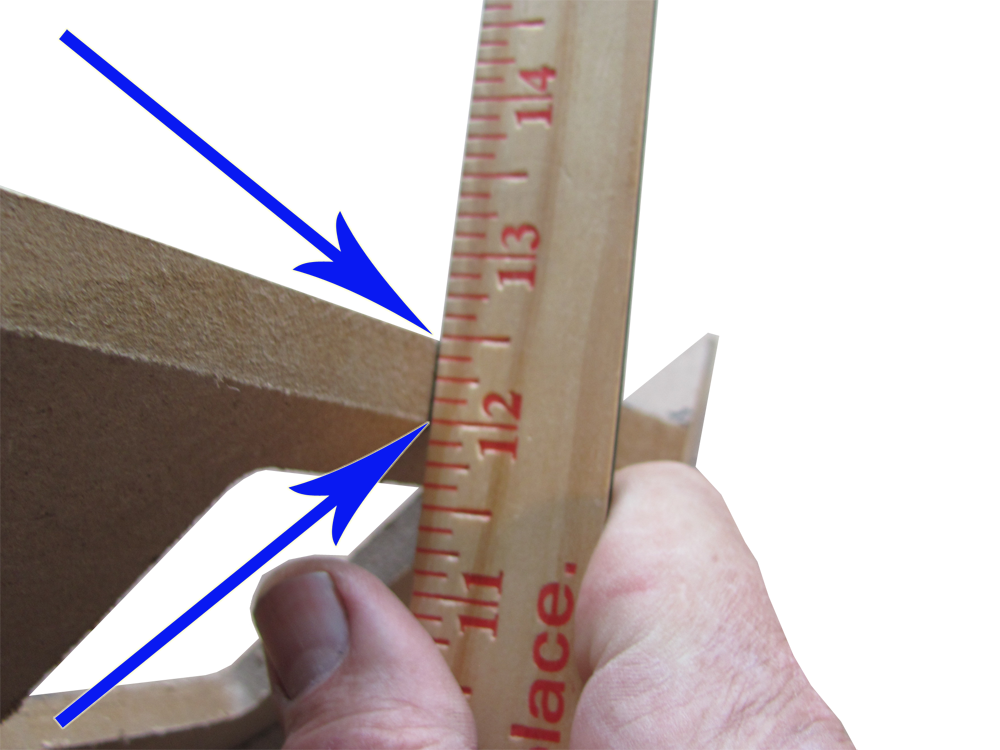
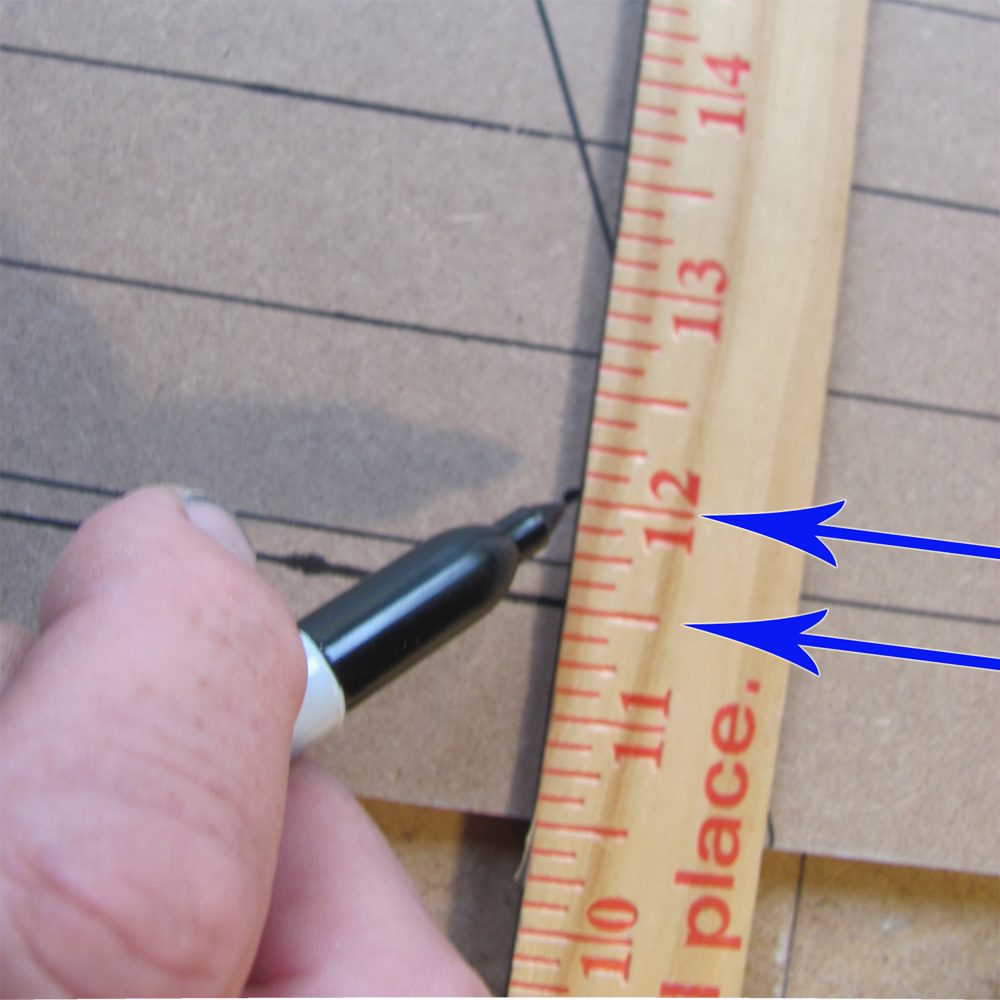
 33. Lay the Dormer on its front edge ... use a square to extend the marks to the front edge
33D.png
33. Lay the Dormer on its front edge ... use a square to extend the marks to the front edge
33D.png
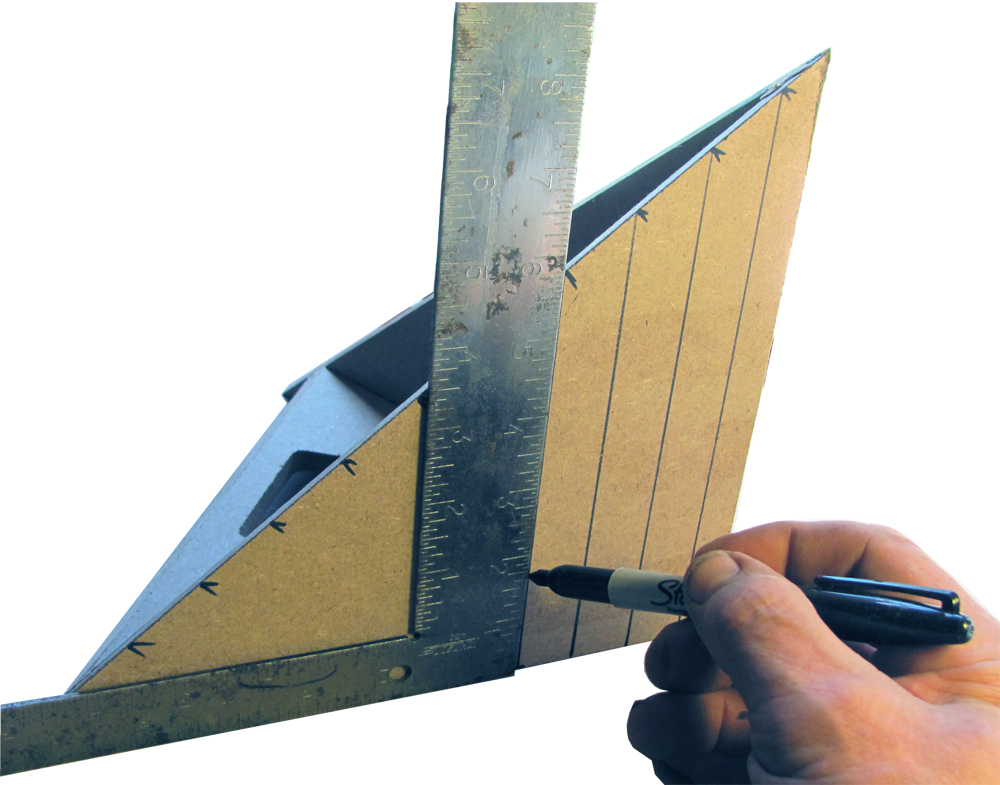 33. Lay the Dormer on its front edge ... use a square to extend the marks to the front edge
33D.png
33. Lay the Dormer on its front edge ... use a square to extend the marks to the front edge
33D.png