![]()
![]()
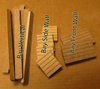
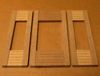
This is a preview of the Bay Wallset parts, their orientation, and how they are used.
Do not glue them together yet.
PreAssembly:
Parts ID
WallSet parts orientation (here)
Paint (first coat) & Sand
Assembly:
WallSets
Windows
Finish painting
Installation
Wall Cutout
Oscillating Saw
Utility knife
Customization Q&A
More: (techniques that apply)
Installation (JM1065)
Window assembly (JM1065)
Bay Facia Trim
for a larger, printable image
DHTMLGoodies.com
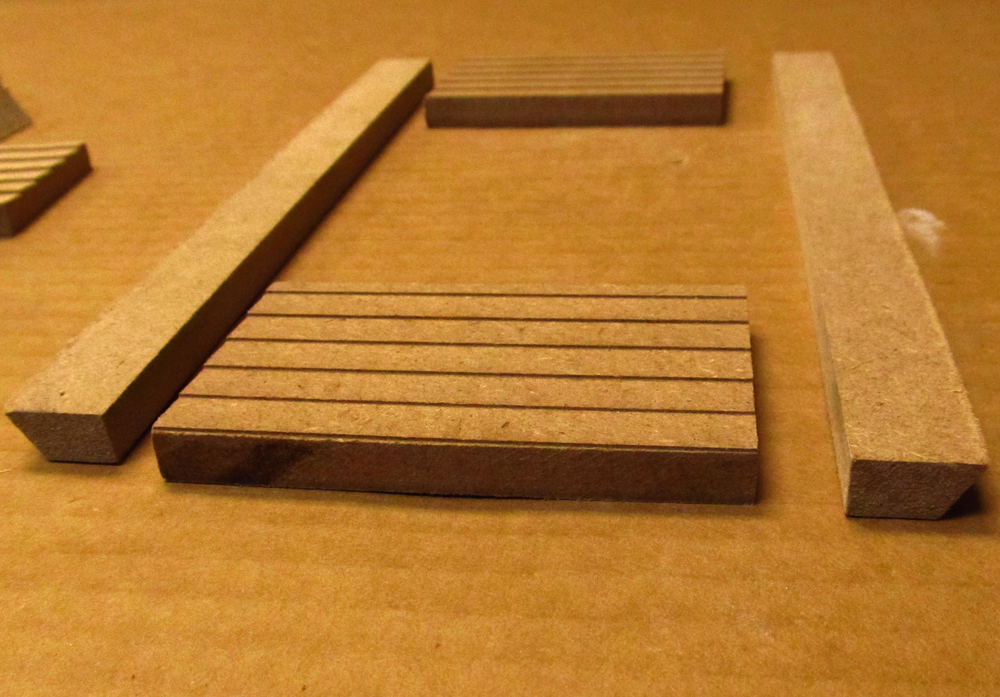
 00. Identify, label, and check off the parts on the Instructions' Parts List
../../../RGT_Website_assets/ajax-loader.gif
00. Identify, label, and check off the parts on the Instructions' Parts List
../../../RGT_Website_assets/ajax-loader.gif
00. Identify, label, and check off the parts on the Instructions' Parts List
../../../RGT_Website_assets/ajax-loader.gif
DHTMLGoodies.com
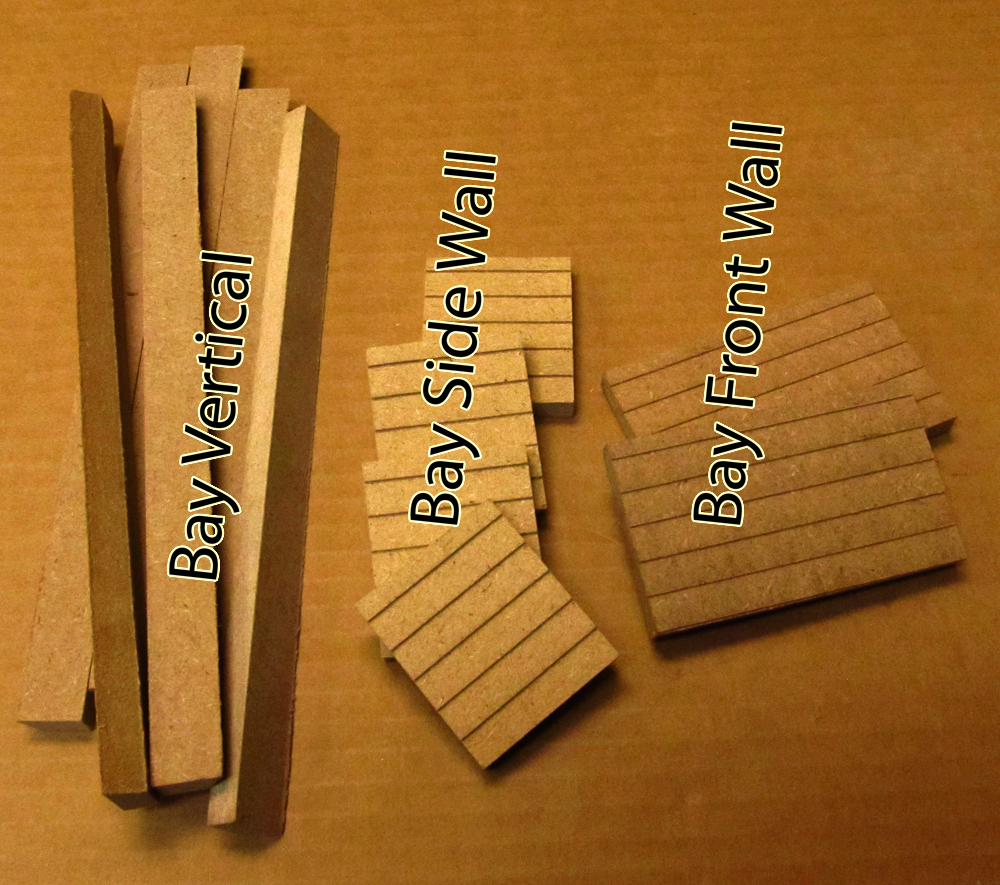
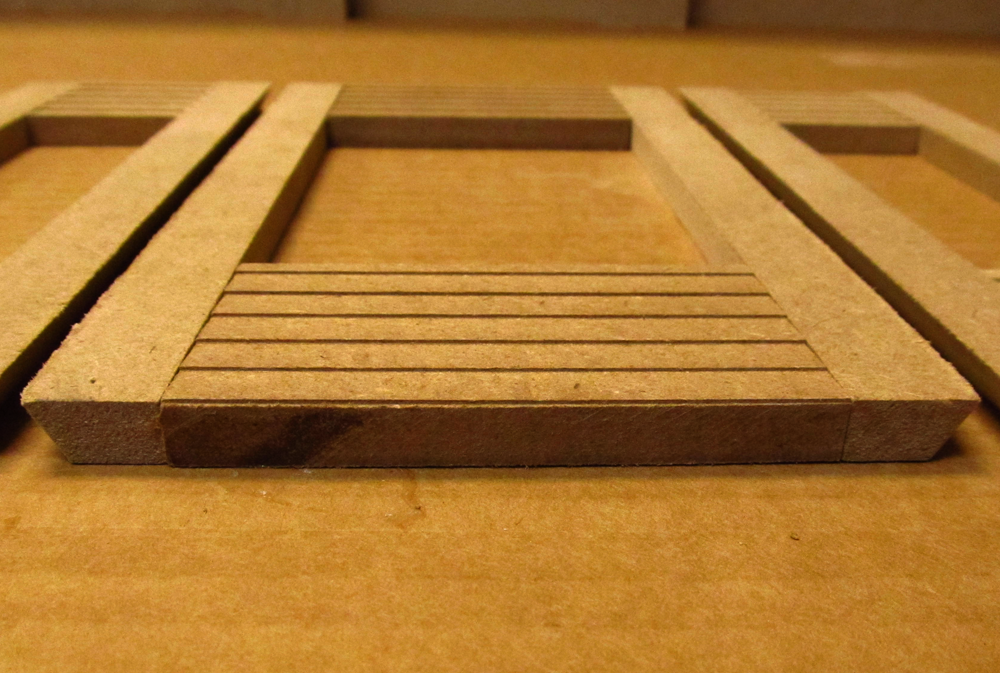
 02. This is the bottom of one wall from the outside - notice the way the clapboard faces
../../../1065/PreAssembly/FrontBayWalls/IMG_7055D.png
02. This is the bottom of one wall from the outside - notice the way the clapboard faces
../../../1065/PreAssembly/FrontBayWalls/IMG_7055D.png
 02. This is the bottom of one wall from the outside - notice the way the clapboard faces
../../../1065/PreAssembly/FrontBayWalls/IMG_7055D.png
02. This is the bottom of one wall from the outside - notice the way the clapboard faces
../../../1065/PreAssembly/FrontBayWalls/IMG_7055D.png
DHTMLGoodies.com
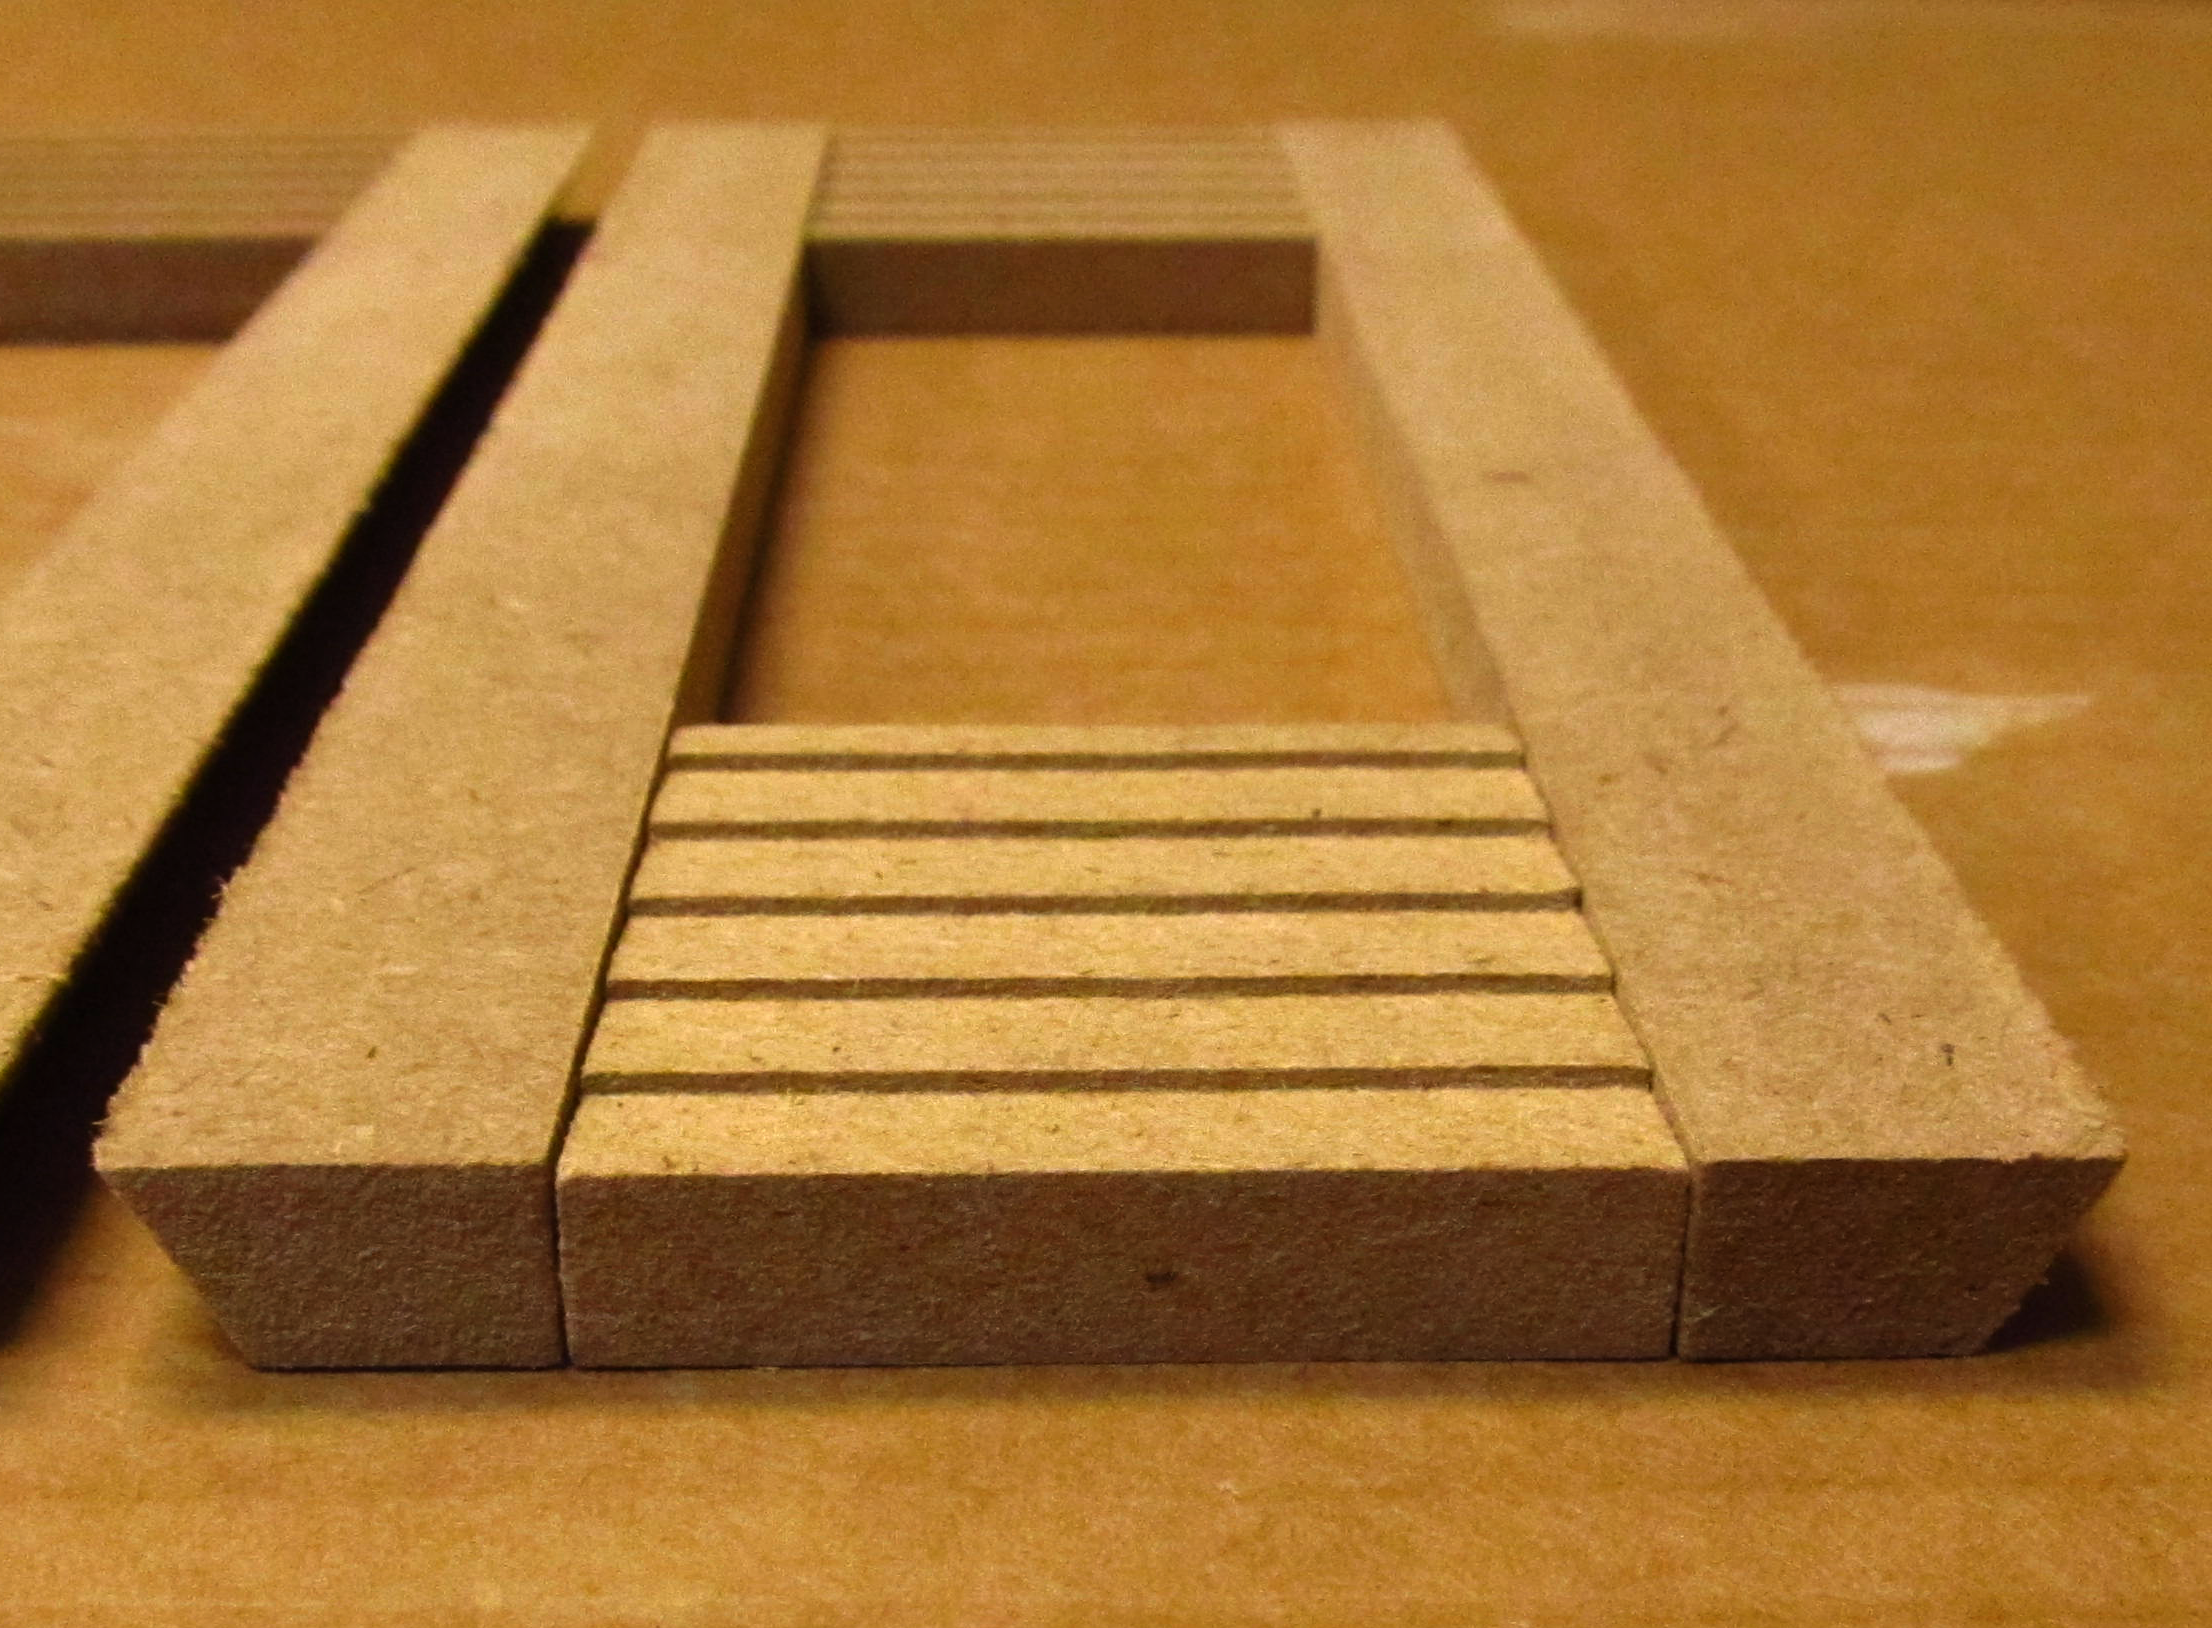
 03. The bottom again from the outside - notice the way the Verticals face
../../../1065/PreAssembly/FrontBayWalls/IMG_7056D.png
03. The bottom again from the outside - notice the way the Verticals face
../../../1065/PreAssembly/FrontBayWalls/IMG_7056D.png
 03. The bottom again from the outside - notice the way the Verticals face
../../../1065/PreAssembly/FrontBayWalls/IMG_7056D.png
03. The bottom again from the outside - notice the way the Verticals face
../../../1065/PreAssembly/FrontBayWalls/IMG_7056D.png
DHTMLGoodies.com
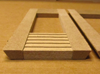
 04. 3 sets - the clapboard and verticals face the same on each
../../../1065/PreAssembly/FrontBayWalls/IMG_7058D.png
04. 3 sets - the clapboard and verticals face the same on each
../../../1065/PreAssembly/FrontBayWalls/IMG_7058D.png
 04. 3 sets - the clapboard and verticals face the same on each
../../../1065/PreAssembly/FrontBayWalls/IMG_7058D.png
04. 3 sets - the clapboard and verticals face the same on each
../../../1065/PreAssembly/FrontBayWalls/IMG_7058D.png
DHTMLGoodies.com
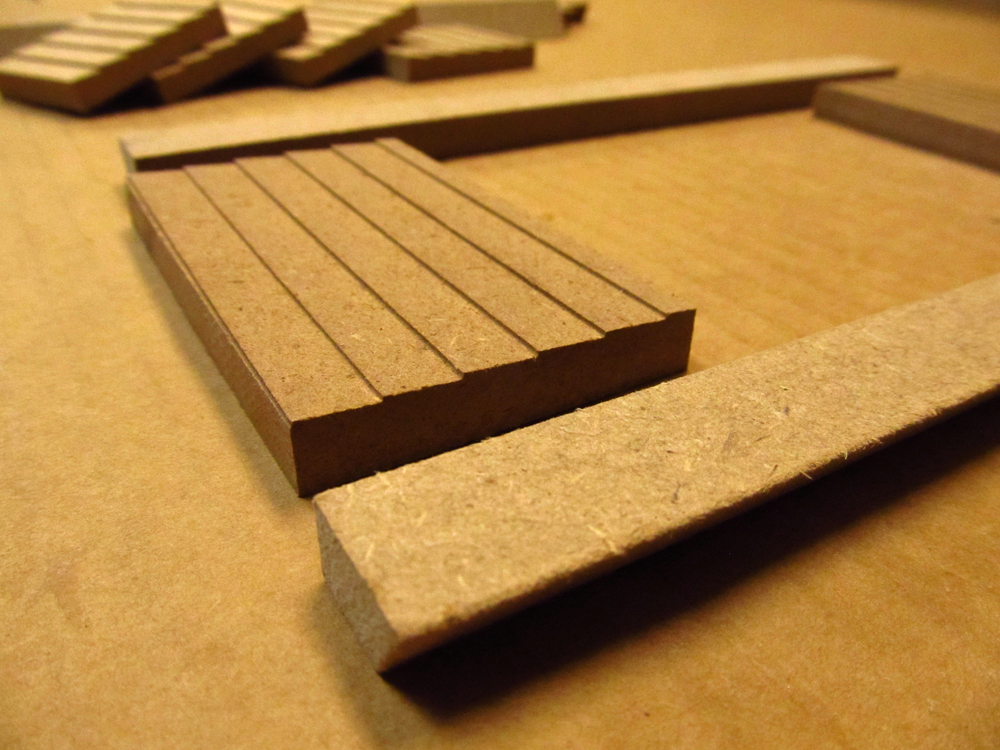
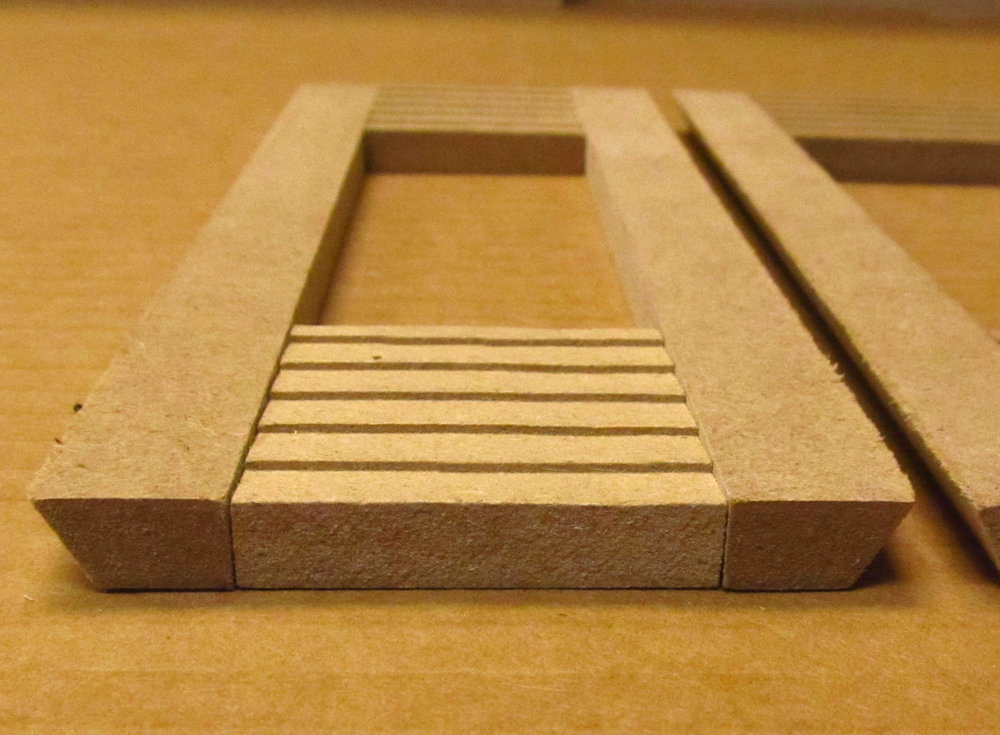
 05. Lined up on the bottom and top
../../../1065/PreAssembly/FrontBayWalls/IMG_7059D.png
05. Lined up on the bottom and top
../../../1065/PreAssembly/FrontBayWalls/IMG_7059D.png
 05. Lined up on the bottom and top
../../../1065/PreAssembly/FrontBayWalls/IMG_7059D.png
05. Lined up on the bottom and top
../../../1065/PreAssembly/FrontBayWalls/IMG_7059D.png
DHTMLGoodies.com
 06. the wide face of the Bay Vertical is on the outside
../../../1065/PreAssembly/FrontBayWalls/IMG_7060D.png
06. the wide face of the Bay Vertical is on the outside
../../../1065/PreAssembly/FrontBayWalls/IMG_7060D.png
 06. the wide face of the Bay Vertical is on the outside
../../../1065/PreAssembly/FrontBayWalls/IMG_7060D.png
06. the wide face of the Bay Vertical is on the outside
../../../1065/PreAssembly/FrontBayWalls/IMG_7060D.png
DHTMLGoodies.com
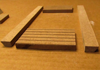
 07. Paint (one coat) and sand before gluing them together
../../../1065/PreAssembly/FrontBayWalls/IMG_7061D.png
07. Paint (one coat) and sand before gluing them together
../../../1065/PreAssembly/FrontBayWalls/IMG_7061D.png
 07. Paint (one coat) and sand before gluing them together
../../../1065/PreAssembly/FrontBayWalls/IMG_7061D.png
07. Paint (one coat) and sand before gluing them together
../../../1065/PreAssembly/FrontBayWalls/IMG_7061D.png