![]()
![]()
![]()
![]()
![]()
![]()
![]()
![]()
![]()
![]()
![]()
![]()
Other Great! Websites:
![]()
![]()
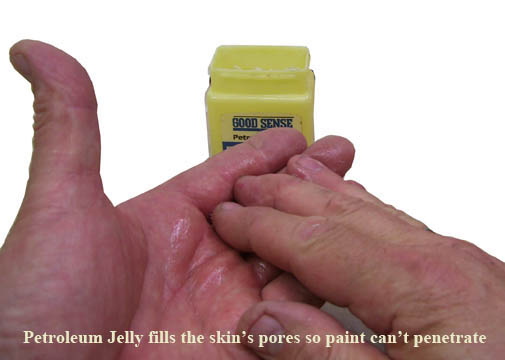
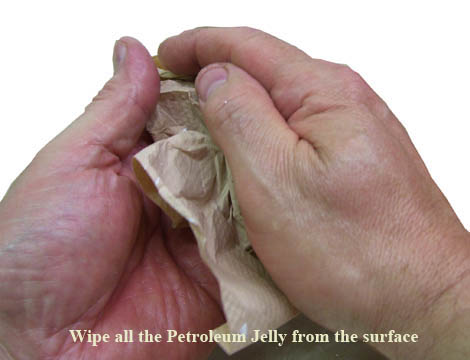
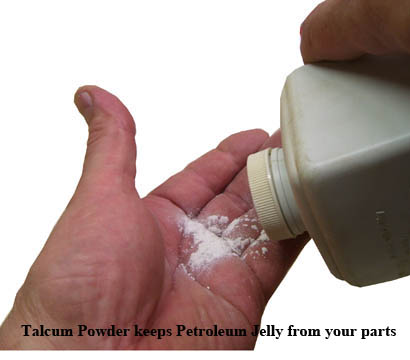
Protect your hands
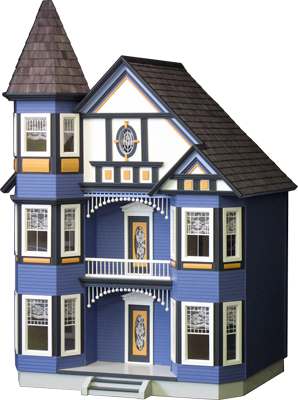
Painting the Victorian Painted Lady
Paint: [See the Paint-Color worksheet]
Brushes and rollers:
2" foam brushes (at least 2) for the housebody
1" foam brush (at least) for each paint color
3" foam roller for smooth and interior surfaces
3/16" flat artist's brush for small details
Sandpaper: 220 or 320 grit sandpaper (at least 3 sheets)
Faux-Wood Flooring: (if chosen) [original video] [4600 version]
Other:
A stiff hand brush
Paper towels and "clean-up" supplies
A knife or scraper for cleaning up drips on the edges
Protect the work surface: cardboard, newspapers, but wax your table first to help protect from paint accidents
Protect your hands: latex gloves or petroleum jelly and talcum powder
These parts take a large area to spread out for painting and drying; make sure you have enough space!
Latex painted parts can not be stacked even after the paint seems dry
or they will stick together.
If you must stack painted parts, separate them with waxed paper.
A word about primer: Primer is designed to help paint stick to an impervious surface or to join layers of dissimilar paints. The job of the first coat of paint in a dollhouse is to soak right into the wood and fill the grain - you could do that with primer, but its job of being an interface between different materials doesn’t apply here. In this application, primer just adds steps and expense. I don’t use it here and don’t suggest it.
However, I do paint the inside of the Walls and Roofs, the Dividers, and the bottoms of the upper Floors one coat and then sand down to the wood before assembly, and primer or any light paint would be a good choice for that.
First coat [video] everything that will be painted in the finished house, inside and out. Don’t get paint on edges that will be glued, on the ends of posts or rails, or in the walls' grooves.
This video shows painting the first coat on assembled Rails and windows, but it's a different house. It is much easier to sand the first coat on the un-assembled rails and windows, and the paint-job will be better.
Second coat [video] all exterior parts.
Assemble: test the floors in the grooves before applying glue.
Clean the grooves and ceilings if necessary
Anywhere a part can be marked to leave an area with wood showing for the glue to grab should be marked very lightly, then painted to just cover the mark. Doing this leaves some wood for the glue to grab (glue doesn't stick to paint), but hides the edge of painting inside a joint... much cleaner than masking for a paint-edge.
If two adjacent parts are the same color, assemble them first, then second-coat them together.
When you must glue to a painted surface (like Porch Posts), scrape a hidden spot to expose some wood for the glue to grab.