This demo is on a JM-1065 with the ceiling wiring already done.
see "Dollhouse Wiring" for more on using tapewire.
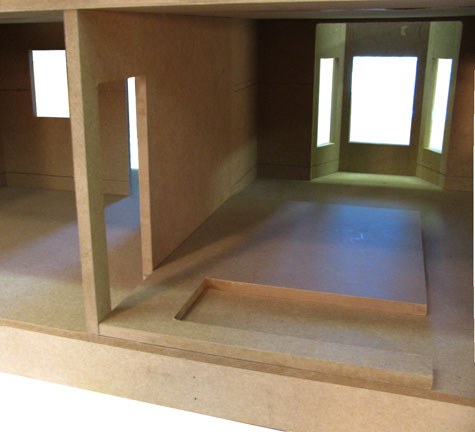
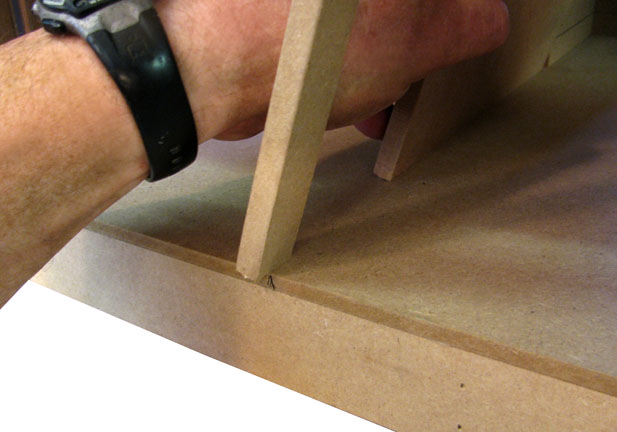
In a JM-1065, the dividers line up with the Gable Side in front. In all houses: Line up the top of the divider with the edge of the stair hole.
Another divider is flat on the floor, lined up with the back edge as a "square" to make the divider you are installing straight front-to-back.
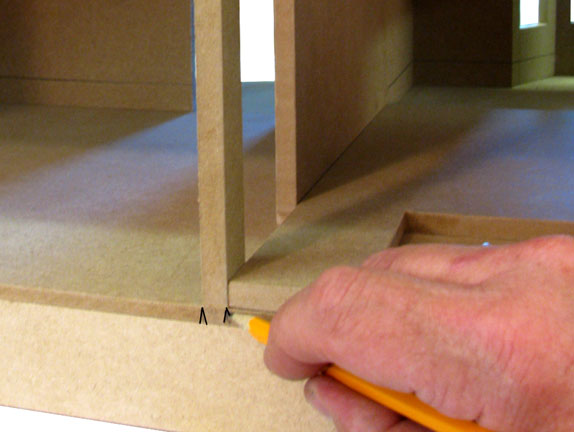
Mark the back edge of the floor for the divider's position. If you don't have a Gable Side to locate the front, mark the floor in front too so you have a target when the time comes to install the divider.
Move the second divider upright so the divider you are installing is straight up-and-down. Check again that it lines up with the stair hole.
Mark the back edge of the 2nd floor for the divider's position.
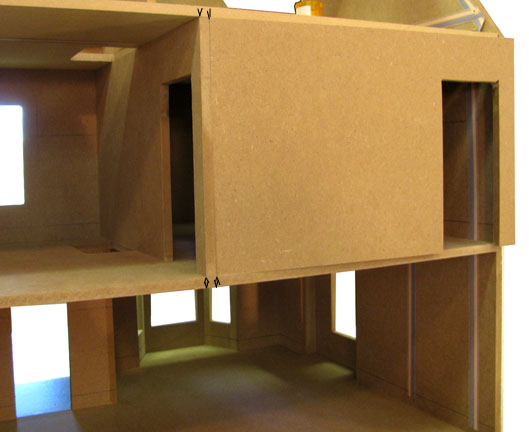
Do the same thing for the second floor divider... check the front edge if it must line up with a Gable Side (this takes priority over lining up the stair hole in the JM1065). The back edge must line up with the marks for the first floor divider so they will line up with each other.
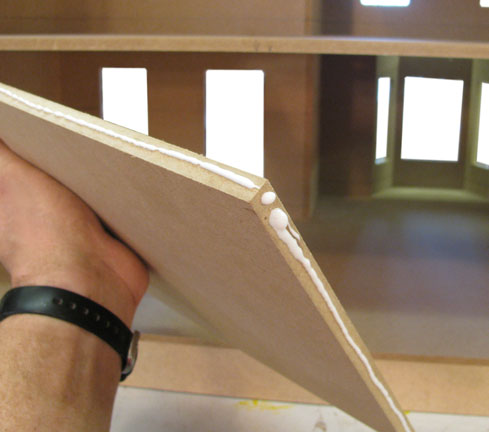
Apply glue
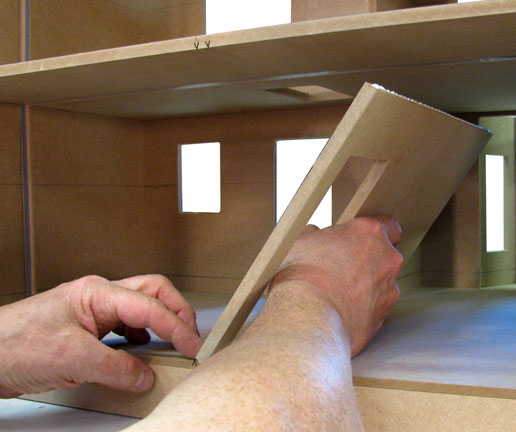
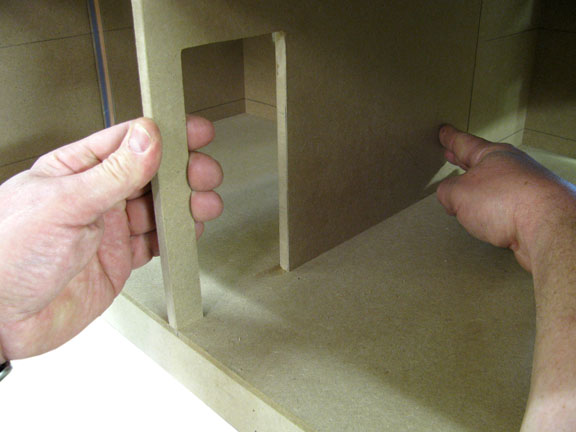
Tip the divider and put it in the house about 1/2" from touching the front wall. Touch the bottom edge down lined up with the marks in back and in front.
Stabilize (press down so it doesn't slip) as you tip the divider upright. Take care to keep the base of the divider lined up with the marks.
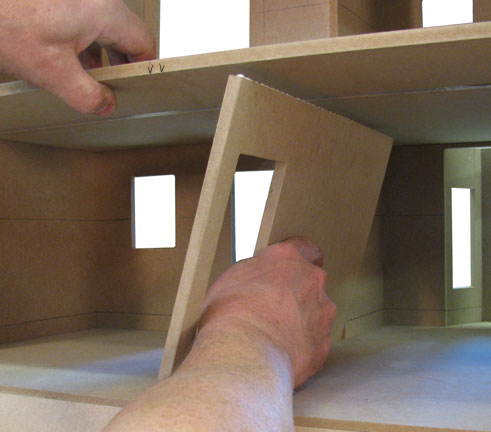
When the divider gets close to the floor above, lift the floor as much as you can.
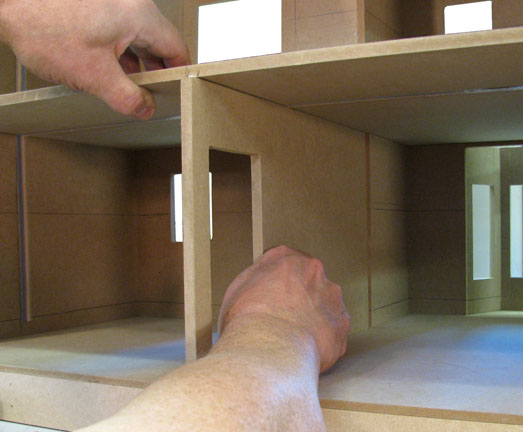
Line up the top and bottom with the marks. Make sure the front is on-target; check the mark, check the stairhole cutout.
Keep the front of the divider lined up with the target; push the divider the last bit into position
If the divider must line up with a Gable Side, stretch tape to keep it tight.
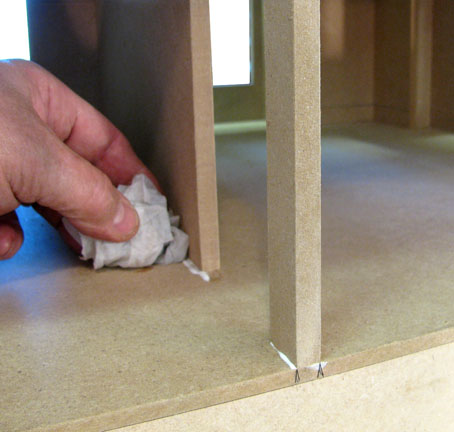
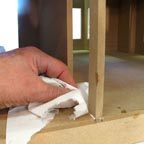
A damp rag cleans up the glue squeezings
Mop up the dampness with a dry rag
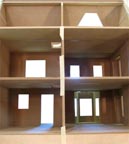
Repeat the process for any more first-floor dividers, then do the second-floor dividers. Work from the bottom of the house to the top.
Tape the dividers to keep them in position as the glue dries.