This demo is on a JM-1065 with the ceiling wiring already done.
see "Dollhouse Wiring" for more on using tapewire.
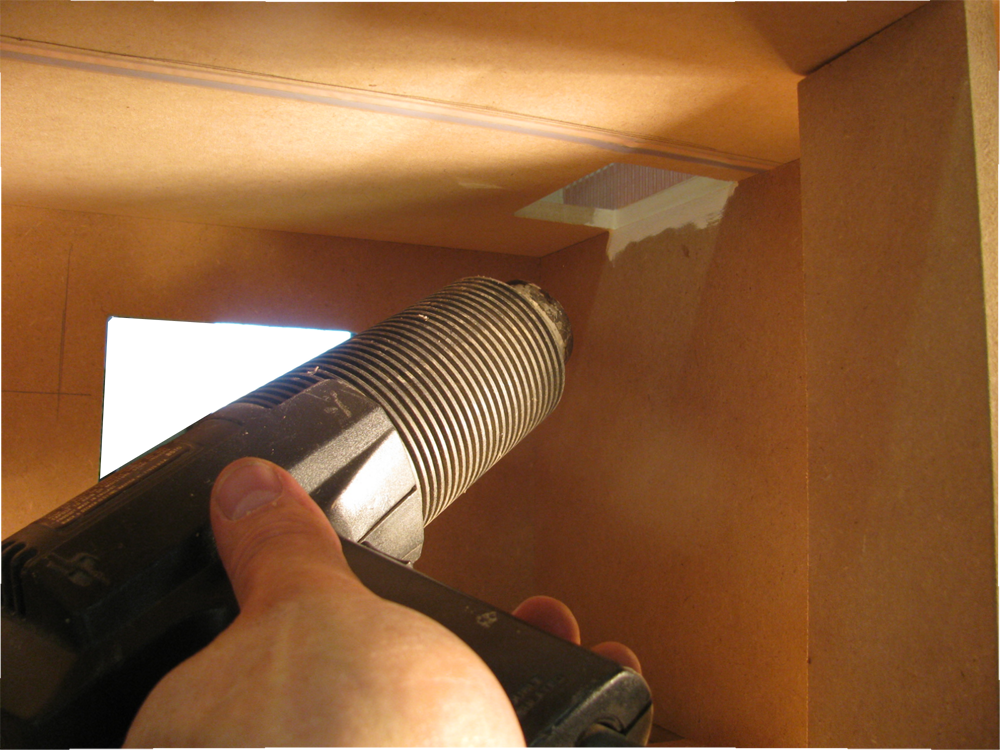
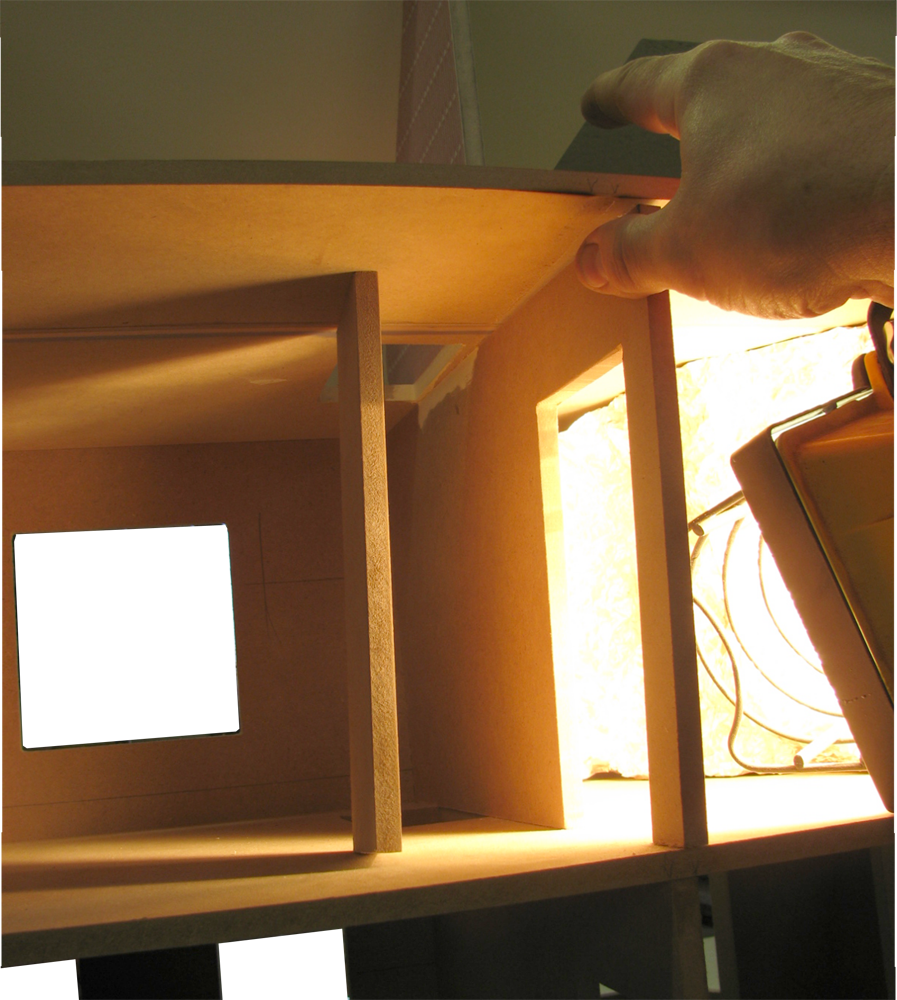
This is a hot-air gun. On the other side of the divider is a quartz lamp that has been heating the divider for about an hour. The ceiling has tapewire that will be damaged by direct heat, so all my heating is away from the tapewire.
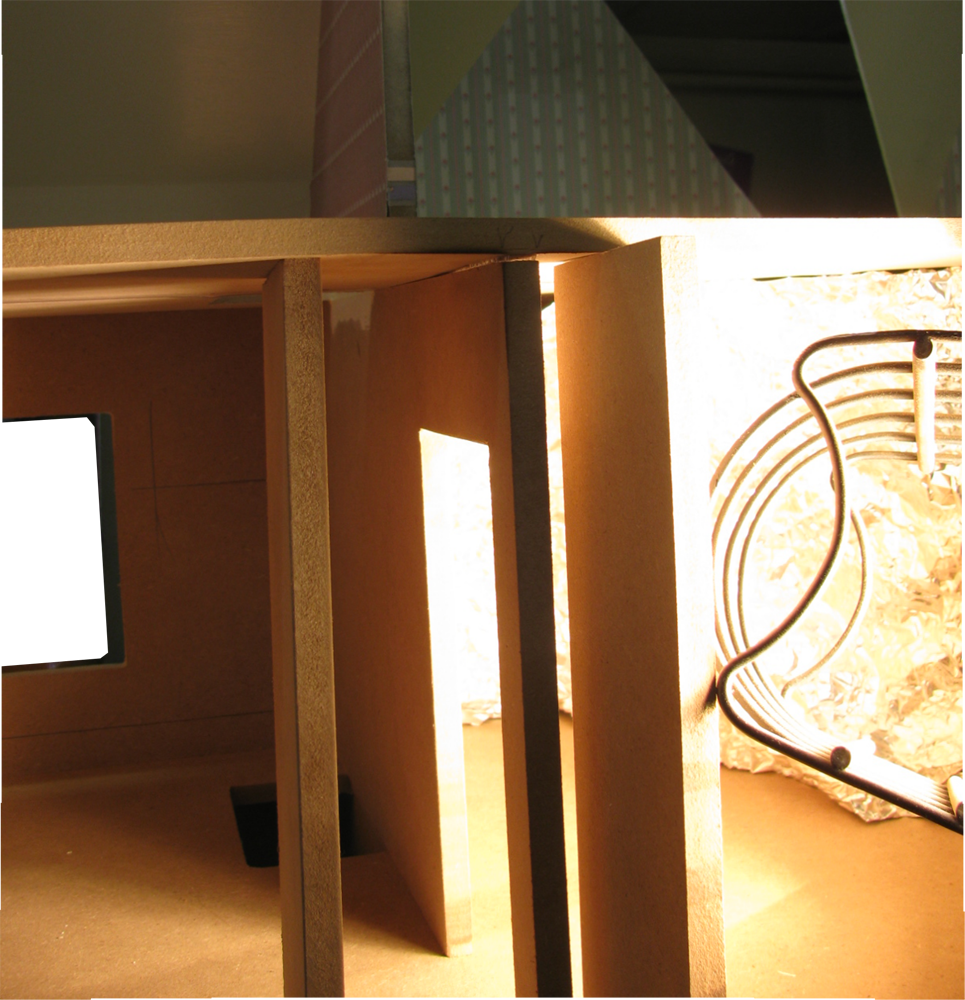
Blind dividers at the back edge of the floors are twisted to give some pressure to the glue joint.
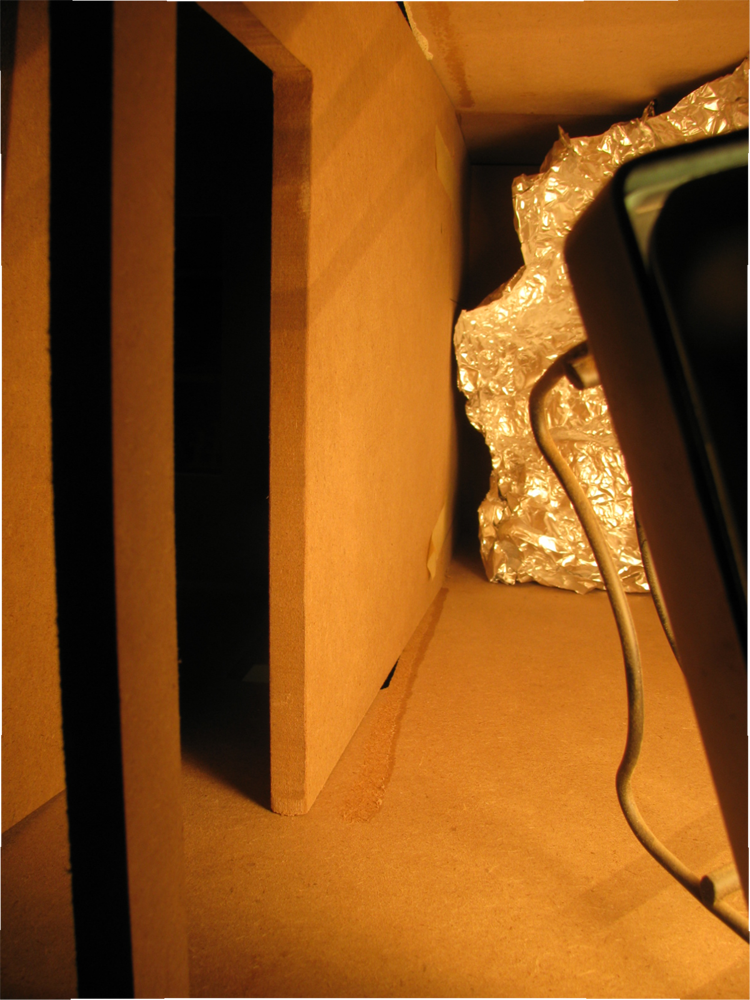
There is aluminum foil collecting the heat of the lamp and keeping it around the divider.
After an hour of the heat lamp and 5 minutes of heat gun, the divider's glue begins to let go. Glue gets stretchy when it gets hot, so it releases slowly. A little stretch, a little release, you can see the blind divider is being moved toward the front to keep working the release forward.
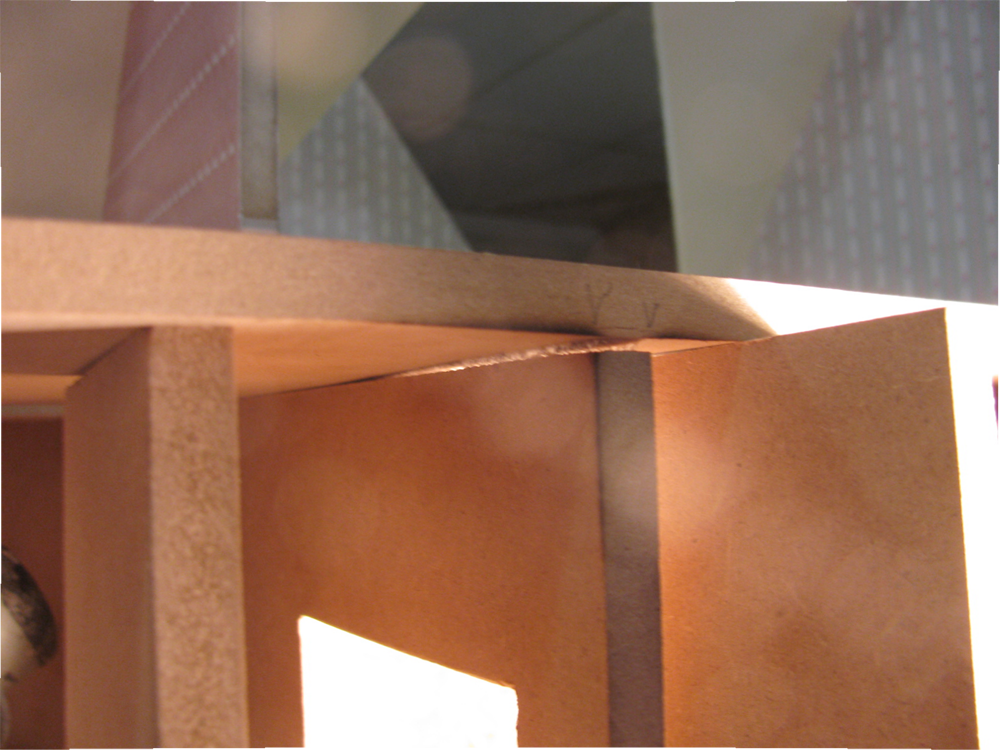
Once the separation gets to the front, begin moving the divider back-and-forth to stretch the glue in the front against the front wall... back-and-forth, slowly and gently, stretching the glue a little more with each movement.
The glue is letting go. Don't get too excited, there may still be adhesions that aren't warm enough to release. Keep moving, keep it gentle. Keep putting the heat where things haven't come apart yet.
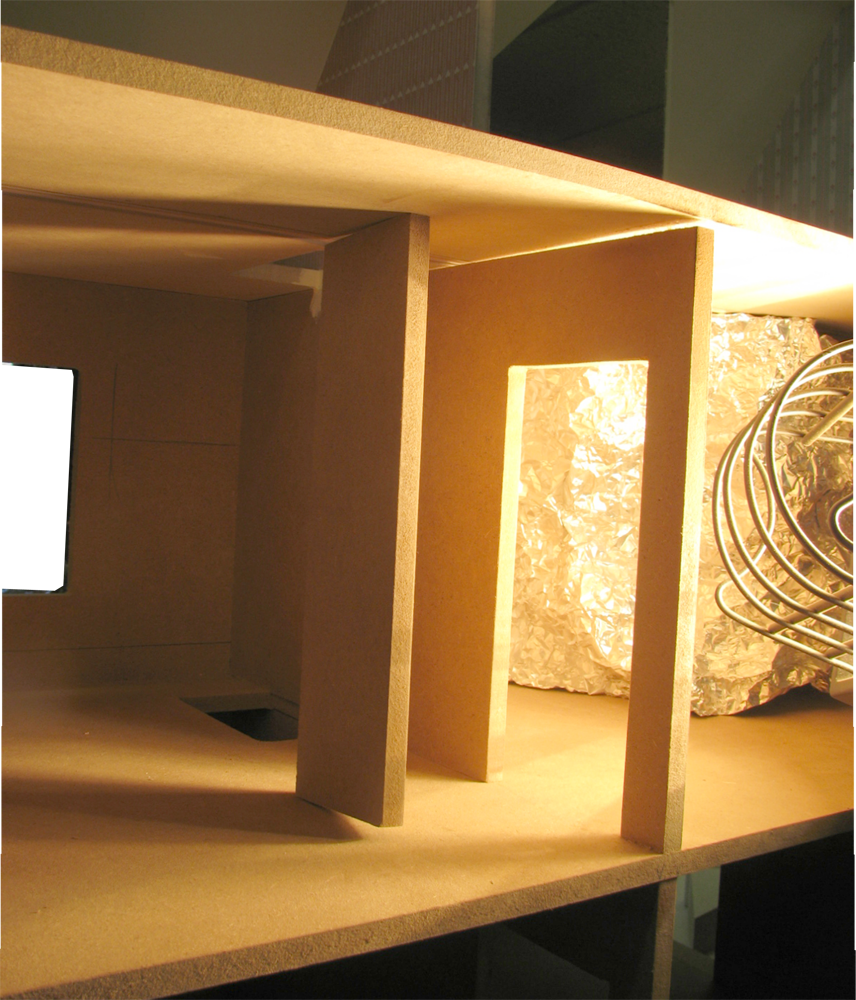
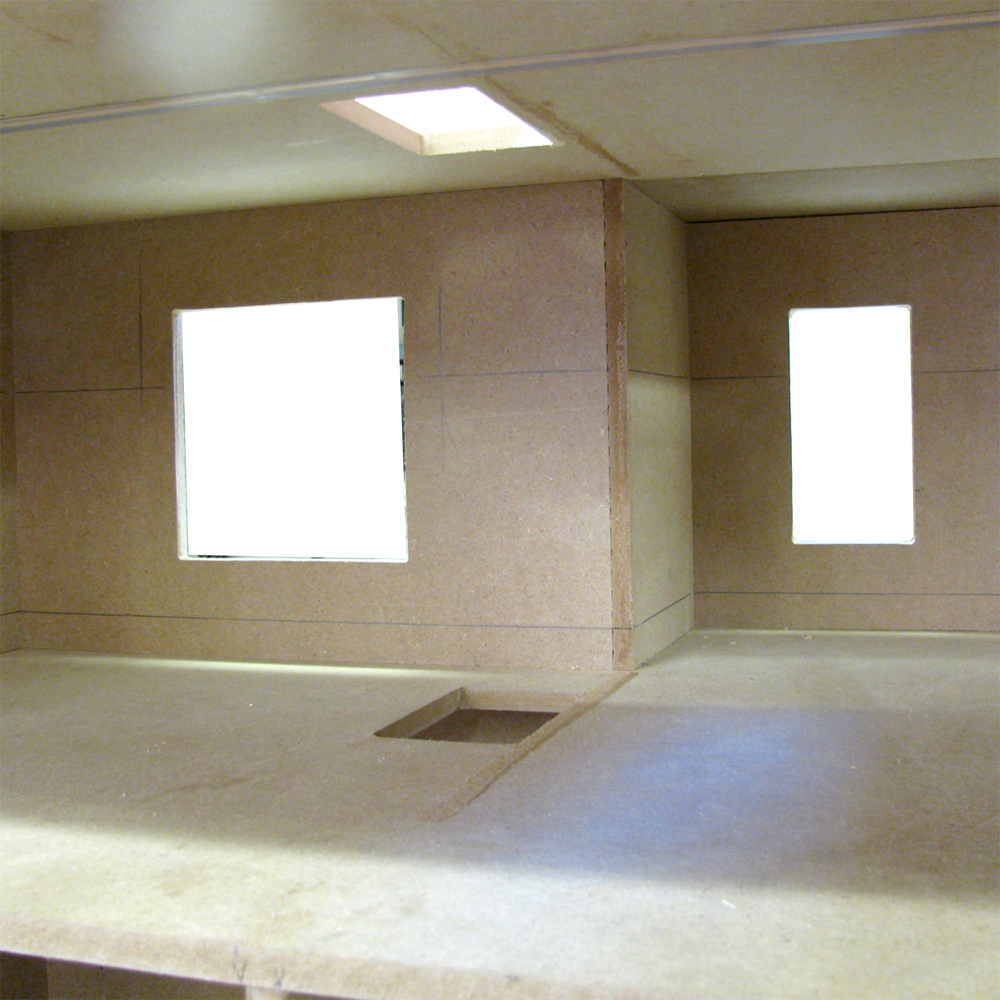
Done! No tearing, no damage, just some leftover glue that has to be scraped. Don't scrape across the tapewire.