![]()
![]()
Customizing 1
Customizing 2 here
Customizing 3
Customizing 4
Customizing 5
Customizing 6
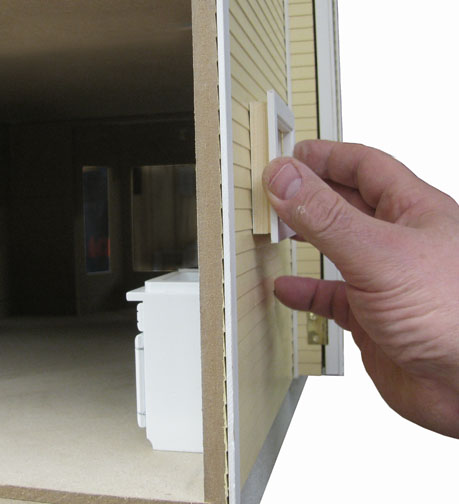
Changing dollhouse Windows
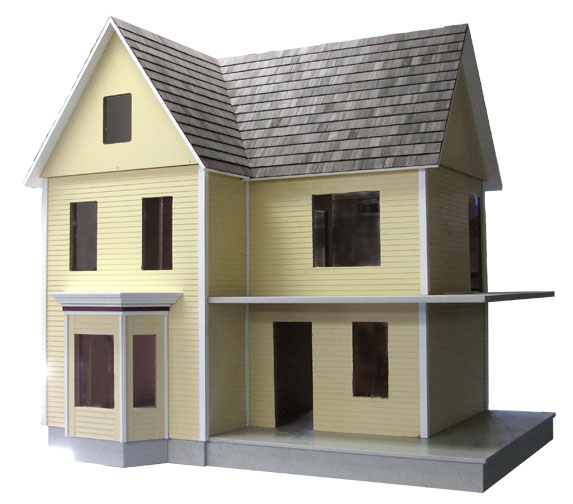
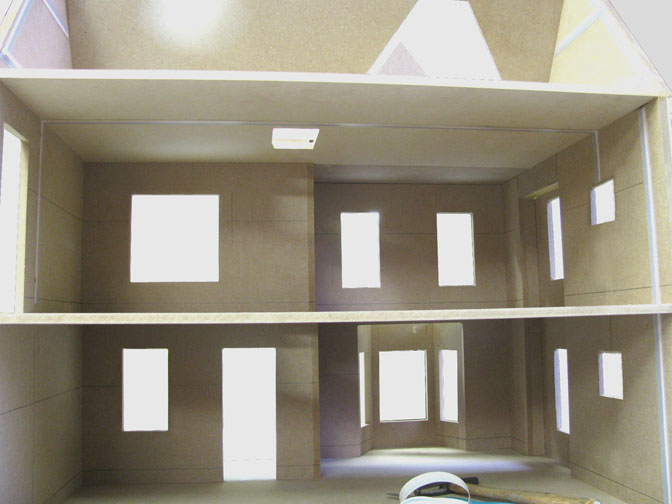
Last week (Customizing a Victoria’s Farmhouse, part 1) we played around with some dollhouse furniture to make an interior plan, and began moving windows to accommodate it. Here’s what the front cutouts look like with the Picture window moved 1", and the first-floor window enlarged to standard size.
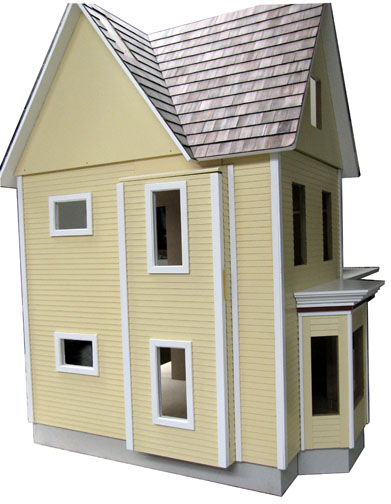
The new side windows were positioned to fit the kitchen appliances, and to line up on top with the existing side windows.
Wiring a Victoria’s Farmhouse
There are some wiring steps that I like to do during construction, before things like Dividers, the Gable Roofs, and the Rear Roof get in the way, so these things are only temporarily attached at the moment.
Wiring Layout
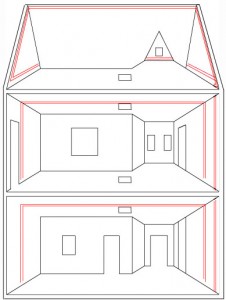
While I had the furniture spread around the house, I did a wiring layout diagram. It is split into the “during construction” runs, and the “after construction” runs. The Red Lines are the runs I will do now, before finishing construction.
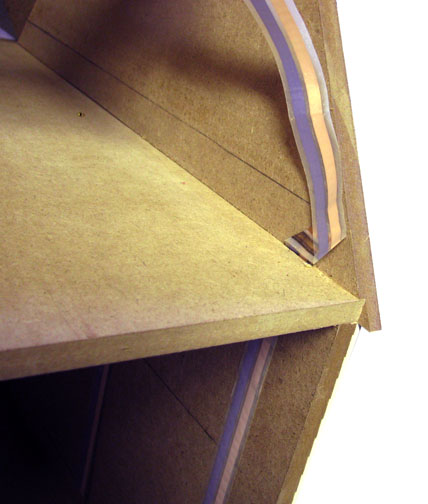
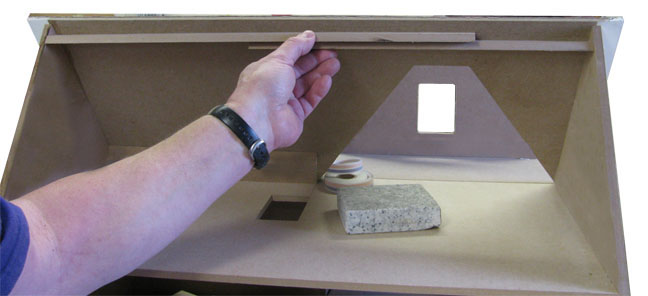
The main run starts in the attic and uses the electrification slots down the walls. A zig-zag just above the floor aims the tapewire toward the peak, 1/2″ from the edge. But at the peak, I find that the tapewire won’t be accessable with the Rear Roof in place… I won’t be able to make connections for ceiling lights in the attic.
Building an Attic Ceiling
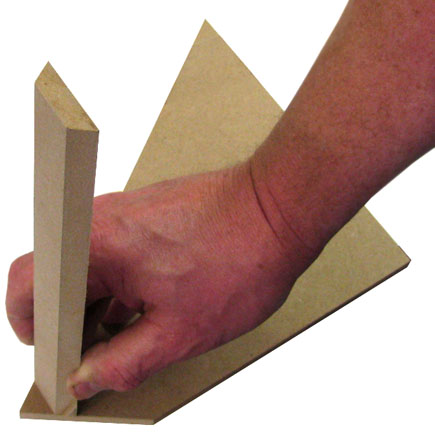
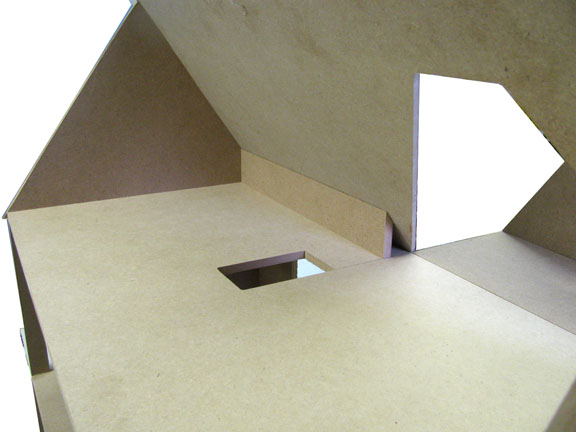
Instead of running the tapewire at the peak, I will make an attic ceiling. I cut some material with the roof angle on both sides to make a ceiling. While I was at it, I made a kneewall for the front of the attic so I could wire that for outlets, and as a pathway to get tapewire to the Gable Triangle. [Customizing Pack]
Install the tapewire
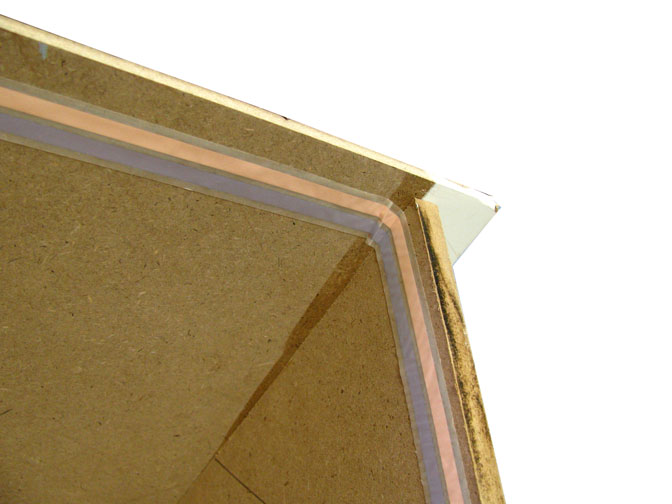
Now I can wire the attic. It’s all done in one piece to minimize connections, up the sidewall, up the attic endwall, across the ceiling, down the opposite attic endwall, and a baseboard run at 3/4″ above the floor to the front corner and across the kneewall (I’ll leave the roll of tapewire attached at the end of the kneewall so I can finish the attic wiring in one piece).
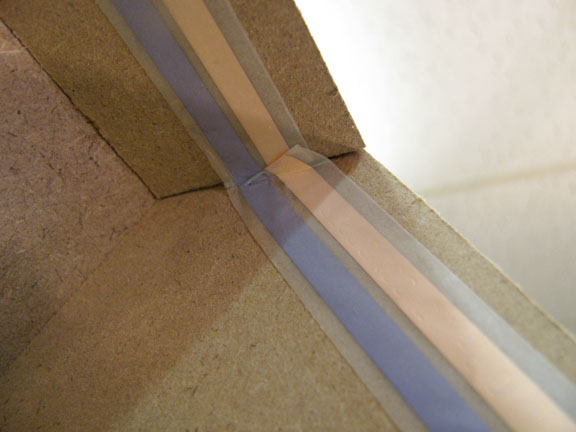
A fold in the corner lets me redirect the tapewire without adding a connection.
I have an “up-and-over” run in each floor, a main run up the electrification slots and around the attic, and all three attic triangles are wired. Now I am ready to install the Dividers, finish the attic, and attach the roofs.
I’ve got work to do!
Gary