![]()
![]()
Customizing 1
Customizing 2
Customizing 3
Customizing 4
Customizing 5
Customizing 6 here
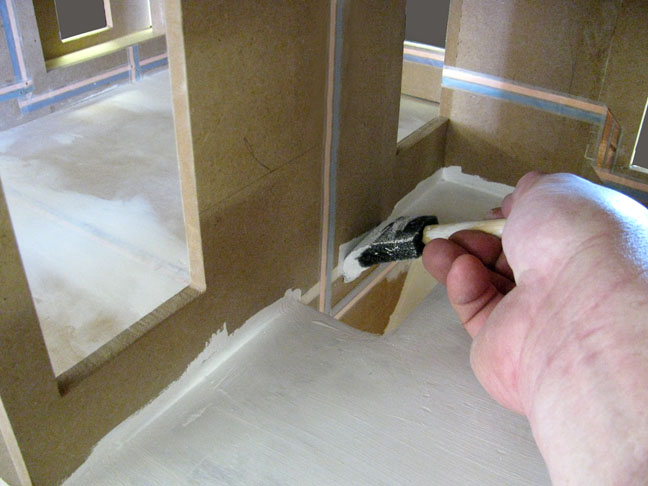
| It’s time to paint the Ceilings, but first, I will spackle them to help hide the tapewire. I usually put on Liner Paper (a thick white paper that is sold in wallpaper stores), but I still have bathroom dividers to install, and the Liner Paper is thick enough to make them too tight. Besides, Liner paper is easy… you don’t need me to show you how to use it, but spackle is a bit more challenging – so, I’m spackling… | 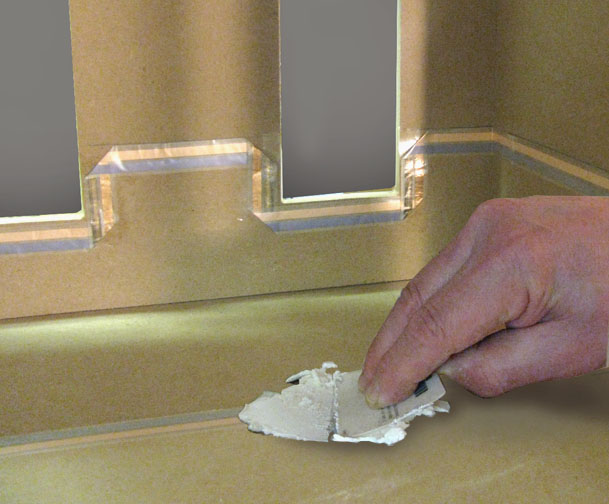 |
|||
| The house is up-side-down. The picture at the top shows “light” spackle being applied with a library card. The first coat of spackle is thick… just getting down enough material to make a base for the second-coat, which is what does the actual smoothing. | 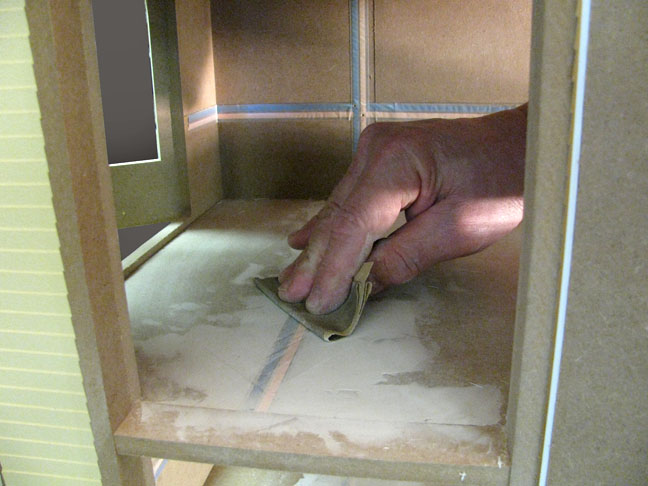 |
|||
| Here, a light sanding gets off the big ridges and lumps. | ||||
 |
||||
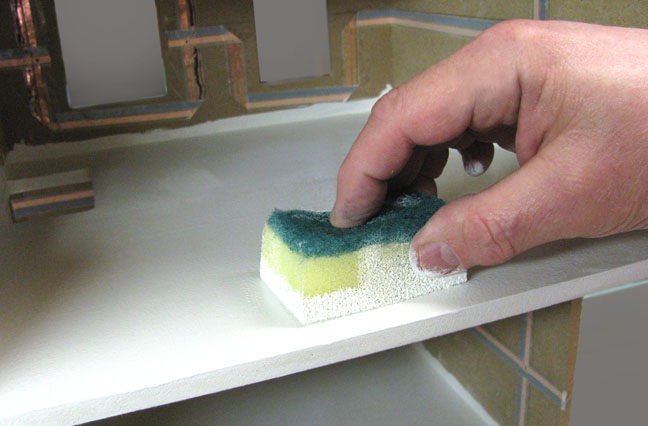
| Wipe the surface with a damp rag, and do a smoothing coat, thin this time. | ||||
 |
||||
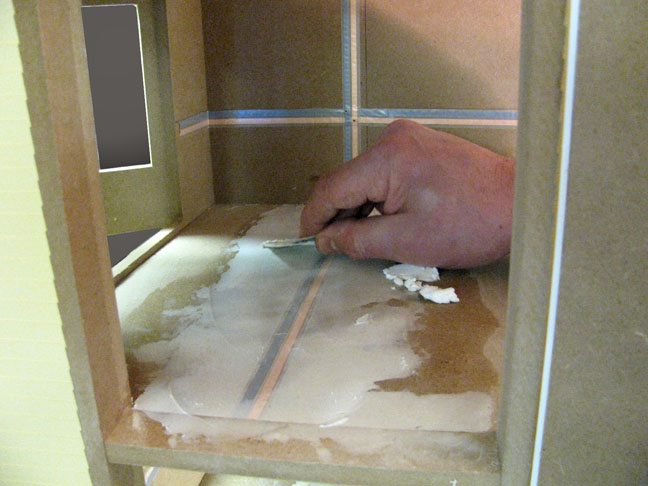
| A final sanding, then a coat of paint or primer (this is one of the few places I do use primer, because I always discover a few places for a touch-up of spackle, and the spackle sticks to primer better than to paint) | ||||
 |
||||
| Don’t forget to spackle and paint in the stair holes | ||||
 |
||||
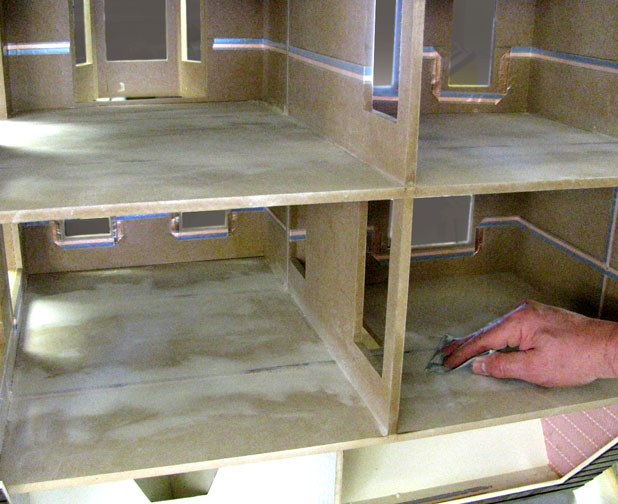
| Sponge paint in the ceilings doesn’t leave brush strokes | ||||
 |
||||
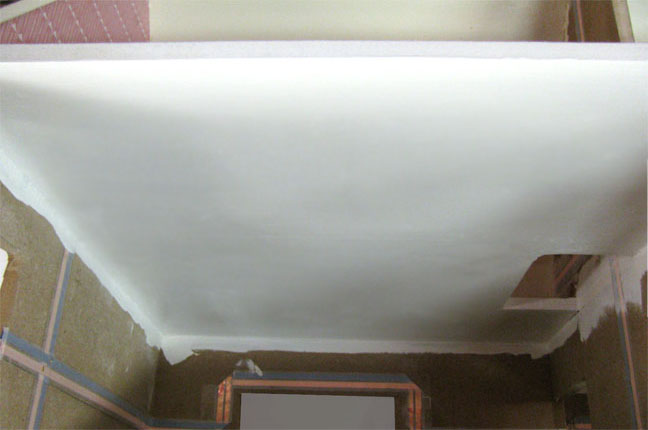
| Here’s the ceiling right-side-up… there’s not much showing of the tapewire | ||||
| Next: wallpaper in the “study”… I’ve got work to do | ||||
| Gary | ||||