![]()
![]()
Customizing 1
Customizing 2
Customizing 3
Customizing 4 here
Customizing 5
Customizing 6
More Wiring:
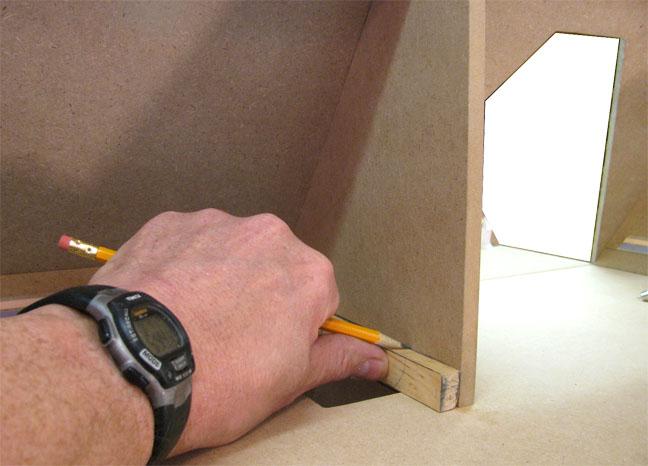
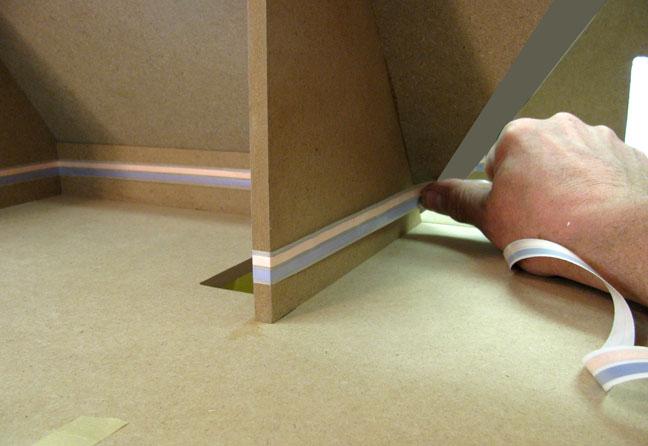
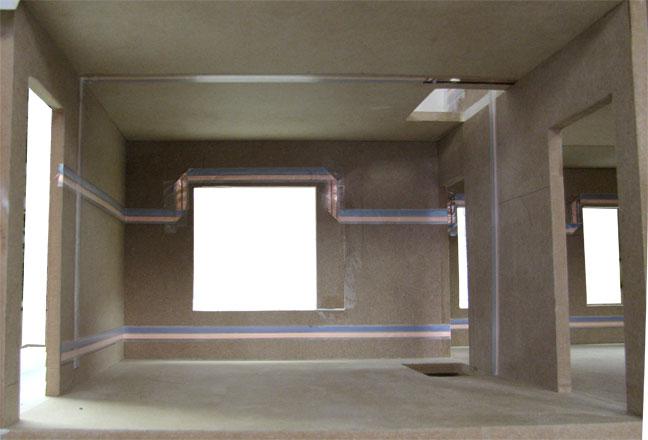
The Dividers are in, and it’s time for a bit more wiring. I had left a flap of tapewire un-attached for the rest of the attic baserun, and I can do the part that goes around the attic partition now. I am still marking 3/4″using the layout stick in the EL-66. I haven’t attached the Gable Roof or the Rear Roof yet, so the flap of tape will still be loose past the Attic Partition.
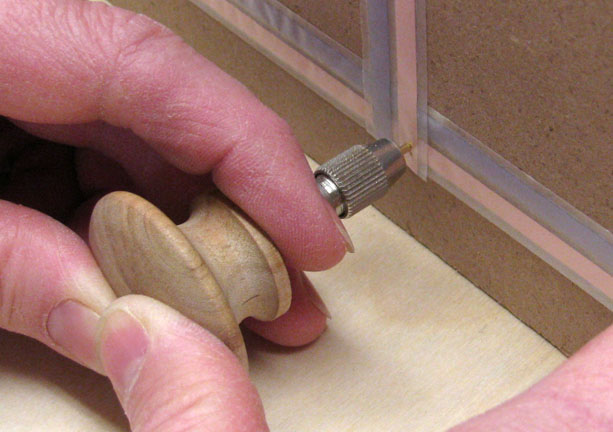
The Stairhole drop will be a second connection from the first-floor to the attic (redundancy!), and it will power the sconce-run in the bathroom. This run will go all the way to the ceiling run. Next I eyelet all the connections in the attic (copper-to-copper and blue-to-blue!).
The rest of the downstairs wiring can be done now… everything except the bathroom. I won’t install those dividers until I have finished the front room.
Wallpaper in the attic:
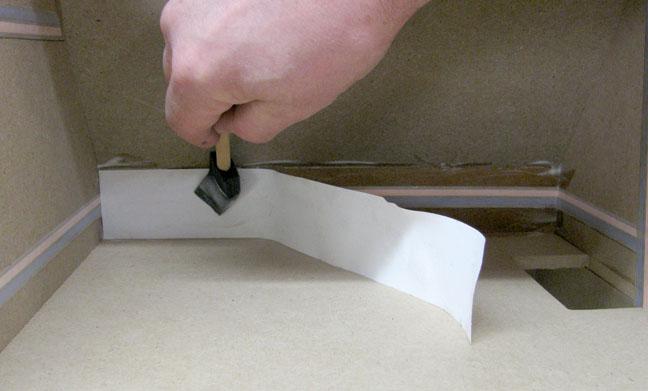
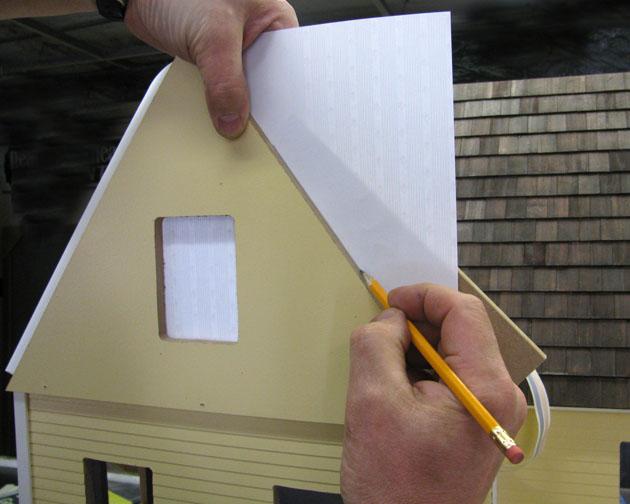
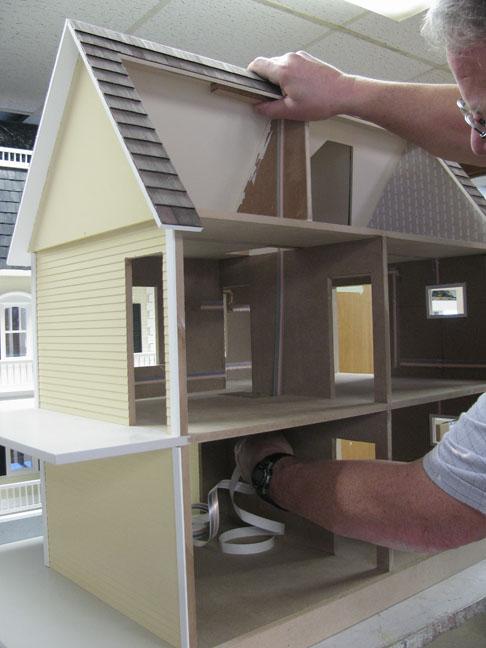
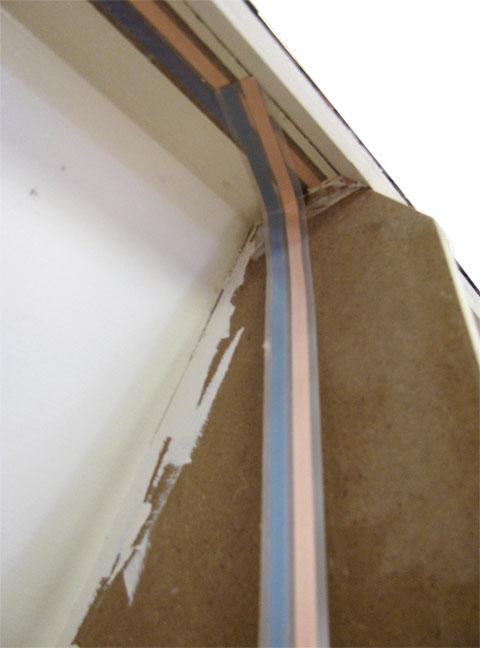
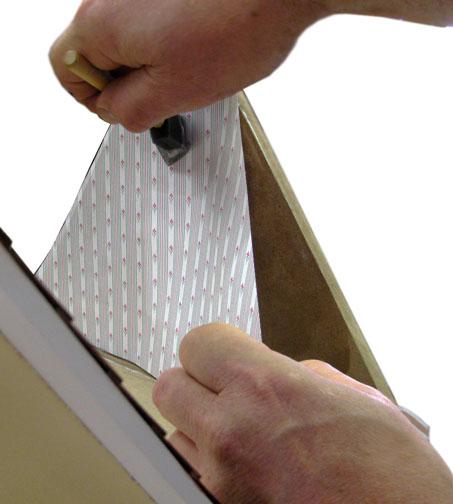
I have waited to put on the Roofs to make it easy to do this wallpapering. Without the roofs in the way, cutting and pasting the Attic Triangles is a straight-forward task, but I will leave a flap on the Gable Triangle un-glued for the electrical connection that has to wait for the roofs (photo below-right).
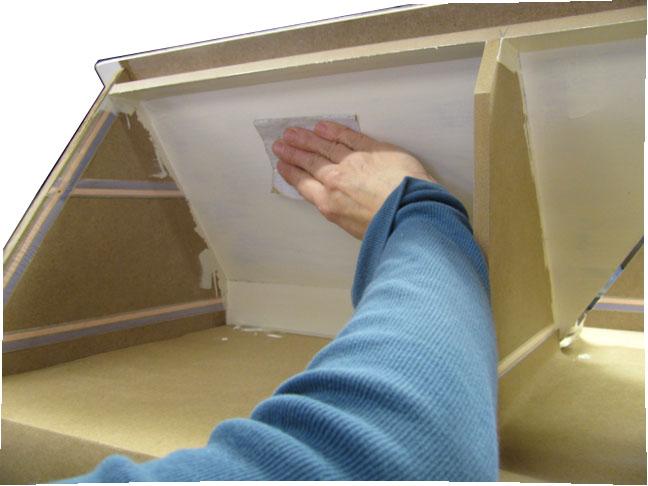
Wallpaper covers the tapewire enough so that in the finished house the tapewire won’t be noticeable; but I put “liner-paper” (a wallpaper store product for covering un-even walls) on the walls that will be painted (like the Kneewall above). The Kneewall and Roof are painted before the wallpaper goes on the triangles.
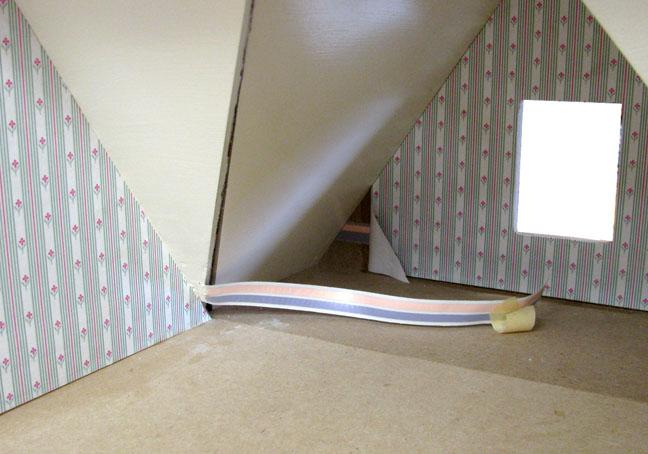
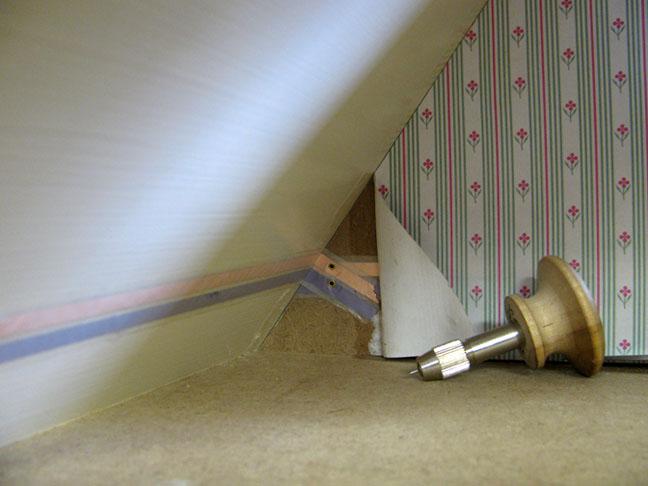
Now the Roofs are on, and I can finally attach the last of this flap of tapewire (with the “wrinkle” tucked into the corner of the roof cutout) . The Gable Triangle corner is a tight spot for making a connection but I was able to drive the eyelets with my EL-66 tool.
Next, I will run the power into the “cellar”, then I can finish the downstairs.
I’ve got work to do
Gary